As winter approaches, the task of insulating outdoor faucets becomes imperative to prevent the costly and inconvenient consequences of freezing pipes. The process, while seemingly straightforward, involves a meticulous sequence of steps, including the selection of appropriate materials and precise installation techniques.
From the initial act of turning off the water supply to the strategic wrapping of pipes, each action is designed to fortify your home against the harsh realities of winter. However, the complexity of this task extends beyond these initial steps, encompassing a broader spectrum of considerations that are crucial for ensuring comprehensive protection.
Unveiling these intricacies not only highlights the importance of preparation but also invites a deeper exploration into the nuances of effective faucet insulation.


Necessary Materials

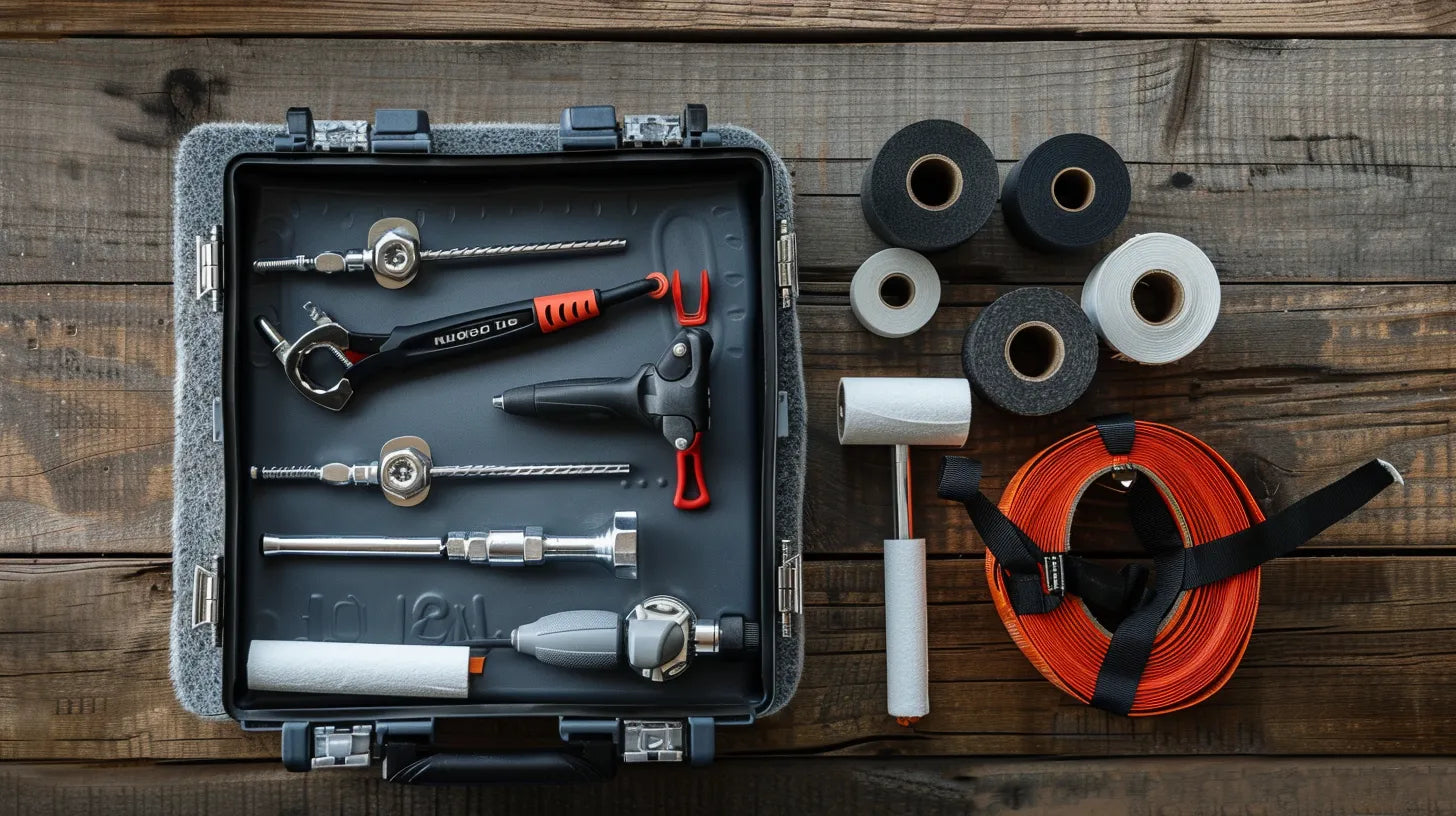
To effectively insulate an outdoor faucet and safeguard it against freezing temperatures, one must gather essential materials such as insulation tape, faucet covers, duct tape, scissors, and a clean cloth. These materials are crucial for providing cold protection to outdoor faucets, which are particularly vulnerable to the harsh conditions of winter. The process begins by preparing the faucet with a thorough cleaning using a cloth. This step ensures that the insulation adheres properly and provides a secure barrier against the cold.
Insulation tape is the primary material used to wrap the faucet, creating a protective layer that minimizes the risk of freezing. Faucet covers add an extra level of insulation, enveloping the faucet in a protective shell that further guards against the cold. Duct tape is then employed to secure both the insulation tape and faucet cover in place, ensuring that they remain intact throughout the winter months.
Having these materials ready and utilizing them correctly is crucial for preventing water damage caused by frozen pipes. The combination of insulation tape, faucet covers, and duct tape provides a comprehensive solution for protecting outdoor faucets from freezing temperatures, thereby helping homeowners avoid costly repairs and the inconvenience of water disruption during the cold season.


Disconnecting Hoses
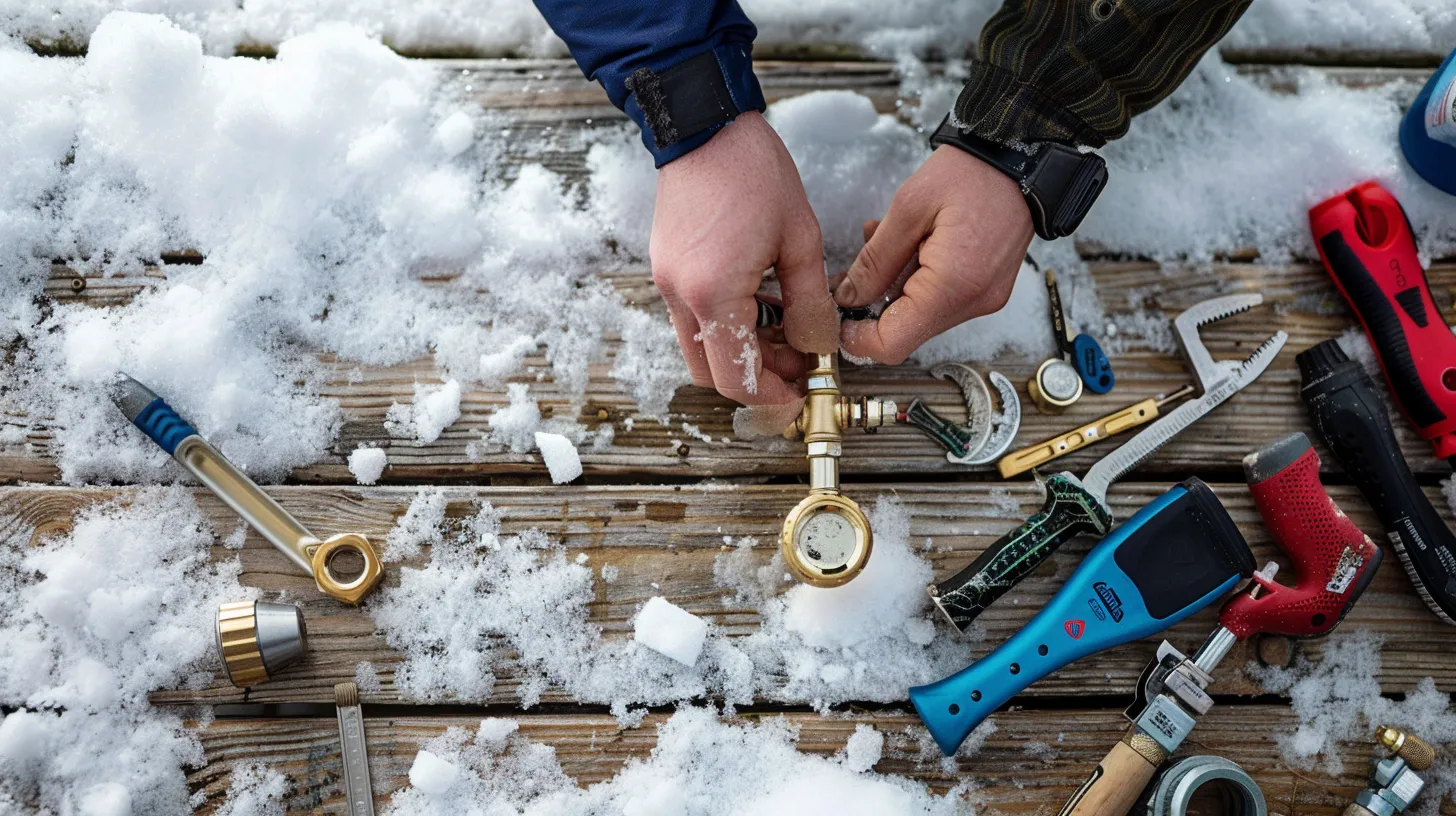
After securing the faucet with the necessary materials, the next crucial step involves disconnecting hoses to prevent freezing and potential damage during winter months. Disconnecting hoses from outdoor faucets is a critical action that homeowners must not overlook. Water left in hoses can freeze when temperatures drop, causing the water to expand. This expansion can lead to burst pipes, which are not only inconvenient but can also lead to costly repairs.
To mitigate this risk, it is essential to drain the water from the hoses completely. Ensuring that no water remains trapped within the system is key to preventing damage that freezing temperatures can cause. After draining, it is advisable to store hoses indoors, where they are protected from freezing temperatures. This simple act can significantly extend the lifespan of your hoses.
Furthermore, regular checking and maintaining hoses can prevent many issues related to freezing temperatures. It is important to inspect hoses for any signs of wear or damage and replace them if necessary. This preventative measure can save homeowners from the hassle and expense of dealing with burst pipes and the subsequent repairs that may follow. Protecting your outdoor faucets and hoses from freezing temperatures is essential for maintaining a safe and functional home during the winter months.
Inspecting Spigots
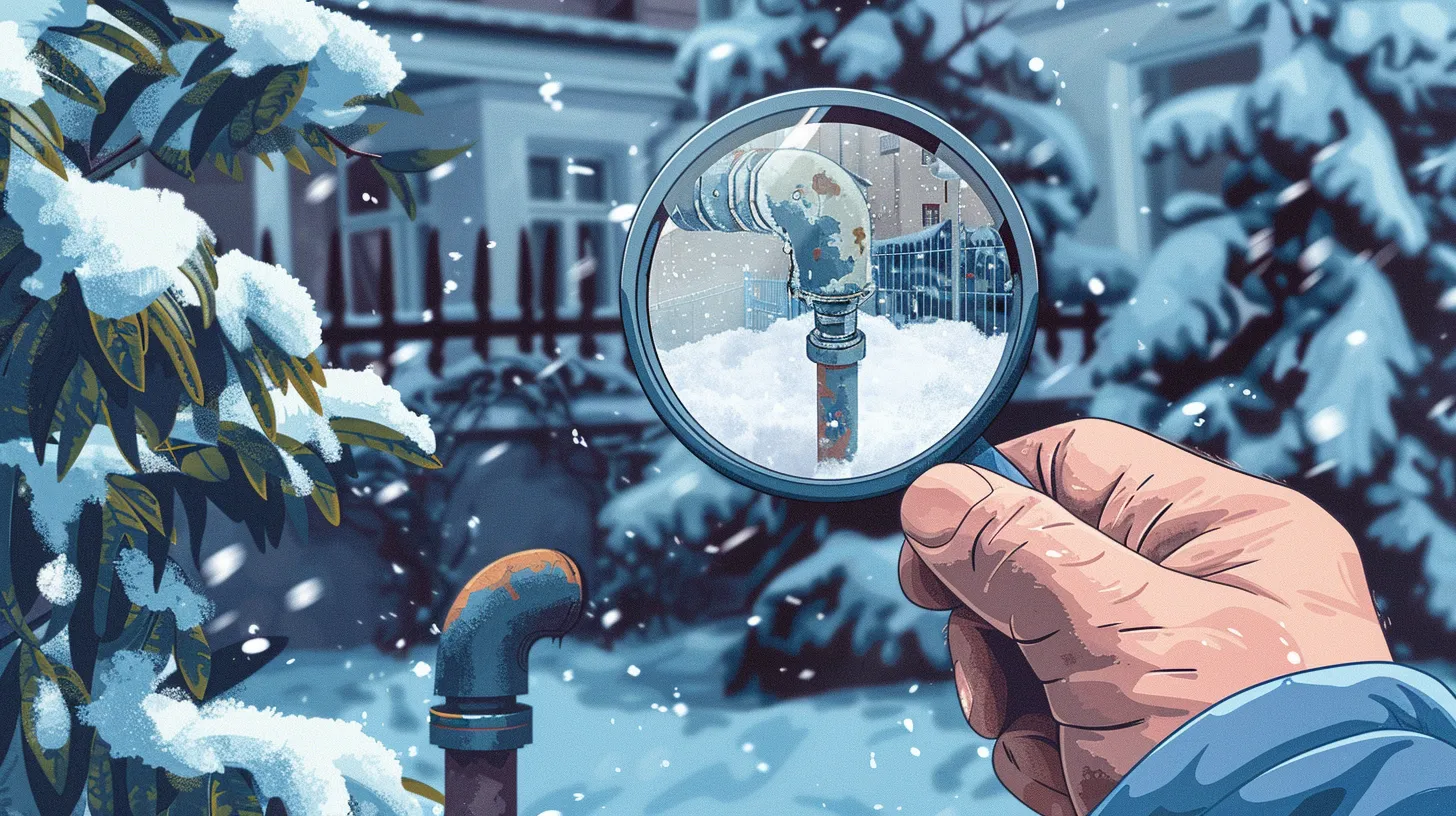
Examining outdoor spigots closely for any visible signs of wear, such as cracks or leaks, represents a pivotal step in ensuring the integrity of a home's water system before the onset of freezing temperatures. As winter approaches, the risk of frozen pipes increases, potentially causing significant water damage if not addressed. Therefore, a thorough inspection of outdoor faucets is essential in preventing such issues.
When inspecting spigots:
- Look for any visible cracks or leaks in the faucet or connecting pipes, which could indicate vulnerabilities.
- Observe for frost or ice accumulation around the faucet, signaling the early stages of freezing.
- Listen for unusual noises when operating the faucet, which might suggest blockages or damage within.
- Notice if there is no water or reduced water pressure coming out of the faucet, as this could point to a frozen or damaged pipe.
Installing Faucet Covers
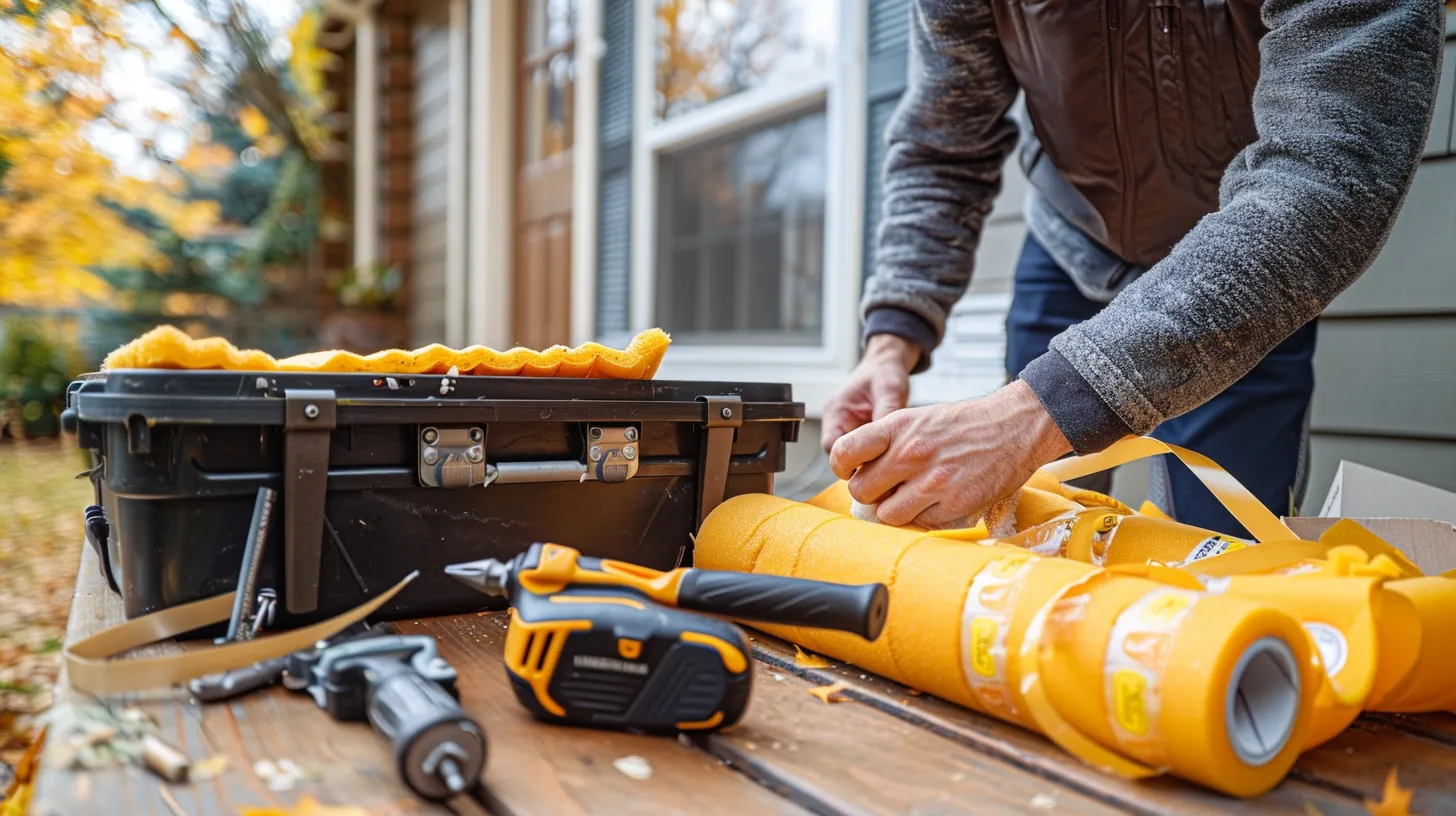
Installing faucet covers is a straightforward yet effective method to protect outdoor faucets from freezing temperatures. These specialized covers, available in materials such as Styrofoam or insulated cloth sacks, are designed to offer thermal protection, shielding your outdoor faucets from the harsh cold. The process of installing faucet covers involves simply positioning the cover over the faucet and securing it in place, typically with a wing nut or string. This easy installation process makes them accessible to virtually any homeowner looking to safeguard their outdoor water sources.
Utilizing insulated covers is not only a preventive measure against freezing but also a cost-effective solution to prevent potential water damage and the ensuing expensive repairs. By offering foam insulation, these covers help maintain a stable temperature around the faucet, significantly reducing the risk of freezing and the potential burst pipes that can result. Moreover, installing faucet covers contributes to extending the lifespan of your outdoor faucets by protecting them from the elements. Given their affordability and the protection they afford, faucet covers represent an invaluable investment in maintaining your home's plumbing integrity.
Maintenance Tips
While installing faucet covers is a critical first step in protecting outdoor faucets from freezing temperatures, maintaining these covers and the faucets themselves is equally important to ensure their longevity and effectiveness. Outdoor faucet maintenance is not just about putting an insulation cover in place but also about regular checks and adjustments to adapt to changing weather conditions and wear over time.
To effectively maintain your outdoor faucets, consider the following:
- Regularly Check for Wear and Tear: Inspect foam faucet covers and the insulation around the faucet for any signs of damage. Look for tears, holes, or areas where the insulation has compressed and lost its effectiveness.
- Prompt Replacement of Damaged Insulation: If you find damaged insulation, replace it immediately with new foam insulation, securing it with duct tape or plastic zip ties to prevent freezing.
- Drain the Outdoor Faucet: Before the first frost, ensure that all water drains from the faucet and the connected pipes to avoid freezing and potential damage.
- Remove Insulation in Spring: To prevent moisture buildup, which can lead to mold and mildew, remove the insulation cover as temperatures rise.


