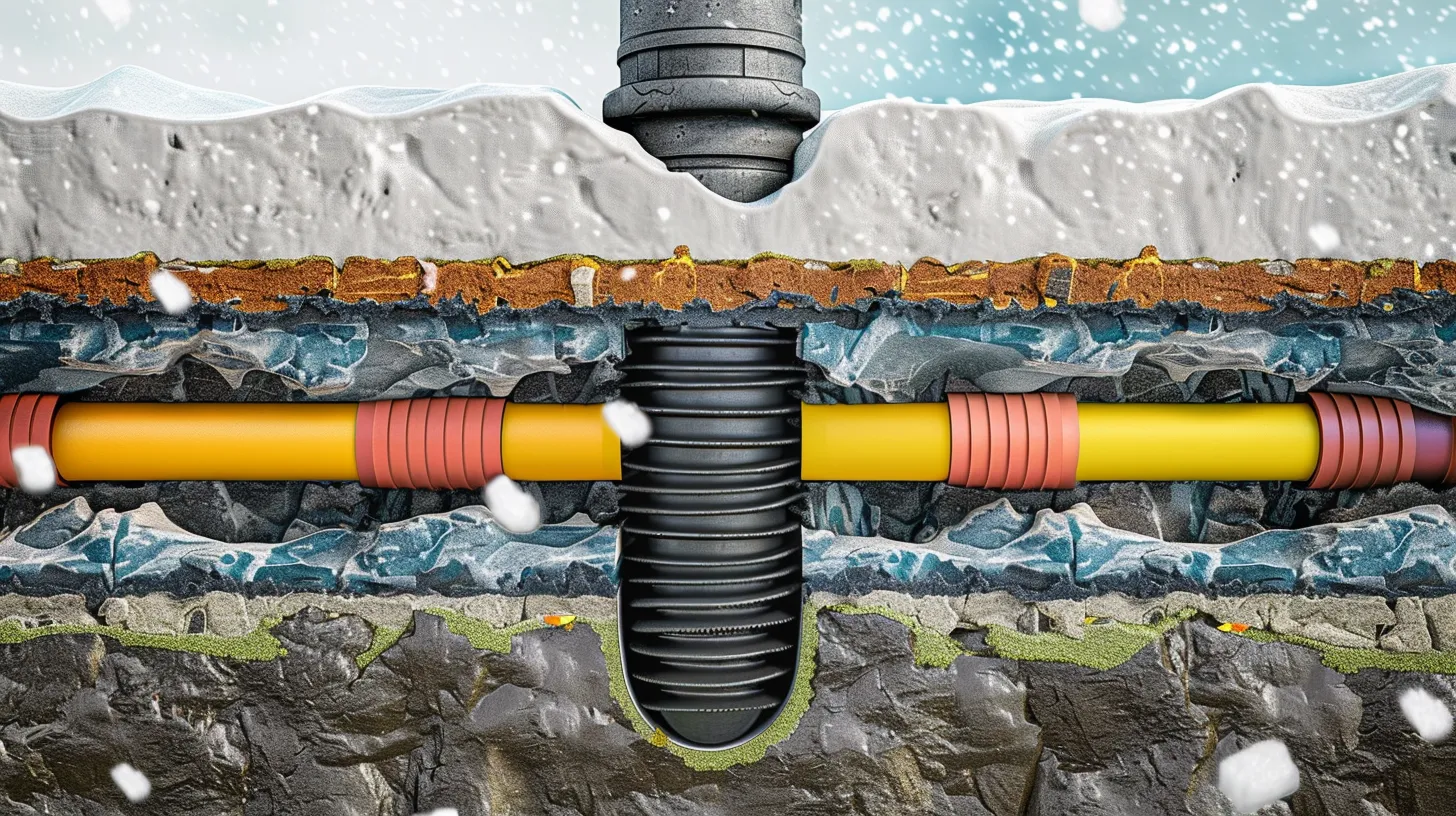
As we approach the colder months, the task of insulating outside spigots becomes not only a preventative measure but a necessity to safeguard our homes against the consequences of freezing temperatures. Proper insulation ensures that water within the pipes does not freeze, expand, and potentially cause significant damage to the plumbing system.
The process involves more than just wrapping the spigot; it requires a keen understanding of the materials and methods that best prevent thermal exchange. However, the challenges one might face in selecting the right insulation material or ensuring a secure fit are not to be underestimated.
What then, are the most effective strategies to protect our outdoor water sources, and how can we apply them to ensure longevity and reliability throughout the winter season?
Understanding Insulation Importance

Recognizing the importance of insulating outside spigots is critical in preventing freezing and mitigating costly repairs. As the temperatures drop, the water inside outdoor faucets can freeze, expand, and potentially burst the pipes, leading to significant water damage and expensive repairs. Insulation acts as a protective barrier, keeping the cold out and the warmth in, which is essential for conserving water and avoiding the repercussions of a harsh winter on your plumbing system.
The use of proper insulation materials, such as foam covers or specialized insulation tape, is paramount in this preventive measure. These materials are designed to withstand low temperatures and provide a snug fit around the faucets, effectively blocking cold air and preventing any water within the pipes from freezing. Moreover, the process of insulating outdoor faucets is straightforward and does not require advanced tools, making it an accessible task for homeowners looking to safeguard their homes against the cold.
Ensuring a snug fit with foam insulation around the spigots is key to eliminating gaps through which cold air could penetrate, further emphasizing the role of proper insulation in water conservation and freeze prevention.
Gathering Necessary Materials

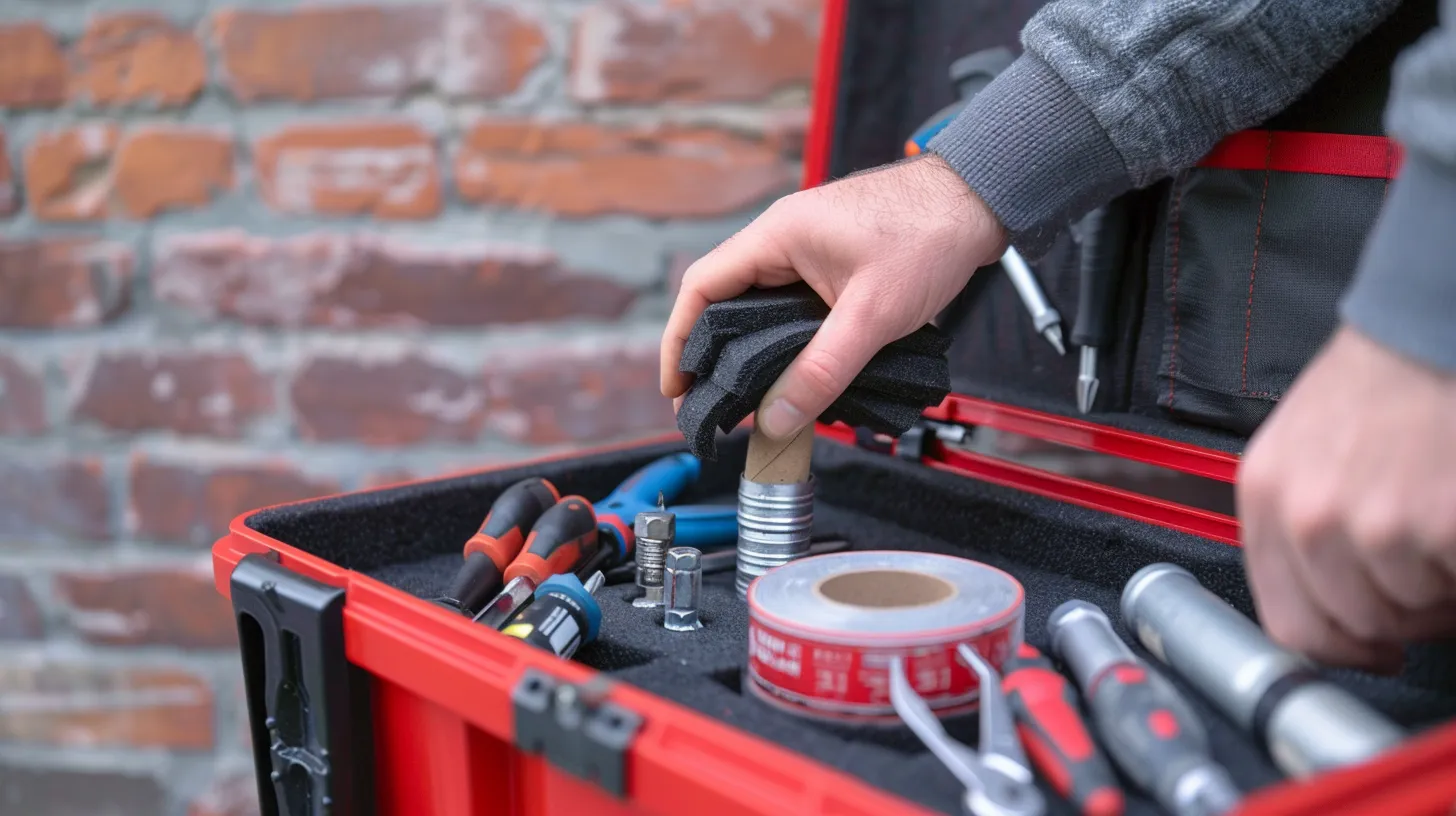
Before embarking on the insulation process, it is essential to gather all necessary materials, including insulated faucet covers, pipe insulation sleeves, duct tape, a screwdriver, and a towel, to ensure a smooth and effective application. These components play a crucial role in shielding your outdoor faucets from the harsh realities of freezing temperatures, which can cause significant damage if not properly managed. By preparing these materials beforehand, you set the stage for a successful insulation job that not only protects your spigots but also extends their lifespan significantly.
To create a rhythm and flow in gathering your materials, consider the following list: 1. Insulated faucet covers trap heat around the faucet, preventing the water inside from freezing and ensuring that your water supply remains uninterrupted during cold spells. 2. Pipe insulation sleeves add an extra layer of protection, guarding against the cold and potential damage to the pipes leading to and from your faucet. 3. Duct tape is indispensable for securing the insulation in place and preventing any air leaks, thus enhancing the overall effectiveness of your insulation efforts.
Step-by-Step Insulation Guide

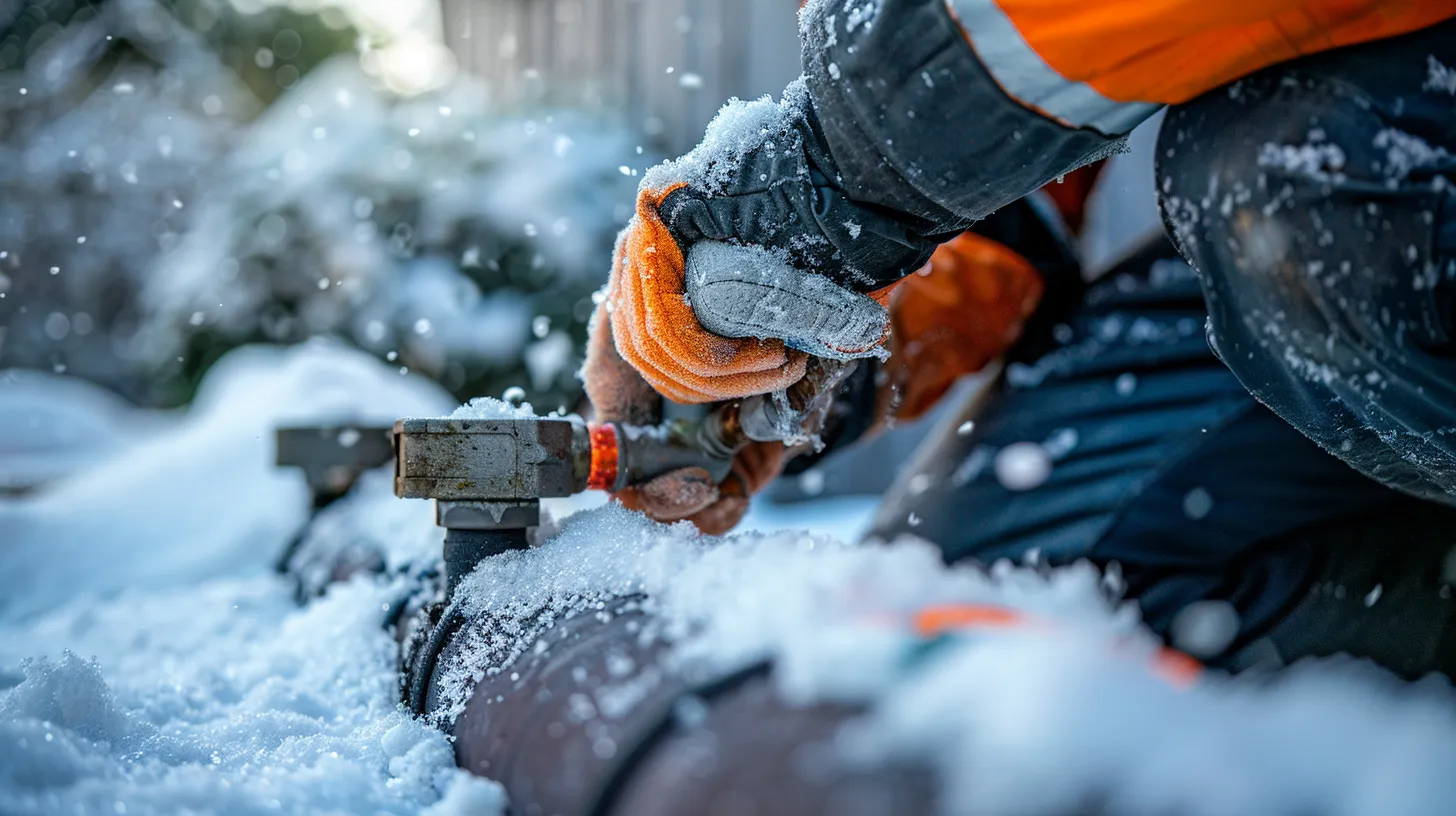
To effectively insulate an outside spigot, commence by turning off the water supply and draining any remaining water to prevent freezing damage. This crucial first step ensures that no water remains in the pipes that could expand when frozen, potentially causing cracks or bursts.
After ensuring the spigot is void of water, the next step involves selecting an appropriate insulation cover. Options typically include foam covers designed specifically for outdoor water faucets or insulation tape that can be wrapped around the spigot.
Once the suitable insulation material is chosen, proceed to wrap the insulation cover securely around the outside spigot. The goal here is to create a robust barrier against the cold, thereby minimizing the risk of freezing. For added security and to ensure the insulation stays in place even in windy or wet conditions, use waterproof tape to secure the insulation. This step is vital for preventing heat loss through gaps or loose insulation.
Overcoming Potential Challenges

While the initial steps of insulating an outside spigot are straightforward, addressing potential challenges ensures long-term effectiveness and durability. These challenges can vary, but with the right approach, you can protect your outdoor spigot against common issues, ensuring it remains functional in any weather. Here are some strategies to overcome these hurdles:
-
Improve Insulation Quality : If you encounter inadequate insulation, opt for materials with higher R-values. This upgrade not only enhances the insulation effectiveness but also helps to prevent pipes from freezing during cold spells, offering extra protection against temperature extremes.
-
Prevent Moisture Buildup : Ensuring proper ventilation around the insulated spigot is crucial. Moisture can compromise insulation integrity and lead to freezing. A well-ventilated space around the insulation prevents moisture buildup, protecting the pipes and the insulation material itself.
-
Rodent Deterrence : Rodents can cause significant damage by gnawing on insulation. To counter this, consider using rodent-resistant insulation materials. These specially designed materials deter rodents, preventing them from compromising your spigot's insulation and offering an extra layer of protection against potential infestations.
Maintenance Tips and Suggestions

Maintaining the insulation of an outside spigot is essential for ensuring its longevity and effectiveness against the elements. Regular inspection of the spigot and its insulation is crucial. One should frequently check the condition of the faucet insulation cover to ensure it remains intact and effective. Any signs of wear or damage call for immediate replacement to maintain proper protection against freezing temperatures.
It is also advisable to clean and dry the area around the outside spigot before applying insulation. This step helps prevent moisture buildup, which could lead to potential damage. Another critical preventative measure is to drain the water from the spigot before the onset of winter. This action prevents water from freezing inside the spigot, which is vital for ensuring the insulation's efficiency during cold weather.
Utilizing high-quality insulation materials, such as insulated covers and foam wraps, can significantly improve the effectiveness of outside spigot insulation. These materials offer superior protection, preventing the risks associated with freezing temperatures. By following these maintenance tips and suggestions, homeowners can ensure their outside spigots remain protected and functional throughout the winter months.


