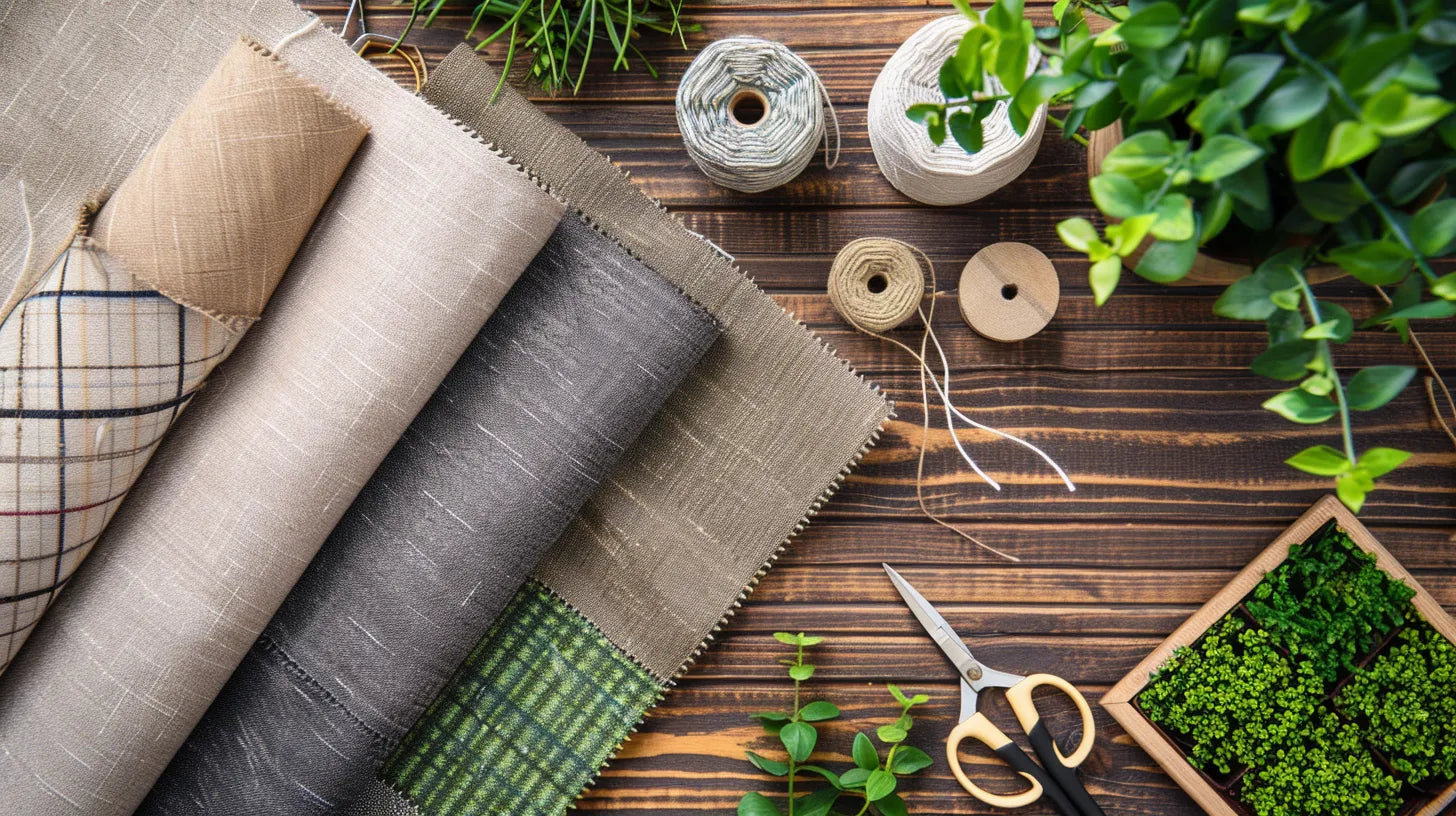
Crafting outdoor cushion covers requires a blend of practical skills and creative design choices. This process starts with selecting suitable outdoor fabrics that can withstand the elements while complementing your outdoor decor. Precise measurements and sewing techniques are then employed to ensure a snug, durable finish.
One often overlooked aspect is the incorporation of a zipper or Velcro closure. This detail significantly simplifies the removal and cleaning of the covers, playing a crucial role in the longevity and maintenance ease of your handcrafted covers.
How you approach this closure step can markedly influence the functionality and aesthetic appeal of your outdoor cushions. It invites further exploration into the nuances of this DIY project.
Selecting the Right Fabric
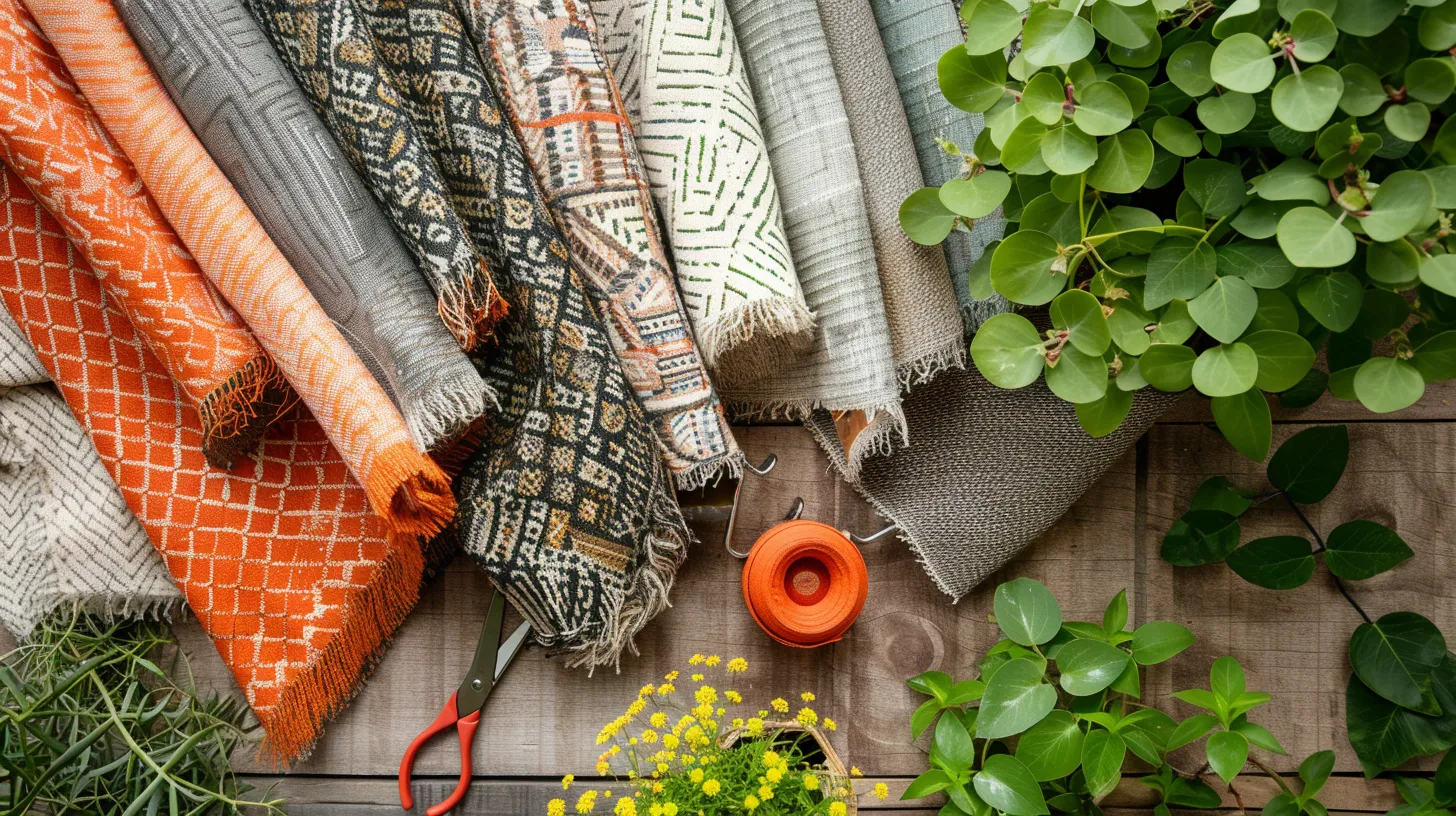
When selecting the right fabric for your outdoor cushion covers, it is essential to choose materials that offer durability, weather resistance, and style to match your outdoor living space. Outdoor or waterproof fabrics are ideal for these applications due to their inherent durability and ability to withstand various weather conditions without succumbing to damage or wear. Opting for UV-resistant materials can further enhance the lifespan of your cushions by preventing color fading caused by prolonged sun exposure. This ensures that the vibrant colors and patterns you select remain sharp and clear, adding to the aesthetic appeal of your outdoor area.
Moreover, the thickness and quality of the fabric play a crucial role in ensuring longevity and easy maintenance. High-quality fabrics not only resist tearing and abrasion but also simplify cleaning and care, making them a practical choice for outdoor settings. When choosing a fabric, it's also important to consider color and pattern options that complement your outdoor decor, creating a cohesive and inviting atmosphere.
Lastly, checking the fabric care instructions before making a purchase can provide valuable insights into the necessary maintenance steps, ensuring that your cushion covers remain in pristine condition with minimal effort.
Crafting Your Pattern
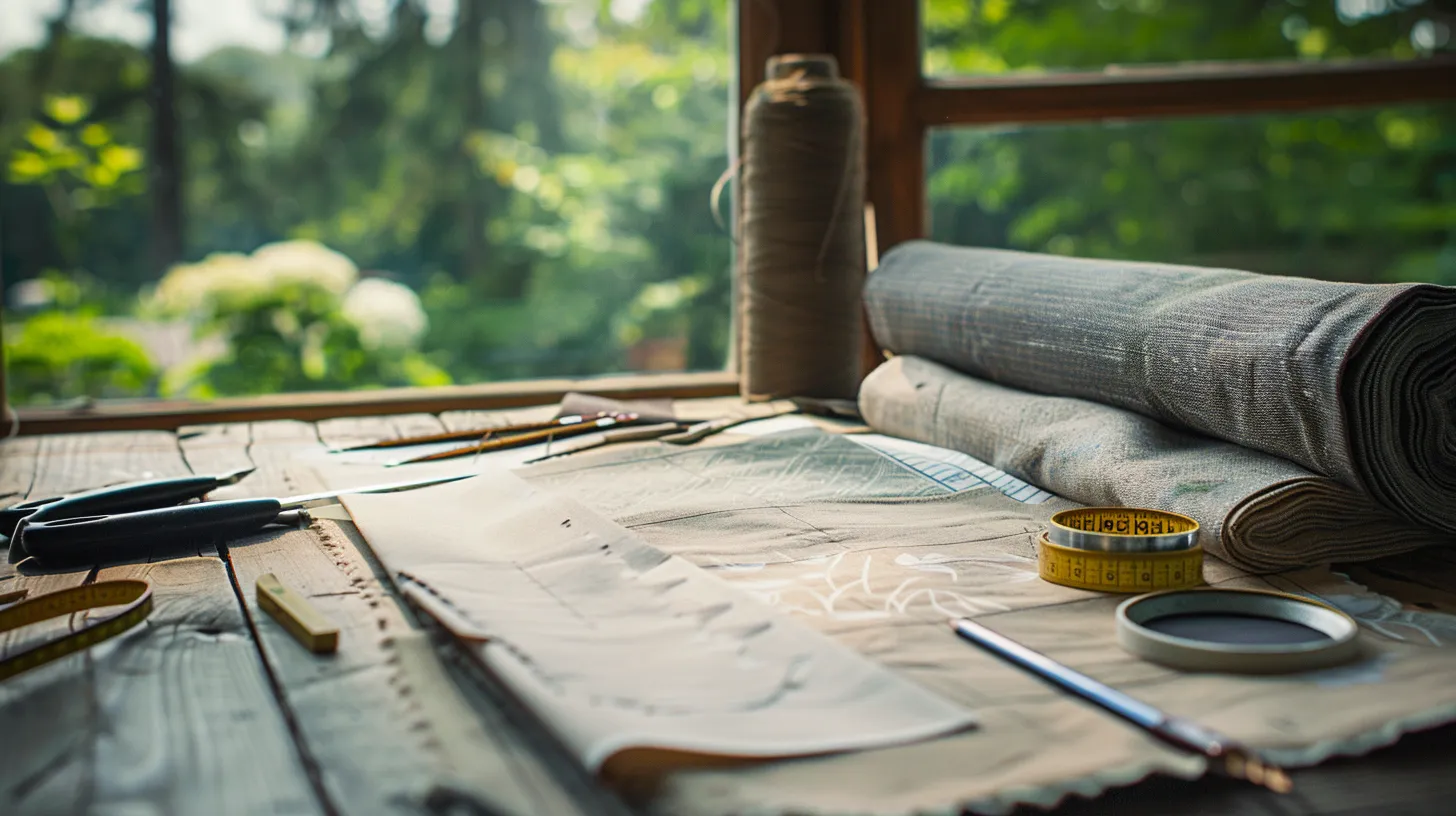
Having selected the ideal fabric for your outdoor cushion covers, the next crucial step is to craft a precise pattern that ensures a perfect fit and professional finish. This stage is vital for transforming your patio cushions into durable and stylish outdoor accessories.
When creating your pattern, keep in mind the following points:
- Use existing cushion covers as templates to replicate the accurate size and shape, ensuring your new covers fit snugly over the foam cushion.
- Measure carefully , adding the appropriate seam allowance to each piece. This small but critical step is essential for the pieces to fit perfectly around the cushion panels.
- For sections where a zipper will be installed, add an extra inch to the width. This allows for easy insertion and removal of the cushion.
- Plan your fabric layout to use the outdoor fabric efficiently, drawing straight lines with fabric scissors to ensure clean cuts and minimal waste.
- Pay attention to the pattern orientation of your fabric, cutting V-shaped notches if necessary, to maintain a cohesive look across all your cushion covers.
Sewing the Zipper
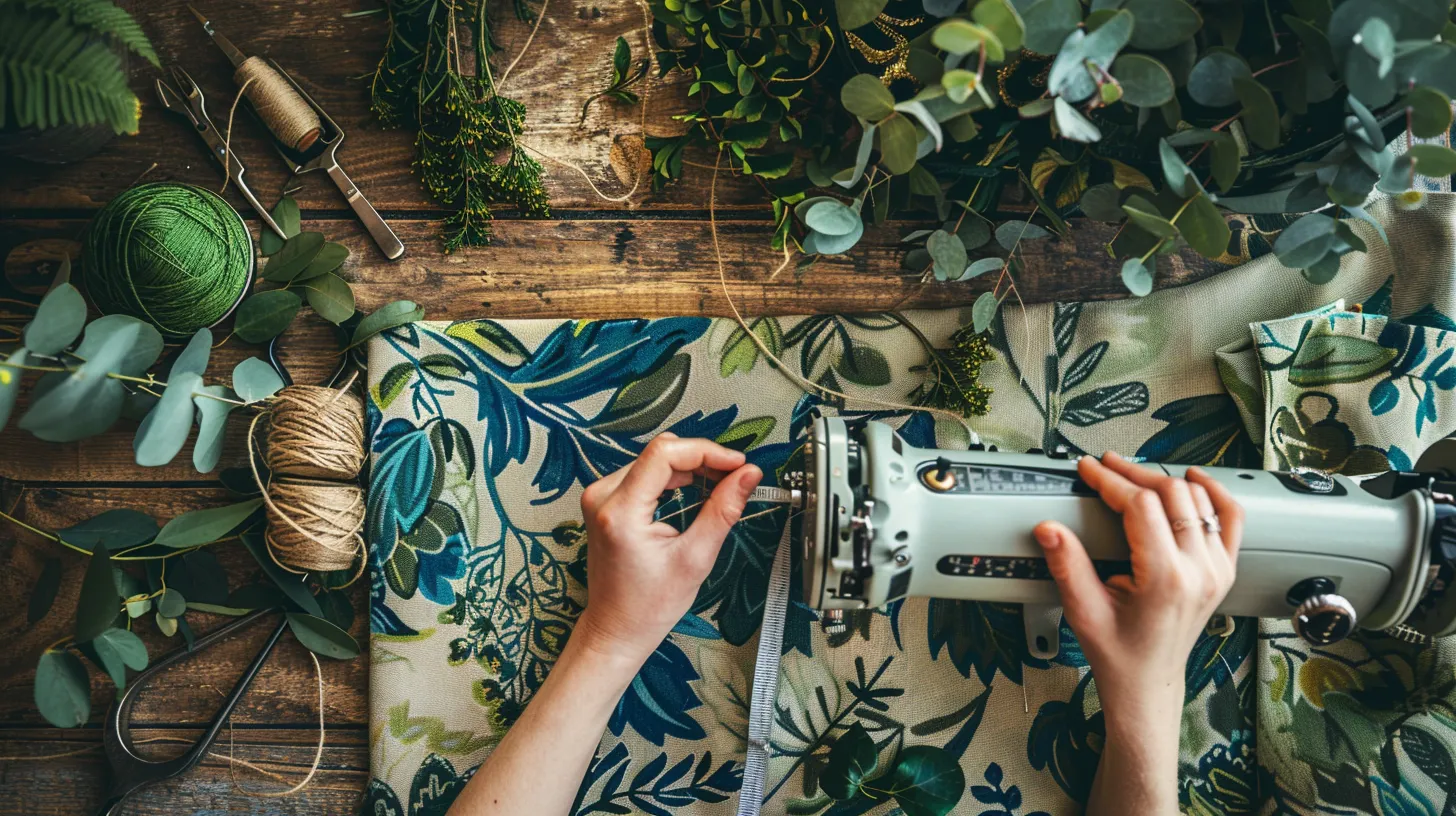
Incorporating a zipper into your outdoor cushion covers is a crucial step that ensures both functionality and ease of use, enabling quick assembly and disassembly for cleaning and maintenance. The process begins by preparing the zipper panel, which involves cutting it in half lengthwise before it's attached to the fabric. This division is essential for creating a neat and functional zipper closure.
Once the zipper panel is cut, the next step involves sewing the pieces together with a 1/2 inch seam allowance. This precise seam allowance is crucial as it ensures that the zipper fits perfectly within the designated space, thus avoiding any misalignments or fabric puckering. After sewing the zipper panel pieces, it's time to attach the zipper to the fabric. Using a sewing machine, stitch around the edges of the zipper panel securely, making sure it's firmly attached to the fabric.
To facilitate the sewing process, especially around corners, it's advisable to partially unzip the zipper. This simple adjustment allows for greater maneuverability of the fabric, ensuring a smoother sewing experience. After sewing, use a seam ripper to carefully remove any excess seam, ensuring a clean and professional finish to the zipper closure. This meticulous attention to detail guarantees the durability and functionality of your outdoor cushion covers.
Assembling the Cushion Cover
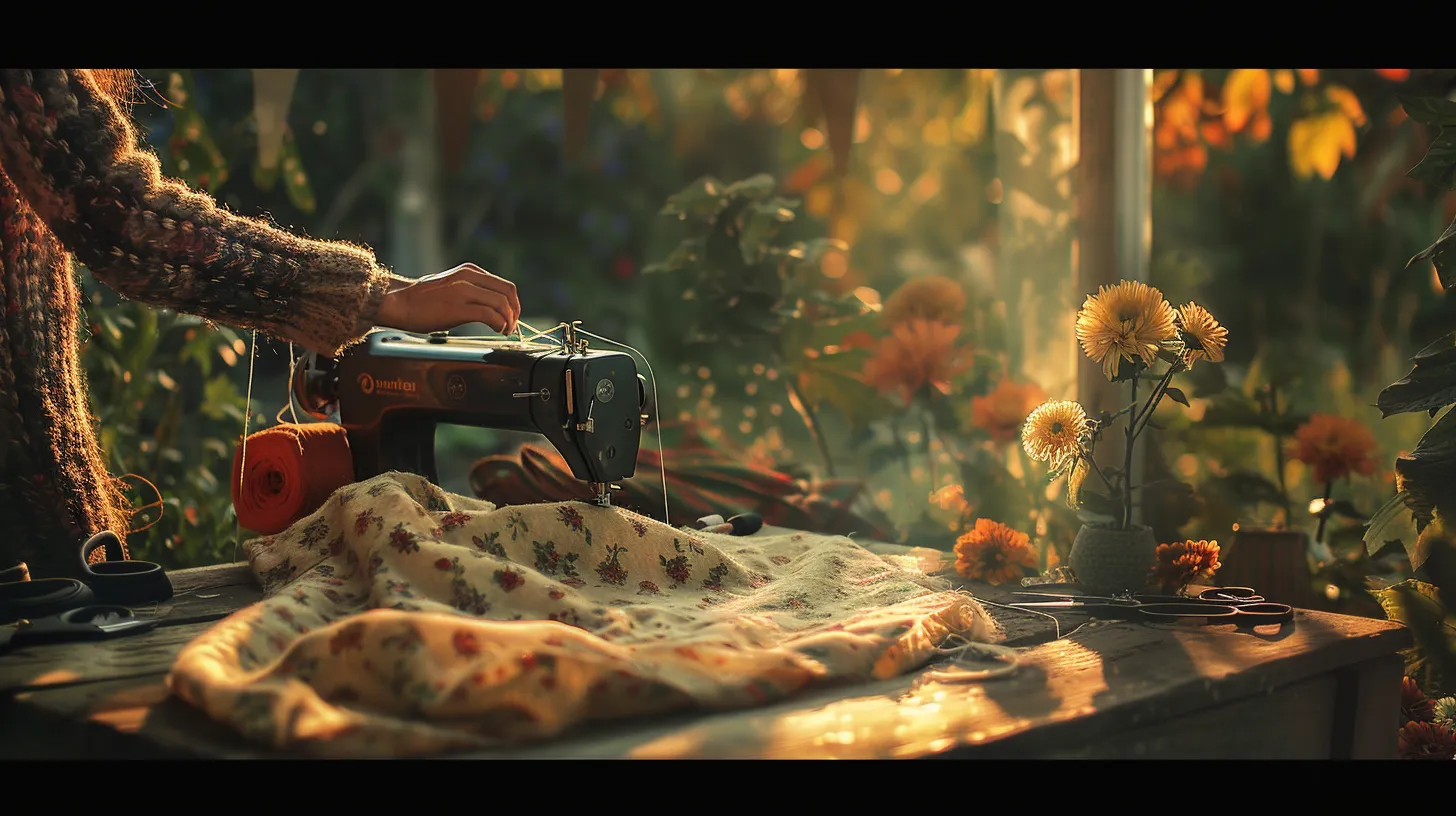
To assemble the cushion cover, first accurately measure the width and depth of the seat to determine the necessary fabric size. This initial step is crucial for ensuring that the cushions fit perfectly on your outdoor furniture.
The process of assembly involves a series of steps designed to make the cushion cover both durable and aesthetically pleasing.
- Measure the width and depth of the seat to accurately determine fabric size.
- Calculate and cut the side panel length to match the cushion's dimensions, ensuring the cover will encompass the entire cushion.
- Sew the side panel to the top panel with a 1/2 inch seam allowance, providing a secure fit that will withstand the elements and frequent use.
- Attach the bottom panel with a zipper closure, facilitating easy removal for cleaning and maintenance of the outdoor cushions.
- Ensure V-shaped notches at the corners for a smooth and snug finish, eliminating any puckering and ensuring the cushion cover fits perfectly.
These steps are essential in the assembly process, making sure that the cushion covers are both functional and visually appealing. The inclusion of a zipper closure not only adds convenience but also extends the life of the cushions by allowing for easy cleaning.
Finishing Touches
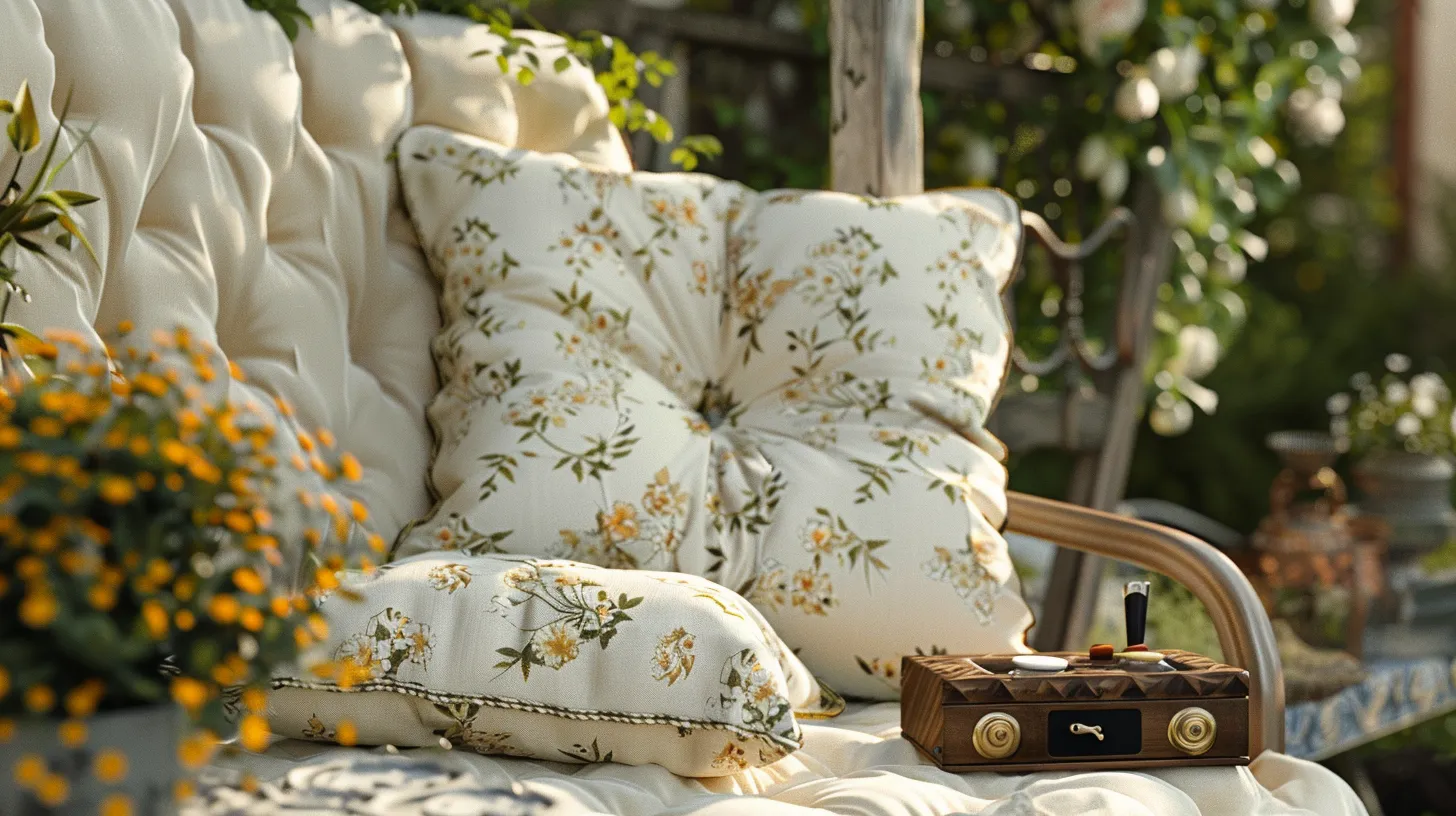
After meticulously assembling the cushion cover, the next step involves adding the final touches to ensure a polished and professional appearance. To start, insert the cover back on the cushion inside out. This positioning is crucial for working on the boxed corners, which are integral for a neat and professional look. Sew along the pinned lines, making sure to maintain an even inch seam allowance for consistency and strength.
Boxed corners not only add dimension to your cushion cover but also enhance its polished appearance. If there is any extra fabric beyond the seam allowance, now is the time to trim it. This step helps in reducing bulk and ensures a cleaner finish.
The cushion cover right side should then be turned out to reveal the fresh look of your handiwork. The final step involves hand sewing the opening closed to securely encase the cushion inside. This requires careful attention to ensure the stitches are invisible and neat, contributing to the overall polished appearance of your cushion cover. With these finishing touches, your outdoor cushions will exhibit a fresh look that is both inviting and durable.


