In the realm of festive crafts, constructing a Santa Claus from cardboard presents an intriguing blend of simplicity and creativity. This endeavor starts with the basic act of shaping and assembling materials available in most households, yet it culminates in the creation of a cherished holiday icon.
Beyond its apparent simplicity, this project serves as a conduit for enhancing fine motor skills, stimulating cognitive development, and encouraging imaginative expression among participants of all ages.
What remains unspoken, however, is the nuanced approach to selecting the optimal types of cardboard and adhesives, techniques for achieving a lifelike appearance, and strategies for involving family members in a manner that enriches the holiday experience. These aspects underscore the depth and breadth of considerations that transform a straightforward craft into an enriching activity.


Gathering Your Materials

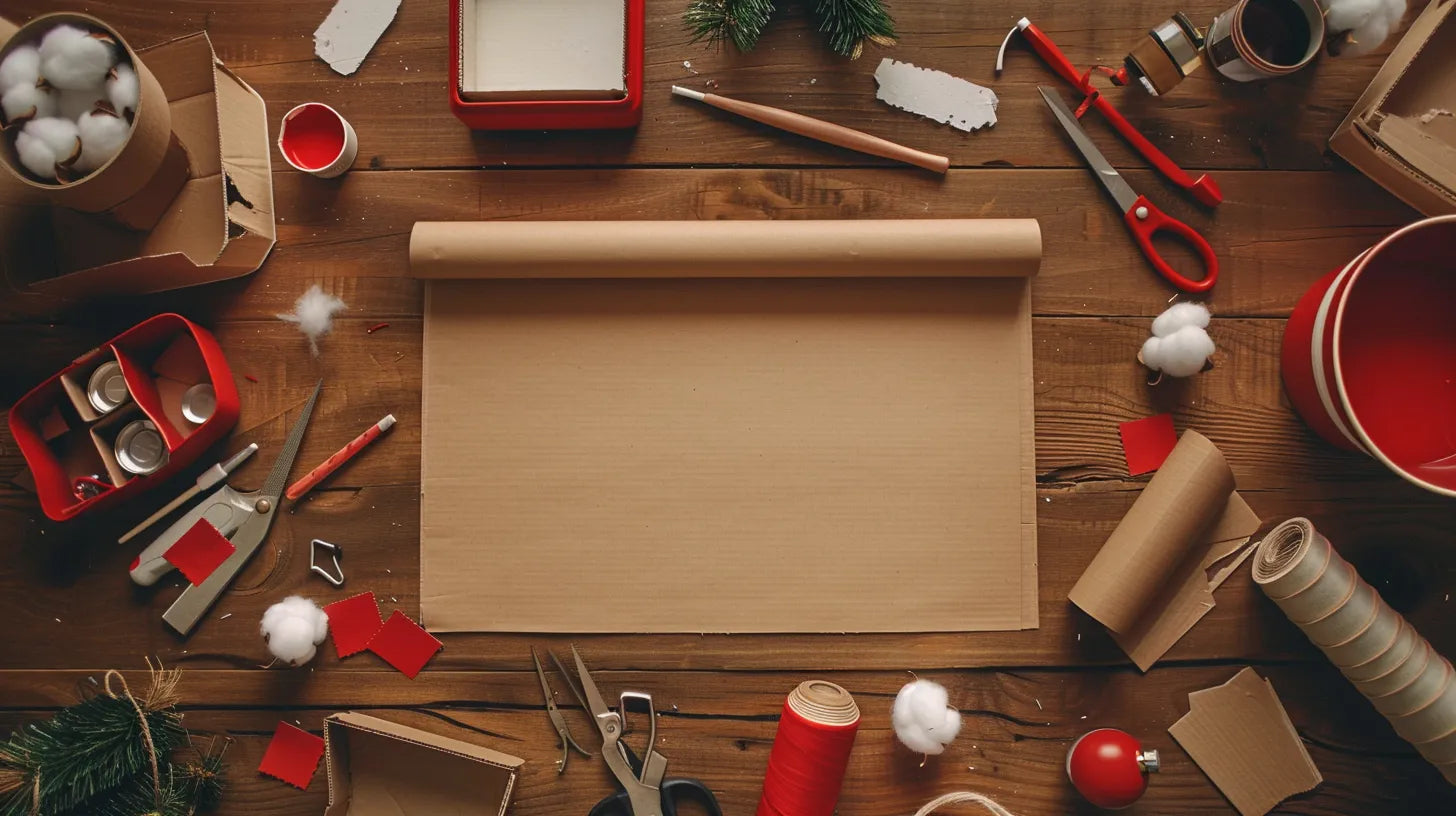
To embark on the delightful project of creating a Santa Claus craft, one must first gather the essential materials: cardboard, scissors, glue, red and white paper, and cotton balls.
The importance of choosing the right colors cannot be overstated in this endeavor. The iconic red and white theme of Santa Claus is not only symbolic but also pivotal in bringing the character to life. Red paper will form the mainstay of Santa's attire, encapsulating the warmth and joy of the holiday season, while white paper, along with cotton balls, will be used to detail his beard and trim, adding a touch of realism and texture to the craft.
Crafting details with precision is equally crucial. Scissors play a vital role in this process, enabling the meticulous cutting of cardboard and paper into precise shapes that will later form the various components of Santa Claus. The glue, meanwhile, becomes the backbone of the craft, holding all elements securely in place.


Designing Santa's Shape

Having gathered the essential materials, the next step involves meticulously crafting the silhouette of Santa Claus from cardboard to serve as the foundation of the project. This begins with cutting out a cone shape to form the base of Santa's body, ensuring a rounded shape for his belly and a tapered point for his hat. These primary shapes are crucial in achieving the iconic figure of Santa Claus.
To add depth and character, consider incorporating arms and legs into the cardboard cutout. This adds a layer of detail that brings the figure to life, making it more than just a flat representation. Proportions and sizes of each piece should be carefully considered to maintain the overall design's balance and appeal.
Customizing the shape according to one's vision of Santa Claus, whether it leans towards the traditional or a more whimsical interpretation, allows for creativity in the project. It sets the stage for the subsequent steps, such as painting techniques and decorating options, which will further enhance the cardboard Santa's charm and personality. The design stage is fundamental, as it dictates the direction of the project and lays the groundwork for the decorative elements to follow.
Cutting Out the Cardboard

Before initiating the cutting process, it is imperative to select a piece of cardboard that is both sturdy and size-appropriate for the Santa Claus craft. The foundation of a successful cardboard Santa Claus begins with tracing and cutting out a cone shape, which will serve as the main structure. Utilizing sharp scissors is crucial to ensure the edges of the cardboard cone are smooth and devoid of any jagged edges, which not only enhances the aesthetic appeal but also makes the subsequent decorating process more manageable.
Trimming excess cardboard after cutting is essential to refine the cone shape, ensuring it is well-shaped and even. This meticulous attention to detail during the cutting stage lays a solid foundation for the application of various decorating techniques that will bring the Santa Claus craft to life. Whether one opts for painting, gluing on fabric, or applying other embellishments, a well-crafted cardboard cone is pivotal.
Moreover, considering alternative materials for parts of the Santa Claus figure can offer unique textures and aesthetics. For example, employing felt for the hat or beard could provide a more lifelike appearance. However, the cornerstone of any successful decoration begins with the precision and care taken during the cutting out of the cardboard.
Assembling Santa Claus

Upon completing the meticulous cutting of the cardboard, the next step involves assembling the pieces to form the iconic figure of Santa Claus. This phase is where cardboard creativity truly comes to life, transforming simple materials into a festive decoration. The assembly process is straightforward but requires attention to detail to ensure Santa comes together perfectly.
To create a visually appealing Santa Claus, follow these steps:
- Attach a white paper strip to the top of the cone to fashion Santa's hat, a quintessential accessory that instantly makes the figure recognizable.
- Glue cotton balls in a fluffy pattern along the bottom of the cone, emulating Santa's thick, white beard. This adds a tactile element to the craft, making it more engaging.
- Add a small red paper circle towards the bottom of the cone to serve as Santa's nose, bringing a pop of color and warmth to his face.
- Decorate the cone further with additional details like eyes, a mouth, and a belt to complete Santa's accessories and give him a friendly appearance.
Allow the craft to dry completely before displaying or playing with it, ensuring the longevity and durability of your cardboard creativity.
Adding the Final Touches

With the assembly of Santa Claus complete, it's time to add the final touches that will bring the craft to life, ensuring it captures the joyful essence of the holiday season. Adding embellishments is a crucial step in this process. Begin by attaching a small red paper circle to Santa's face to create his iconic red nose, instantly recognizable and full of charm. For the eyes, consider the whimsical option of adding googly eyes, or for a more handmade feel, drawing them on with a marker. Either choice will infuse personality into your Santa Claus.
Creating accessories further enhances the festive spirit of this craft. Use a black marker to draw a broad, cheerful smile on Santa's face, which will complement the eyes and nose beautifully, creating a face that exudes holiday cheer. The addition of a miniature Santa hat on top of the cone is the final accessory that completes the look, making your cardboard Santa unmistakably jolly and ready for the festive season.


