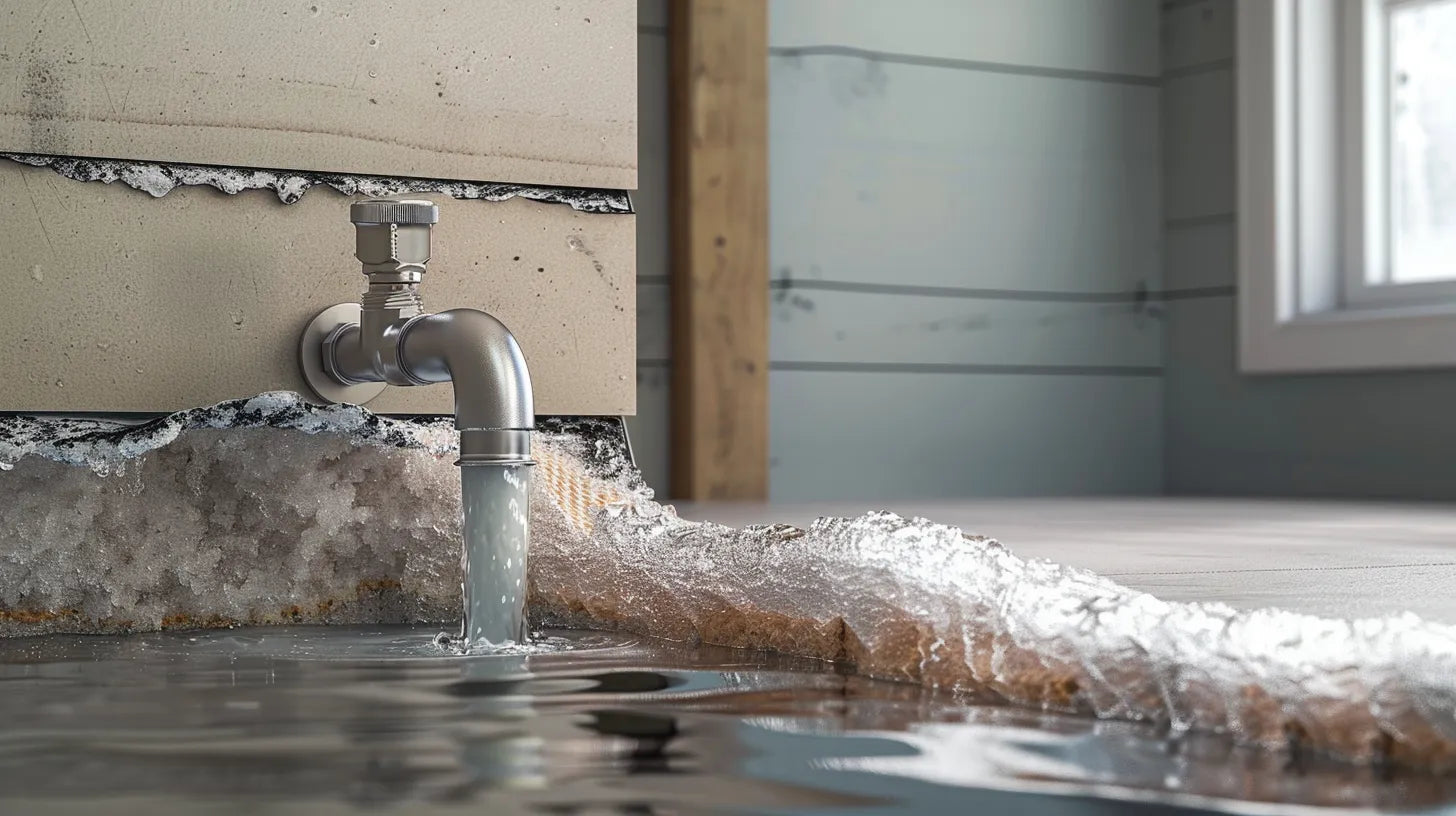
As temperatures plummet, the risk of outdoor faucets freezing and potentially bursting becomes a significant concern for homeowners. The process of safeguarding these faucets involves a meticulous combination of techniques such as installing frost-proof faucets, insulating, and properly draining the systems before winter's onset. However, the efficacy of these methods can vary based on the specific architectural and climatic conditions at play.
In this context, exploring the nuances of each strategy, including the less obvious pitfalls and innovative solutions, opens up a broader discussion on best practices for preventing freeze damage to outdoor plumbing.
Understanding Frost-Proof Faucets

To effectively guard against the harsh realities of winter, understanding frost-proof faucets, which feature a long rod extending into the home to prevent freezing, is crucial for homeowners.
Frost-proof faucets, also known as freezeproof or frost-free faucets, are ingeniously designed to protect your home from the damages caused by freezing temperatures. These faucets have a long stem that makes freezing almost impossible, safeguarding the water supply pipe from the cold.
The unique structure of a frost-proof faucet allows it to eliminate the need for winterizing the outside faucet, with the exception of detaching any hoses. This design feature not only simplifies maintenance but also ensures that your outdoor faucet is ready to withstand winter without the need for an insulated cover or the requirement to drain outdoor faucets manually.
Shutting Off Water Supply
One essential step in winterizing your outdoor faucet involves shutting off its water supply to prevent any potential freezing. This action is crucial for protecting the faucet from the harsh conditions of cold weather. By effectively managing the water flow to the outside faucet, homeowners can significantly reduce the risk of water inside the pipes freezing and subsequently causing damage.
To accomplish this, locate the control valve that supplies water to the outdoor faucet. This is typically found inside the house to provide easier access during cold months. Once identified, turn the handle on the control valve clockwise to stop the water flow. This simple action effectively halts water from reaching the outdoor faucet, thereby minimizing the risk of freezing.
Moreover, closing the indoor shutoff valve adds an additional layer of protection against freezing. This valve acts as a barrier, ensuring that no water is allowed to seep through to the outside faucet during winter. Turning off the water supply through these measures is a key step in winterizing the outside faucet and should be performed diligently to safeguard against the adverse effects of freezing temperatures.
Draining Your Faucets

After shutting off the water supply, the next critical step in winterizing your outdoor faucet is to thoroughly drain any remaining water from the pipes. Draining the water is essential to prevent a frozen faucet, which can lead to significant damage if not properly managed. To begin, fully open the outdoor spigot to allow all residual water to drain out. This step is vital in ensuring that no water is left inside your house's piping system to freeze.
While the water is draining, closely monitor the flow. Any residual trickling might indicate a faulty indoor shutoff valve, which could compromise your efforts to prevent your spigot from freezing. Once you're confident all the water has drained, close the spigot valve. This action helps safeguard against the entry of cold air into the pipe, which could freeze any leftover moisture.
Next, remove the bleeder cap on the shutoff valve to let any remaining water drain out into a bucket. This step is crucial in the 'Shut off and Drain' process, ensuring that no water is left to freeze. After draining is complete, reinstall and tightly secure the bleeder cap, finalizing the draining process and effectively protecting your outdoor faucet from freezing.
Applying Insulation Techniques

Having drained the faucets to mitigate the risk of freezing, the next essential step involves applying insulation techniques to further safeguard outdoor spigots during cold months.
Insulating your outside faucets is a simple yet profoundly effective measure against the harsh winter elements. By enclosing your faucets in insulated covers or socks, you create a barrier that traps heat, significantly reducing the likelihood of freezing. Styrofoam and insulated cloth covers are particularly effective, maintaining the temperature around the faucet and, by extension, the pipes connected to it. This barrier not only keeps the water within from freezing but also contributes to the overall prevention of pipe bursts—a common and costly issue during the winter.
- Emotionally invest in your home's wellbeing: Protecting your faucets with insulation speaks volumes about your dedication to maintaining your home's integrity against winter's challenges.
- Peace of mind: Knowing your pipes are insulated provides a sense of security, alleviating worries about potential water damage from freezing and bursting pipes.
- Cost-effective prevention: Embrace the affordability of insulation solutions, safeguarding your home without straining your budget.
Properly installed insulation, combined with prior drainage, forms a robust defense, ensuring your outdoor water sources remain functional and protected throughout the coldest months.
Installing a Frost-Proof Spigot

Transitioning to the installation of a frost-proof spigot offers a proactive approach to preventing water pipes from freezing and bursting during the cold months. A frost-proof spigot, distinguished from traditional hose bibs by a long rod that extends inside the wall of the home, is designed to prevent water from remaining in the section of pipe exposed to the outside where it can freeze. This innovative mechanism not only eliminates the necessity for styrofoam covers but also simplifies winter preparations by requiring only the removal of the hose.
The essence of the frost-free hose bib lies in its control valve, positioned securely inside the wall, thereby reducing the risk of freeze damage by ensuring that water does not remain in the pipe near the outside wall. Professional installation or proficient DIY skills are essential when replacing an existing faucet with a frost-proof spigot, as it involves turning the water off and making modifications inside the wall.


