As winter approaches, the importance of protecting your outdoor plumbing fixtures cannot be overstated. Among the simplest yet most effective measures is the installation of a faucet cover on your outdoor spigots.
While the process might seem straightforward—detach any hoses, drain residual water, and affix the cover securely—it entails a meticulous approach to ensure optimal insulation and protection against freezing temperatures.
However, the nuances of selecting the right cover, achieving a snug fit, and employing additional sealing techniques are critical aspects that warrant further exploration to safeguard your plumbing infrastructure efficiently.
Understanding Faucet Covers
Faucet covers are essential accessories designed to protect outdoor water faucets from freezing by providing effective thermal insulation. These innovative covers are crafted to shield outdoor water sources from the harsh winter conditions, thereby preventing the water within the pipes from turning into ice. When water freezes, it expands, which can cause pipes to burst, leading to extensive damage and costly repairs. By retaining heat and insulating the faucet, these covers play a crucial role in safeguarding your home's plumbing system.
Available in foam or bag-style designs, faucet covers offer a versatile solution to suit different preferences and needs. The foam versions are known for their snug fit and excellent insulation properties, while the bag-style covers provide added flexibility and ease of use. Both types are engineered to trap heat effectively, ensuring that the outdoor water faucets remain functional even in freezing temperatures.
Beyond their practical benefits, these covers are cost-effective, reusable, and straightforward to install. They typically feature a cord lock mechanism that ensures a secure fit, minimizing the risk of slippage or exposure. By opting for an insulated faucet cover, homeowners can extend the lifespan of their outdoor faucets, reduce the likelihood of leaks, and ultimately save on potential repair costs and water wastage.
Gather Your Supplies

Before initiating the installation process, it is essential to gather all necessary materials, including either a foam or bag-style faucet cover, rope caulk or spray foam for sealing, and a wrench for secure attachment. Ensuring you have the right tools and materials at hand not only simplifies the process but also guarantees a successful installation, safeguarding your outdoor faucets from the harsh elements.
To evoke emotion and underscore the importance of preparation, consider the following:
- The Right Fit: Ensure the faucet cover matches the specific size and shape of your outdoor faucet. A perfect fit is a first step towards comprehensive protection.
- Seal the Deal: Having rope caulk or spray foam ready means you're prepared to seal any gaps, ensuring no cold air sneaks through to freeze your pipes.
- Tighten Up: A wrench for secure attachment signifies your commitment to a job well done, eliminating any worry of the cover coming loose.
- Inspect for Perfection: Checking the condition of the faucet cover for any tears or damage before installation reflects diligence, ensuring the utmost protection against freezing temperatures.
Gathering these supplies not only facilitates a smoother installation process but also instills a sense of preparedness and confidence in protecting your home's plumbing infrastructure.
Removing Attached Hoses

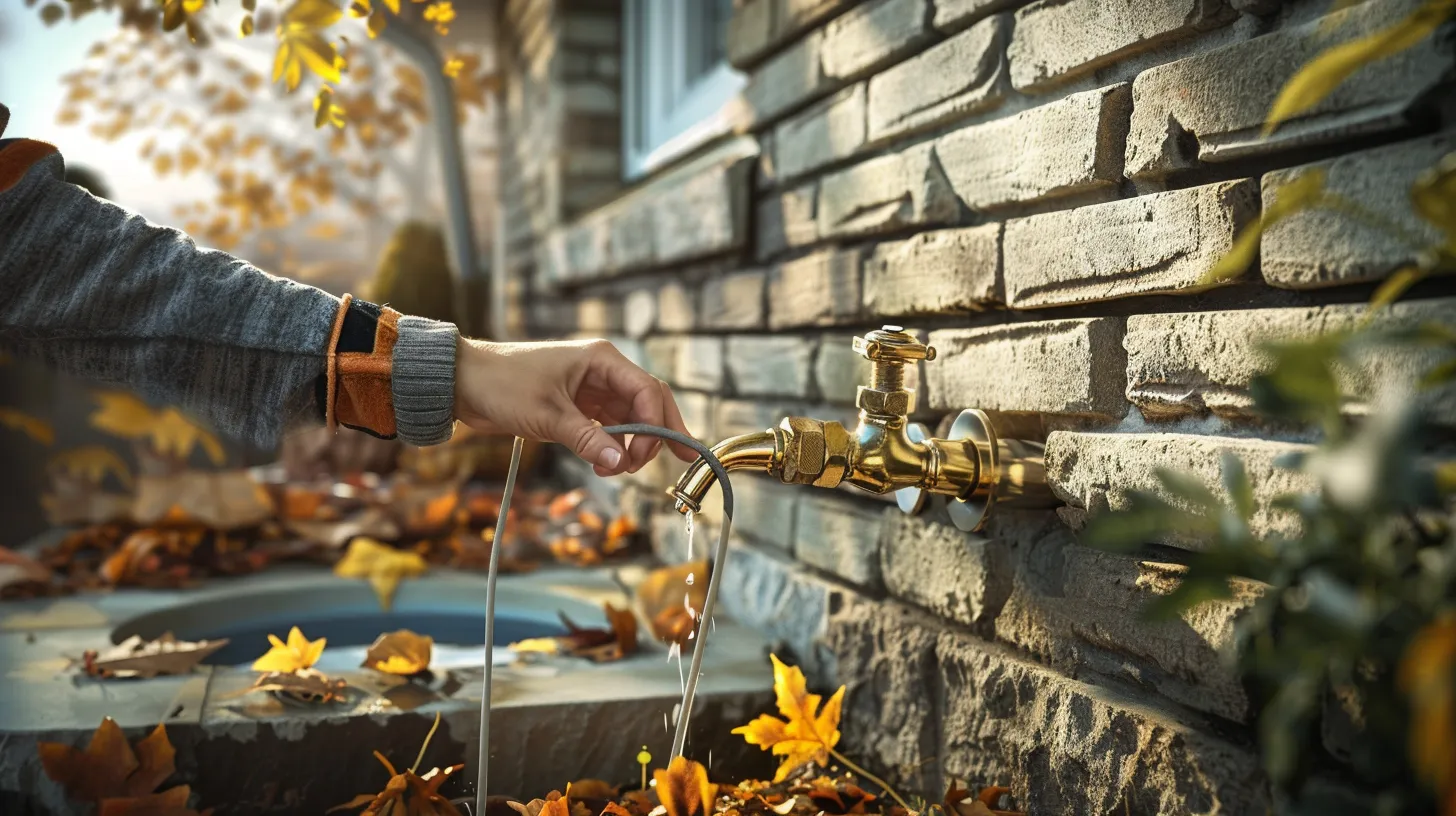
Detaching the garden hose from the outdoor spigot is a critical initial step to ensure the faucet cover fits securely and functions effectively. This process begins with unscrewing the garden hose, an action that might seem simple but is pivotal in the preparation for the installation of the faucet cover. It is essential to ensure that any remaining water within the hose is thoroughly drained. The significance of this step cannot be overstated; water left in the hose can freeze, leading to potential damage not just to the hose itself but also to the connected plumbing.
Removing attached hoses not only facilitates a proper and snug fit of the faucet cover over the outdoor spigot but also plays a crucial role in preventing the freezing and bursting of pipes during the cold winter months. This straightforward yet effective measure is instrumental in protecting outdoor faucets from the adverse effects of cold temperatures. Taking the time to disconnect hoses from the faucet underscores the importance of this preventive action in the overall maintenance and care of outdoor plumbing systems.
Installing the Faucet Cover

Having removed any attached hoses, the next step involves accurately positioning the faucet cover over the outdoor spigot to ensure a snug fit. This process is essential in safeguarding your outdoor plumbing against the harsh elements, particularly during the colder months when the risk of freezing is high. An insulated faucet cover acts as a barrier, keeping the cold out and the warmth in, which is crucial for preventing freezing and the subsequent damage it can cause.
-
Position the faucet cover over the outdoor spigot, making certain it fits snugly around the fixture. This initial step is vital in creating a foundational seal against the cold.
-
Secure the cover with the provided cord lock to eliminate any potential air gaps. This action ensures that the insulating properties of the cover are maximized, offering enhanced protection.
-
Check for any gaps or openings in the installed cover. If found, seal them meticulously with rope caulk or spray foam, reinforcing the barrier against the cold.
-
Ensure the cover is tightly sealed, a crucial step to retain heat within and keep the insulated faucet protected from freezing temperatures.
Regular inspection of the cover for wear or damage is essential in maintaining its effectiveness, ensuring that your outdoor spigot remains well-protected throughout the winter season.
Ensuring a Secure Fit

Ensuring a secure fit for the faucet cover is a crucial step in maximizing insulation and protection against freezing temperatures. For homeowners looking to safeguard their water faucets from the harsh winter elements, a properly installed faucet cover is indispensable. The process begins by positioning the faucet cover over the outdoor spigot, ensuring it fits snugly against the wall. This snug fit is essential to prevent air gaps that could compromise the cover's insulating properties.
The next step involves using the provided cord lock or securing mechanism to fasten the cover securely in place. This ensures that the cover remains attached to the water faucet, even in windy conditions. Homeowners should then inspect the cover for any gaps or openings around its perimeter. These can be sealed with rope caulk or spray foam, adding an extra layer of insulation and enhancing the cover's effectiveness.


