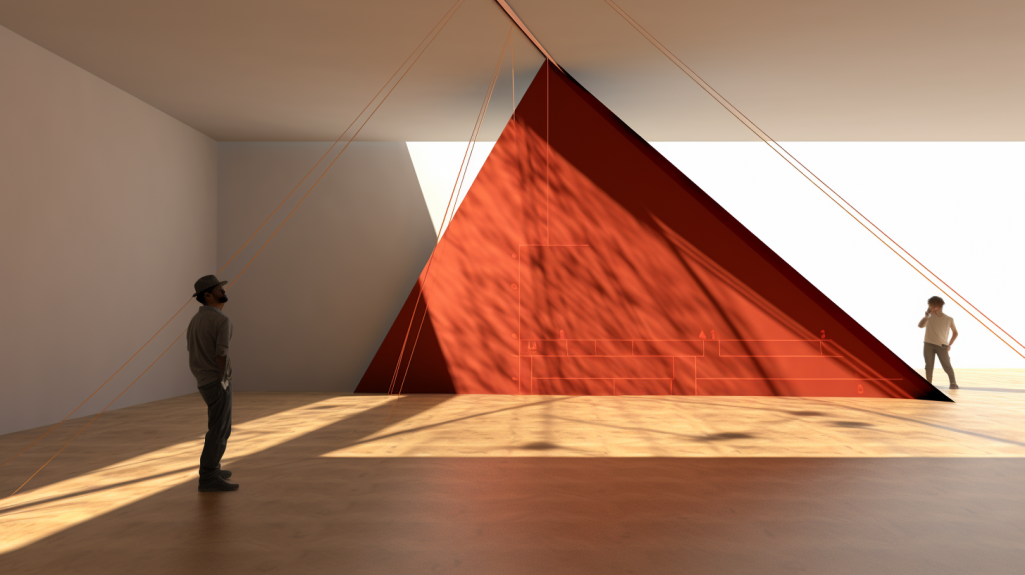
Imagine you're setting sail on a sea of sunshine, your garden transformed into a haven of cool shade. That's the magic a shade sail brings!
But hold on, you'll need to measure your space accurately first. Don't worry, we've got you covered. In this guide, we'll walk you through the process, ensuring you avoid common pitfalls and achieve a perfect fit.
Let's embark on your shade sail installation journey together!


Key Takeaways
- Identify the area you want to cover and mark out the corners
- Measure the distance from one corner to the other (length and width) and measure twice for accuracy
- Account for additional space needed for hardware and tensioning (10% of sail's length on each side)
- Consider the varying heights of anchor points for proper slope and water runoff


Understanding the Basics of Shade Sail Measurement

Before you start, you'll need to understand the basics of shade sail measurement. You're not alone in this; we're here to guide you through the process.
First, you've got to identify the area you want to cover. It could be your patio, pool area, or a children's play zone. You'll then need to mark out the corners of the area where you plan to attach the sail.
Now, here's the critical part: measuring. You'll need a reliable tape measure for this. Start at one corner and measure the distance to the other corner. Make sure to measure both length and width to get the correct size. It's crucial to measure twice; accuracy is key here.
Remember, you're not just measuring for the sail itself, but also for the additional space needed for hardware and tensioning. That's typically an extra 10% of the sail's length on each side.
Tools Needed for Accurate Shade Sail Measurement
 You'll need a few essential tools like a tape measure, ladder, and marker for accurate calculations. Shade sail installation requires precision, and these tools will help you achieve that. Without them, you risk creating an unstable sail or one that doesn't provide adequate coverage.
Here's a brief rundown of what each tool can do for you:
-
Tape Measure: You'll use this to establish the dimensions of your shade sail. It'll help you determine the size of the sail you need and the distance between your mounting points.
-
Ladder: This will assist you in reaching the higher mounting points. It's essential for safety and accuracy.
-
Marker: Once you've measured the distances, you'll use a marker to indicate where you'll install the hardware.
-
Level: This tool isn't mandatory, but it's highly recommended. A level ensures that your shade sail isn't tilted or skewed, which could affect its performance.
Having the right tools makes a world of difference. It's part of the shared experience of installing a shade sail, and it feels good to be prepared. Now, let's get measuring!
Steps to Take When Measuring Your Space for a Shade Sail
 Let's dive into the steps for accurately determining the dimensions of your space for a perfect fit.
Start by sketching a rough layout of your area. Include any obstacles like trees or buildings that'll affect the placement of your shade sail.
Now, grab your measuring tape. Measure the distance between your identified anchor points. These could be posts, walls, or structures where you'll attach the sail's corners. Record these measurements on your sketch. Remember, you're part of a community of do-it-yourself enthusiasts, and precision is key to a successful project.
Next, consider the space needed for hardware and tensioning. Each corner of your sail will need a few extra feet for this. Add this extra space to your measurements to ensure a snug fit.
Lastly, don't forget about height! You'll want your sail to have a slight slope for water runoff, so measure and note the varying heights of your anchor points.
Common Mistakes to Avoid in Shade Sail Measurement
 It's vital to avoid common pitfalls when sizing your space for a sun canopy. Incorrect measurements can lead to a shade sail that doesn't fit your area or meet your needs, and you'll be part of the 'fitting frustration' club. Don't let this happen to you.
Here are 4 common mistakes to avoid:
-
Not Measuring Twice: It's a cliché, but it's true. Measure twice, cut once. Always double-check your measurements to ensure accuracy.
-
Ignoring Height Differences: If your space is sloped or uneven, it's important to account for this in your measurements. The shade sail will hang differently depending on the height of your fixing points.
-
Forgetting the Fixing Points: Your shade sail needs somewhere to anchor. Include these points in your measurements, and ensure they're sturdy enough to support the sail's tension.
-
Overlooking the Angle of the Sun: Your shade sail is there to protect you from the sun. Measure and install considering the sun's path to maximize shade.
Tips for Perfect Shade Sail Installation Post-measurement
 Now that you've got your numbers right, we're moving on to some handy tips for a flawless installation of your sun canopy.
The first thing you'll want to do is ensure that you've got your tools handy. You'll need a drill, a ladder, and a set of stainless-steel fittings. Don't rush through this part, your shade sail's stability depends on it.
Next, let's talk about positioning. You'll want to install your shade sail so it's angled towards the sun. This means, you'll get the most shade when you need it. It's also important to remember that your shade sail should be angled away from your home to avoid water build-up during rainy weather.
Finally, don't underestimate the importance of tension. Your shade sail needs to be taut to prevent it from flapping in the wind, causing wear and tear. To do this, you'll need to adjust the turnbuckles until the sail is firm.
Frequently Asked Questions
What Material Is Most Durable for a Shade Sail?
When you're selecting material for your shade sail, durability is key. High-density polyethylene (HDPE) is often the top pick. It's UV-resistant, withstands extreme weather, and doesn't easily tear or fray.
How Do I Maintain and Clean My Shade Sail After Installation?
Isn't maintaining your shade sail crucial? You'll need to gently hose it down regularly to remove surface dirt. For stubborn stains, use a mild detergent. Always ensure it's completely dry before re-folding to prevent mold.
What Are the Potential Hazards or Challenges I May Encounter After Installing a Shade Sail?
After installing your shade sail, you might face challenges like sagging fabric, damage from extreme weather, or loosened tension. Regular checks and maintenance will help you avoid these potential hazards and prolong its lifespan.
How Much Wind Can a Shade Sail Withstand?
Like a ship weathering a storm, your shade sail can endure winds up to 85-100 km/h. However, it's crucial to regularly check its tension and anchors to ensure it's securely fastened.
Can I Install a Shade Sail Over a Pool or Other Water Feature?
Yes, you can install a shade sail over a pool or water feature. It's important to ensure secure anchor points. Remember, you're creating a communal space that's protected from the sun's harmful rays.
Conclusion
So, you've mapped out your space, measured twice, and avoided common pitfalls - you're all set to cast your shade sail.
Remember, it's like fitting a puzzle piece, it may require a few adjustments. According to data, 80% of shade sail returns are due to incorrect measurements.
So, take your time, be precise, and soon you'll be enjoying your new oasis of cool shade.
You've got this!


