Mastering the mechanics of outdoor faucets is essential for the best home care. These faucets, including hose bibs , sillcocks, and house hydrants, are designed for efficient operation and to prevent freezing. Proper installation involves a downward slope and choosing frostproof models for cold climates. Common issues such as leaks or flow problems often result from worn seals or mineral buildup . Winterizing by disconnecting hoses and employing insulating techniques ensures longevity and avoids costly damages. Understanding how to handle common troubles and perform replacements is invaluable. Through detailed guidance, homeowners can guarantee their outdoor faucets function flawlessly throughout the year.
Understanding Outside Faucets
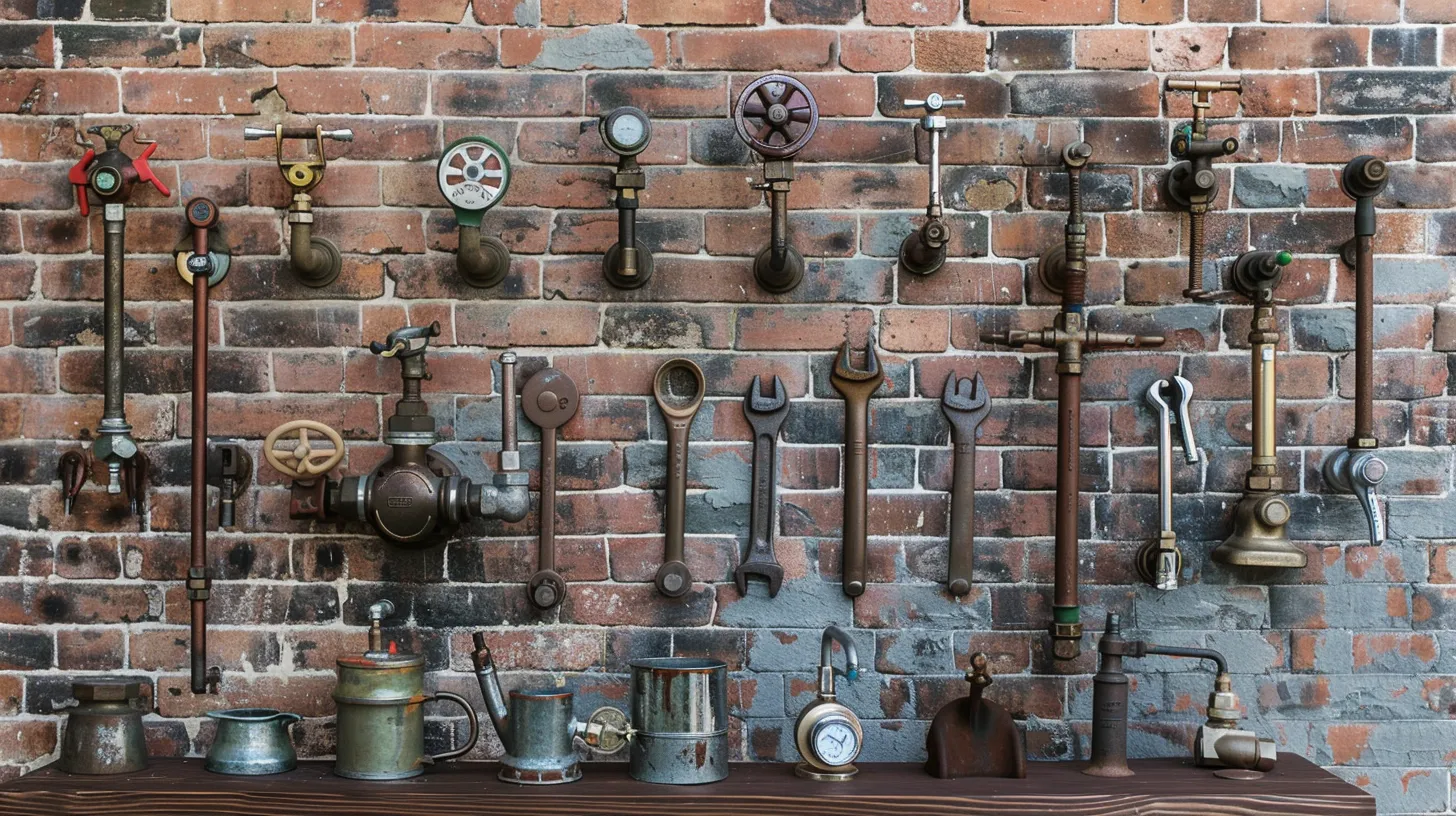
Why is it important to understand the different types of outside faucets available for home maintenance? Knowledge of the various types such as hose bibs , sillcocks , and house hydrants enables homeowners to select the most suitable option for their specific needs, ensuring efficient operation and longevity. Each type of faucet is designed to handle water pressure differently and some are specifically engineered to prevent freezing , which is essential in colder climates.
Hose bibs are common and provide a straightforward mechanism for controlling water flow, whereas sillcocks incorporate an extended pipe that goes through the wall, featuring a valve located inside the building to help prevent freezing by keeping water away from the cold exterior. This design is important for maintaining water pressure and guarding against the risks associated with frozen pipes.
House hydrants offer a more modern solution, designed with fewer components and moving parts, making them a low-maintenance option . Their innovative design typically includes built-in mechanisms to prevent freezing and maintain consistent water pressure, even in colder temperatures. Understanding these differences not only aids in proper selection but also in effective maintenance, directly impacting the durability and functionality of the installation.
Installation Best Practices
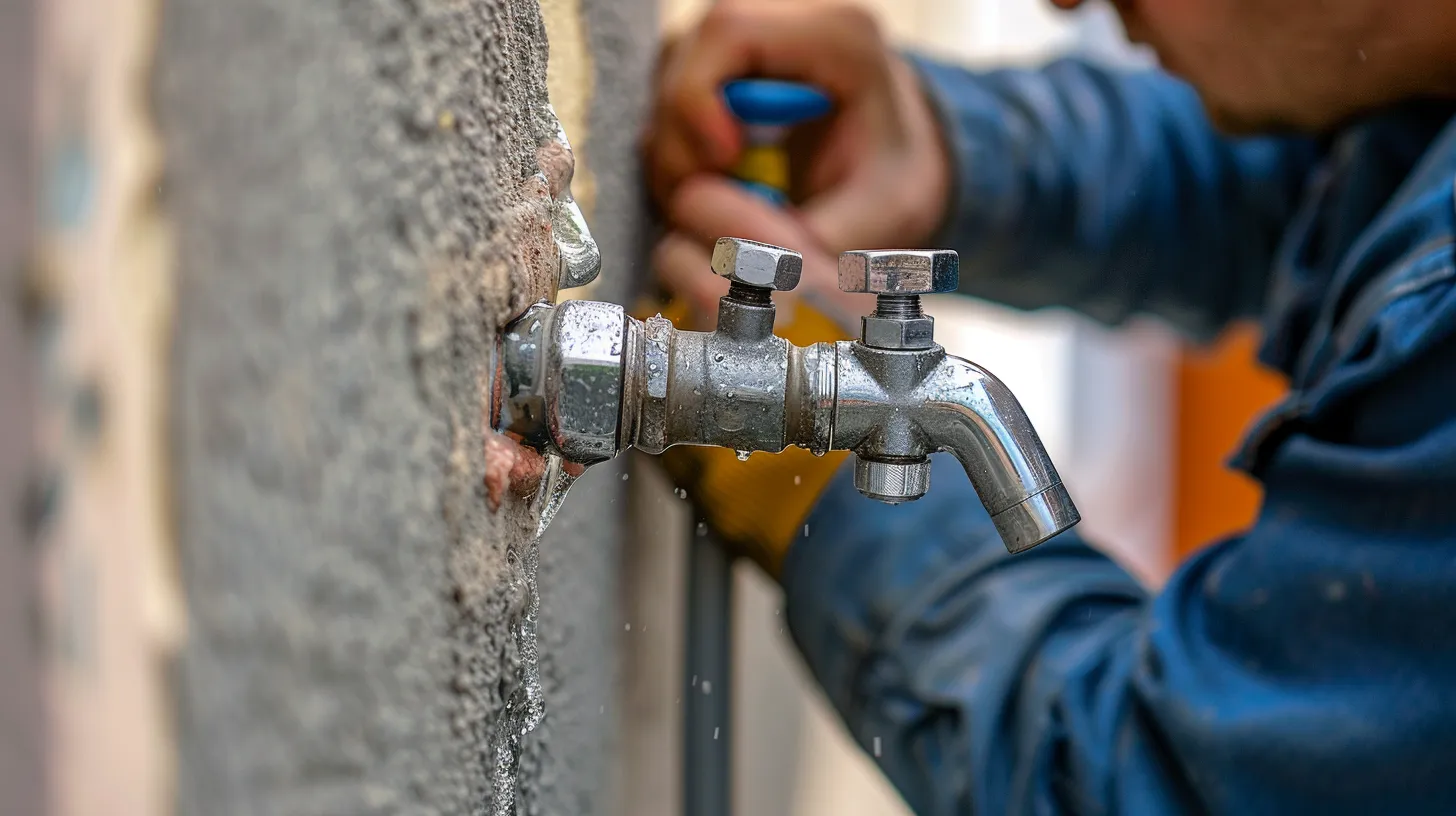
To guarantee efficient functionality and prevent damage, proper installation of outside faucets requires a downward slope to facilitate drainage . This slope ensures that any remaining water in the spout drains out, greatly reducing the risk of water freezing within the pipe, which can cause cracks and leaks. Frostproof faucets, designed for colder climates, should be installed with a slight angle towards the exterior to enhance this drainage.
Choosing the right model of frostproof faucet is important; some models include a siding wedge that helps maintain the necessary angle for effective water expulsion . This wedge is a simple yet essential component that aids in preventing water from freezing inside the pipe, which is a common cause of damage during colder months. Additionally, to further safeguard these faucets, it is important to disconnect hoses during the winter season. Hoses left attached can hold water that can freeze and expand back into the pipe, leading to potential freeze breaks and costly repairs .
Implementing these installation best practices not only extends the life of your outside faucets but also ensures their reliability and effectiveness throughout the winter season.
Common Issues Identified
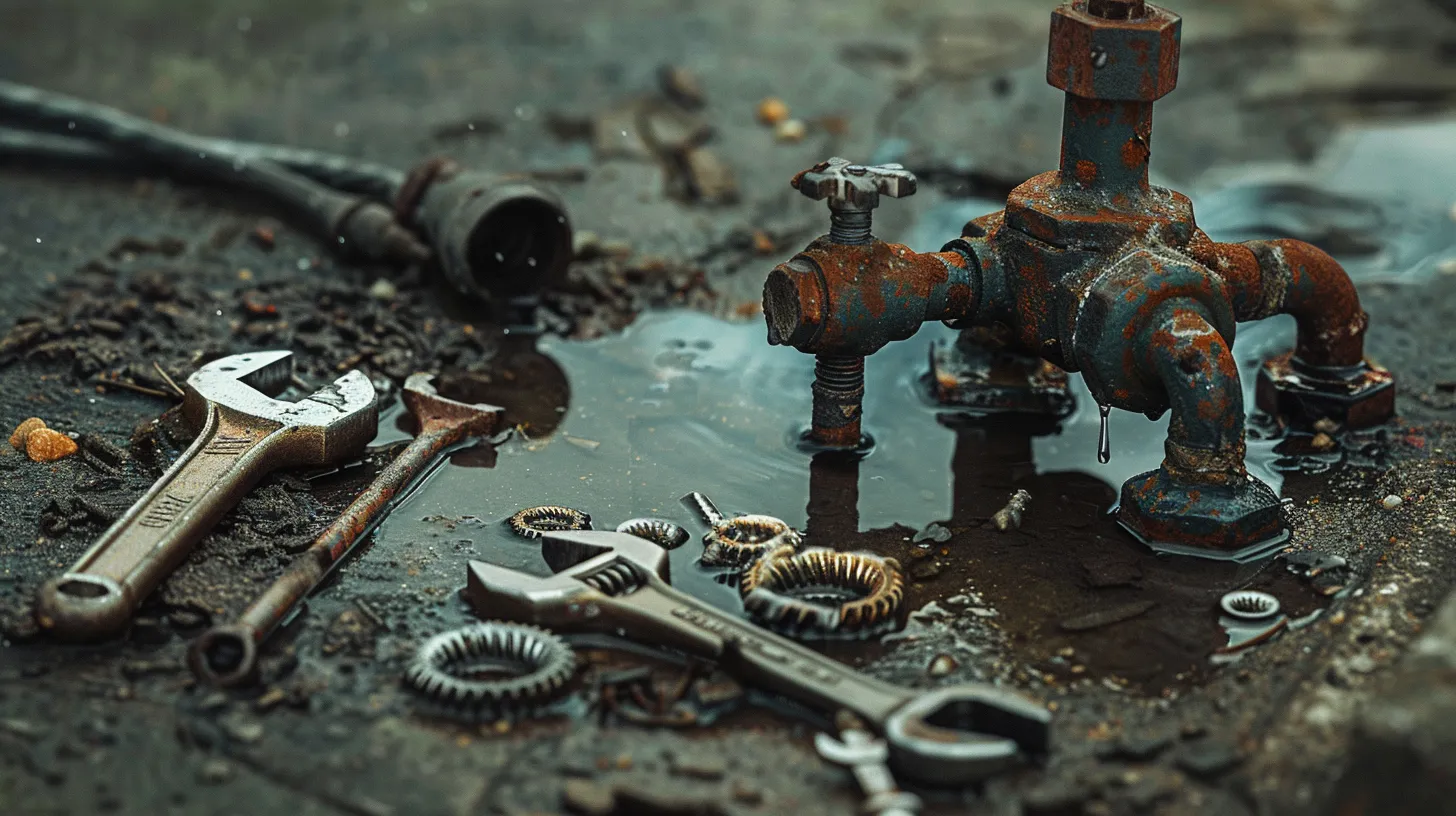
Despite regular maintenance , homeowners often encounter common issues with outside faucets, such as leaks and cracks that require prompt attention. The primary culprit behind these outdoor faucet issues often lies in the Water Supply components , particularly worn-out washers or damaged seals . These components are vital for guaranteeing a tight seal and preventing water from escaping the mechanism. When they fail, not only do leaks occur, but there is also a potential for significant water wastage and an increase in utility bills.
Cracks in the faucet body are another common concern. These can develop due to various factors, including environmental wear and tear or physical damage. A cracked faucet not only leads to leakage but can also compromise the structural integrity of the faucet, making it susceptible to further damage.
Identifying the source of a leak is essential for effectively addressing these issues. This process includes checking the faucet for any visible signs of wear or damage and testing the Water Supply pressure. Regular inspection plays a pivotal role in this, helping to catch problems early, prevent water damage, and extend the lifespan of the faucet. Through diligent monitoring and maintenance, homeowners can make sure their outdoor faucets remain functional and efficient.
Winterizing Your Faucets
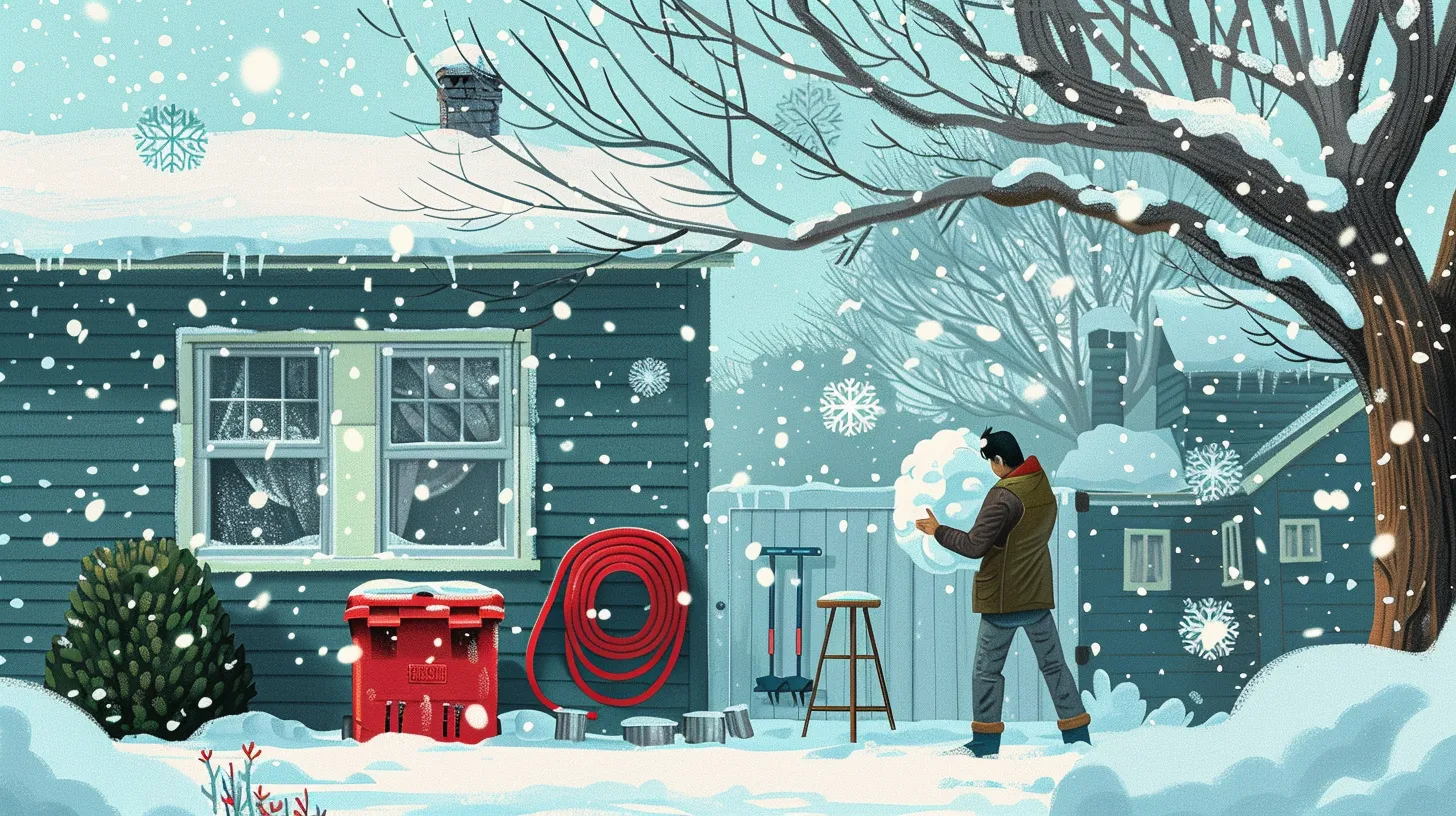
Winterizing outdoor faucets is an important step in preparing your home for the cold months, as it prevents water from freezing inside the pipes and causing damage. The process of winterizing outdoor faucets entails several key actions aimed at safeguarding your plumbing against the harsh winter temperatures.
First and foremost, it is vital to disconnect any hoses connected to your faucets as water remaining in hoses can freeze and expand, leading to potential damage in the connecting pipes and fixtures.
Once hoses are detached, draining the remaining water from the pipes and faucets is necessary to make sure there is no water left to freeze. Utilizing insulation covers or foam sleeves over the faucets can provide an additional layer of protection against freezing temperatures. These insulating materials help maintain a higher temperature around the faucet, reducing the risk of freezing.
Another preventive measure is to install frost-free sillcocks , which are specifically designed to prevent freezing . These devices typically shut off water flow within the heated portion of your home, thereby preventing the water from remaining in the exterior faucet where it could freeze. Properly winterizing your outdoor faucets can not only prevent costly repairs but also extend the lifespan of these fixtures.
Step-by-Step Removal Process
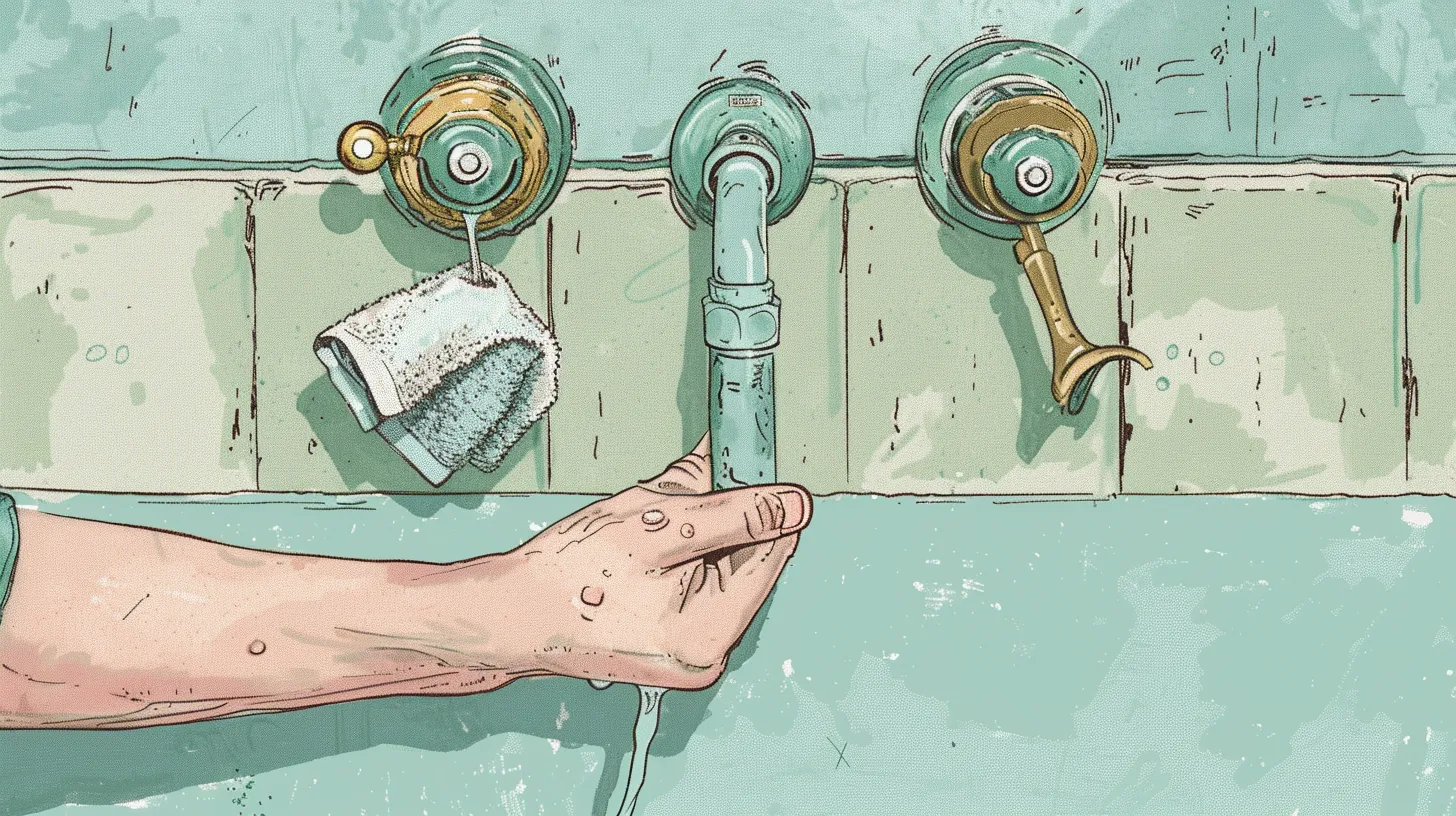
Disabling an outdoor faucet commences with turning off the water supply to guarantee a safe and dry work environment. This initial step is vital in preventing any potential leaks and damage during the removal process, aligning with effective Faucet Maintenance practices.
Once the water supply is securely shut off, the next step involves using an adjustable wrench . This tool is essential for loosening and disconnecting the water line from the faucet, facilitating a smoother extraction.
Further inspection is required to identify any additional connections or attachments. These must be carefully detached before proceeding to lift the faucet from its mounting location. It's important to handle this step with care to avoid damaging surrounding structures or pipes, which are often sensitive to force.
Once the faucet is successfully removed, responsible disposal of the old unit is imperative. This includes considering environmental guidelines and local disposal regulations. Additionally, preparing the installation site for a new faucet, if necessary, involves cleaning and clearing the area to ensure a seamless installation process. This thorough approach not only ensures the longevity of outdoor faucets but also enhances overall home maintenance.
Replacement Techniques
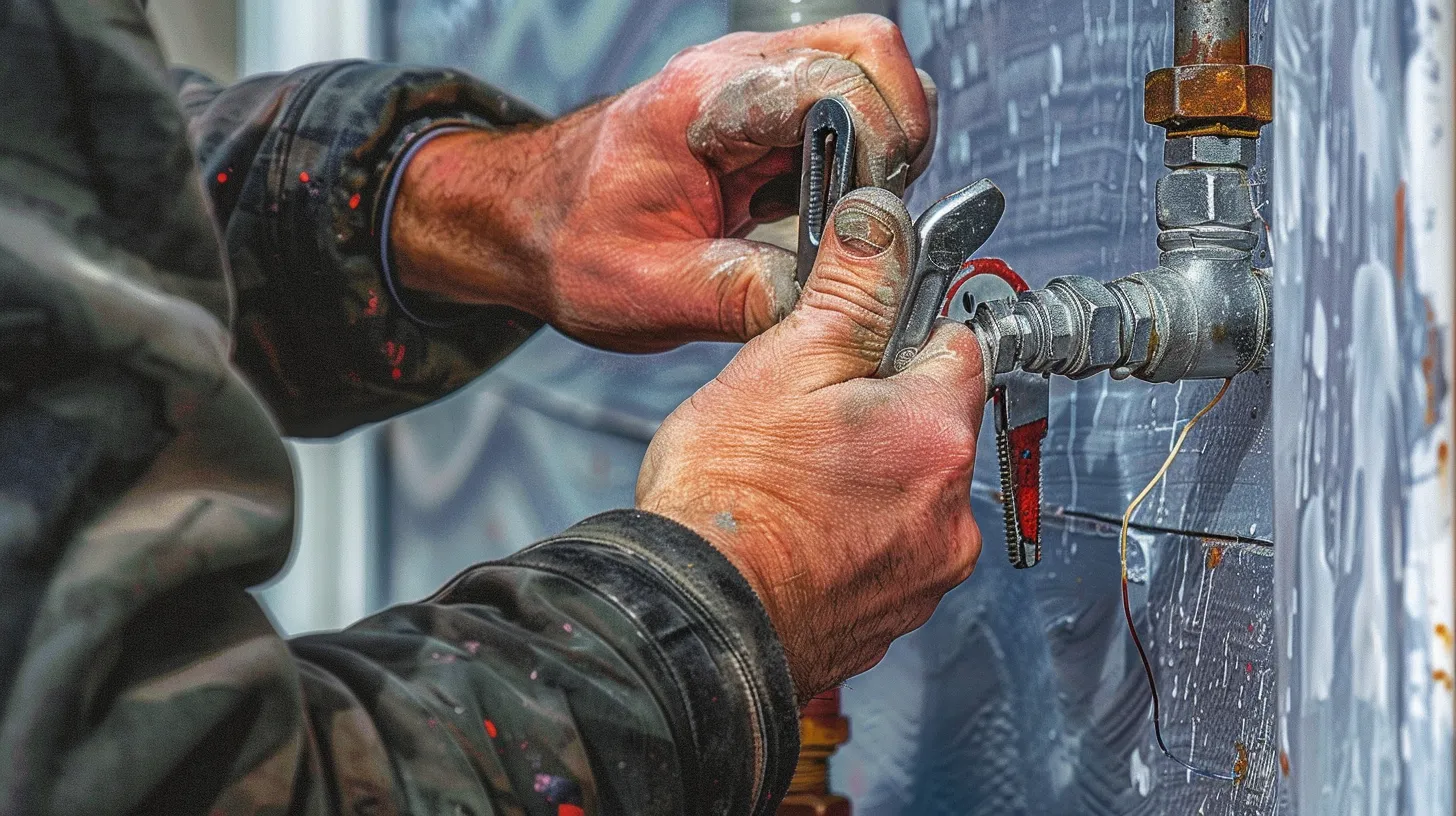
Having removed the old outdoor faucet, the next step involves employing effective replacement techniques. Initially, identify the type of replacement faucet needed—be it a hose bib , sillcock, or house hydrant—and make sure it matches the specific requirements for your home setup. Understanding the components such as valve handles, packing nuts , threading , and flanges is vital to selecting the right replacement part.
Next, gather the necessary tools such as adjustable wrenches, pipe wrenches, and screwdrivers. Start by wrapping the threading of the new faucet with plumber's tape to guarantee a tight seal and prevent leaks. When installing the faucet, pay close attention to the packing nut, as it needs to be tightened adequately to ensure water flow is regulated properly without any drips.
Proceed to attach and secure the new faucet, aligning it correctly with the existing plumbing lines . Replacing washers, seals, and damaged parts during this time can further enhance the faucet's efficiency and longevity.
Soldering for Secure Connections
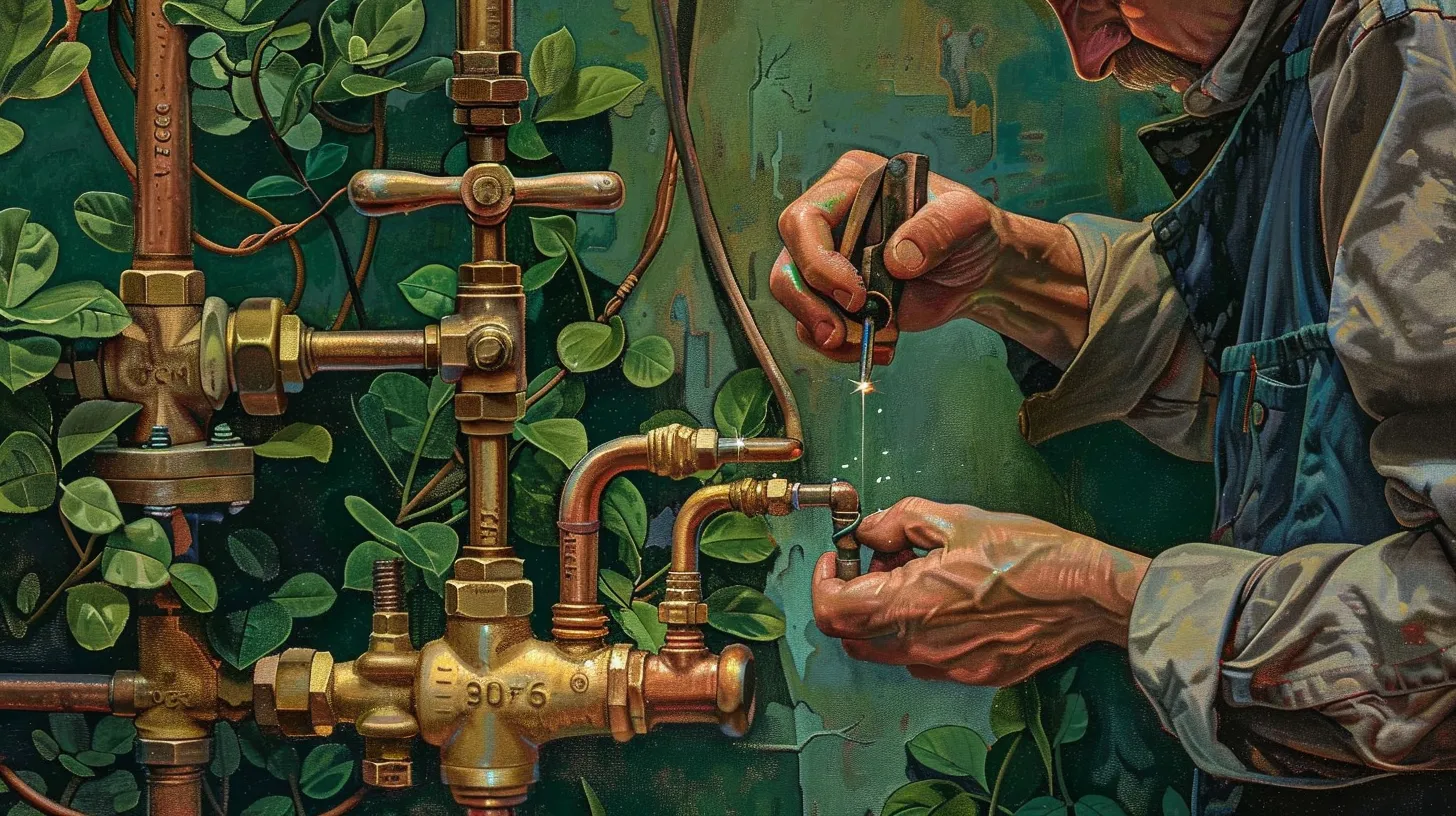
Soldering provides a robust and enduring bond essential for securely connecting copper pipes to outdoor faucet fittings . This process is pivotal for guaranteeing that the outdoor water system operates without leaks, which could lead to significant water wastage and potential damage to the structure of the home.
The key to successful soldering begins with the proper application of flux . Flux is applied both to the outside of the copper pipe and the inside of the faucet inlet before heating. This substance is vital as it cleans and prepares the surfaces, allowing the solder to flow smoothly and bond securely.
Heating the joint evenly is another critical step. It ensures that the solder melts and distributes evenly around the joint, creating a strong, watertight seal . Once soldering is complete, it is imperative to test the connection for any leaks. This testing confirms the integrity of the seal and that the soldering has been successful.
Care must be taken throughout the soldering process to avoid overheating , which can damage the faucet fittings and compromise the longevity of the connection. Properly executed, soldering ensures a durable and reliable installation, minimizing future maintenance needs.
Troubleshooting Flow Problems
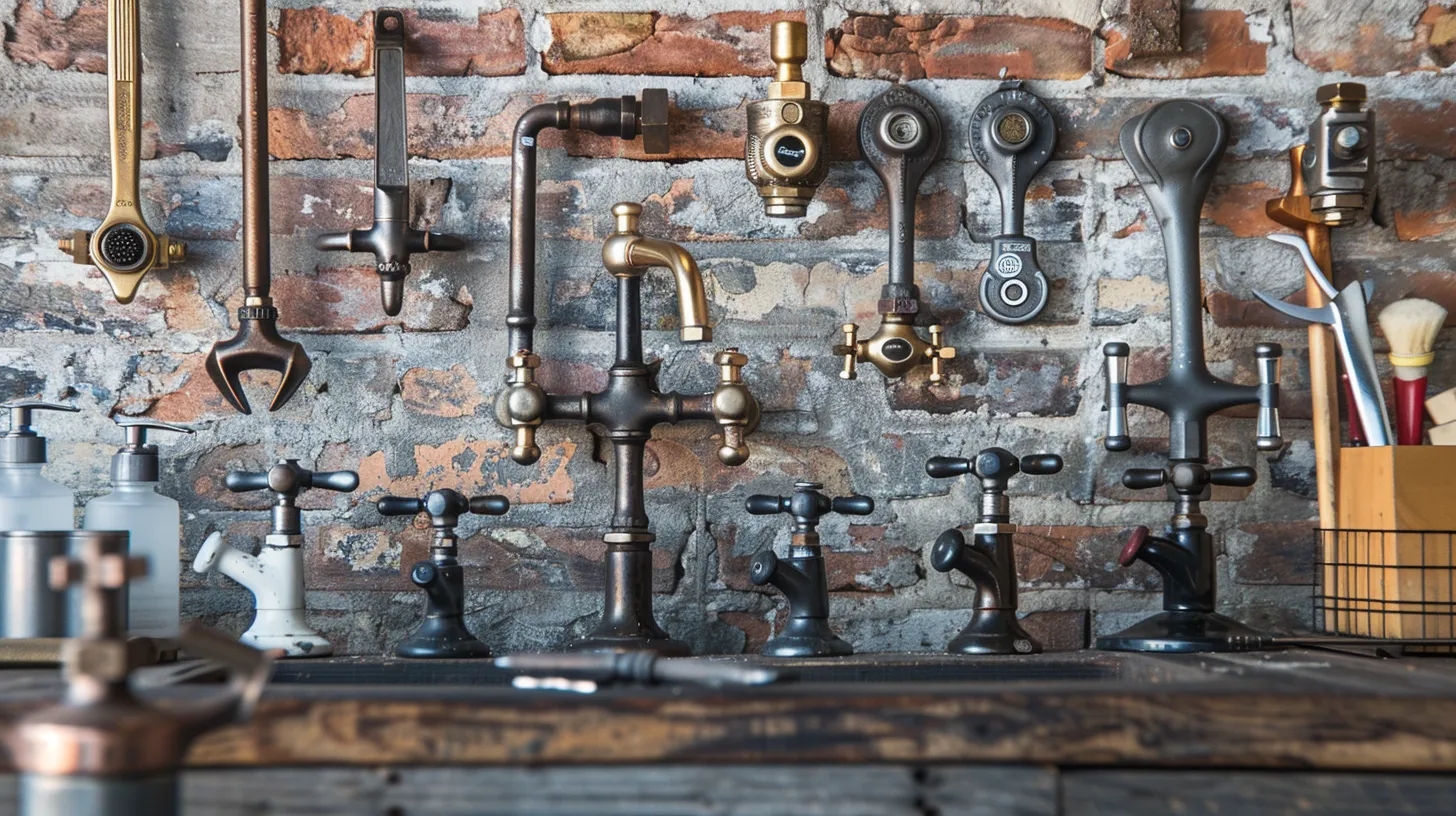
Flow problems in outside faucets, such as reduced water pressure or sporadic sputtering , can often be traced back to a variety of common issues including mineral buildup , debris blockages , or deteriorating internal components. When addressing these issues, it's vital to first check for leaks, as they can greatly influence water flow and pressure. Leaks around the faucet handle or at the base usually indicate worn washers or seals , which require prompt replacement to prevent further complications.
To tackle mineral buildup, which is a frequent culprit in reducing water flow, homeowners should disassemble the faucet if possible and clean out any accumulated minerals using a suitable descaling agent . For debris clogs, it is advisable to inspect both the faucet and connecting pipes. Removing the aerator and rinsing it under clean water can often dislodge any debris affecting the flow.
Lastly, if the water sputters, it's likely due to air trapped in the pipes. This can be resolved by bleeding the lines to make sure that water replaces any trapped air. Regular maintenance, such as periodic cleaning and timely replacement of faulty components, will guarantee the longevity and proper function of outside faucets.


