Just like a chef needs a spice rack, you need a proper storage for your sports balls.
Welcome to the world of DIY ball storage. It's not just about organization, but also making your space clutter-free and safe.
With a dash of creativity and practicality, we'll guide you through creating your very own ball storage.
So let's put on our DIY hats, pick up our tools, and start transforming chaos into order.


Understanding the Need for DIY Ball Storage
 You might wonder why you'd need DIY ball storage in your home, but let's dive into the reasons.
Ball clutter solutions aren't just about having a neat home; they're about maximizing space and improving storage aesthetics.
If you have kids or a sports enthusiast in the house, you understand how balls can quickly clutter space. Tennis balls under the couch, basketballs in the hallway, soccer balls in the bedroom, it's chaos!
Creating a DIY ball storage not only tidies up your space but also adds a unique aesthetic element to your home. It's practical, easy to create, and you'll appreciate how it transforms your space from messy to organized.


Assessing Your Ball Storage Requirements
 First off, take stock of your ball collection to understand your storage needs fully. Determine the quantity, sizes, and types of balls you're working with.
Next, evaluate the space you have available for storage, considering factors like accessibility, aesthetics, and safety.
Identifying Storage Needs
Let's start by figuring out the extent of your ball storage needs. You've got to consider the number of balls, their sizes, and how often you use them. Your storage alternatives should balance practicality and accessibility.
If you're dealing with multiple sports balls, think about ball organization. A single catch-all bin won't cut it. You'll need separate compartments or bins for basketballs, footballs, soccer balls, and so on. Perhaps you'll need wall-mounted racks or rolling bins.
Are you storing for a family, a team, or just for personal use? Take a good look at your space. Can it accommodate your storage solution or do you need to rethink?
Space Evaluation
Before jumping into the DIY project, it's crucial to evaluate how much space you've got and how many balls need to be stored. This space evaluation is a crucial step for effective ball organization. Start by counting the number of balls you have. Use this number to figure out how much room you'll need. Consider the size and type of each ball as different types may require different storage solutions.
Next, evaluate the room efficiency. Look at where you could install your DIY ball storage without disrupting the flow of the room. Empty corners or wall spaces are often underutilized and perfect for this. Keep in mind that the goal is to find a balance between your storage needs and maintaining a functional room.
Planning Your DIY Ball Storage Project
 Now that you've assessed your ball storage needs, it's time to move onto the planning phase of your DIY project.
You'll need to gather your materials, ensuring that you've all necessary tools and fixtures at hand before starting.
Then, carefully think through your storage layout, considering the space you have and how to best utilize it for easy access and efficient organization.
Project Materials Needed
While you're planning your DIY ball storage project, it's crucial to compile a list of the necessary materials to ensure a smooth and successful build. Material sourcing is a vital part of this process.
You'll need sturdy wood for framing and shelves, screws for assembly, paint or finish for aesthetics, and maybe some casters if you want your storage to be mobile. Budgeting tips come in handy here. Consider the cost of each component and try to source materials economically. Look for deals online or at your local hardware store. You might even be able to repurpose materials you already have at home.
Planning Storage Layout
Determining the layout of your DIY ball storage is an important step in achieving optimal organization and accessibility. It's not just about piling balls up; consider storage aesthetics too. Think about how your storage solution will fit into the existing space. Does it blend well with the surroundings? Is it easy to access and use?
Next, you'll want to do a cost estimation. Assess the materials needed and their respective prices. Do you need to invest in shelving units or can you repurpose existing furniture? Are there cheaper alternatives that won't compromise the quality and functionality of your project?
Materials Needed for DIY Ball Storage
 You'll need a few basic materials to start your DIY ball storage project. Budget considerations are important in this process, and you can find many viable material alternatives to keep costs down.
First, obtain some sturdy plywood or, for a cheaper option, repurposed wooden pallets can work too.
You'll also need some bungee cords or elastic netting to hold the balls in place. If you're on a tight budget, consider using old bicycle inner tubes or even discarded elastic bands.
Don't forget screws and brackets for assembly. Depending on your design, you might need PVC pipes or mesh wire for extra support or compartmentalization.
Lastly, gather up basic tools like a saw, drill, and screwdriver.
With these materials, you're ready to start building.
Step-by-Step Guide to Building a DIY Ball Bin
 With your materials at the ready, let's dive into the step-by-step process of constructing your DIY ball bin.
Firstly, take your plywood and cut it into five pieces, to shape your bin. You'll need a base, two sides, and two ends. Assemble these using screws, ensuring it's sturdy.
Cost efficiency is key here, no need for expensive materials.
Next, paint or varnish your bin for a bit of storage aesthetics. A vibrant color can make it an appealing addition to your space.
Attach four caster wheels at the bottom for easy movement.
Lastly, insert a netting at the top to secure your balls.
And voila, you've got a practical, cost-effective, and aesthetically pleasing storage solution for your balls.
Creating a DIY Wall-Mounted Ball Holder
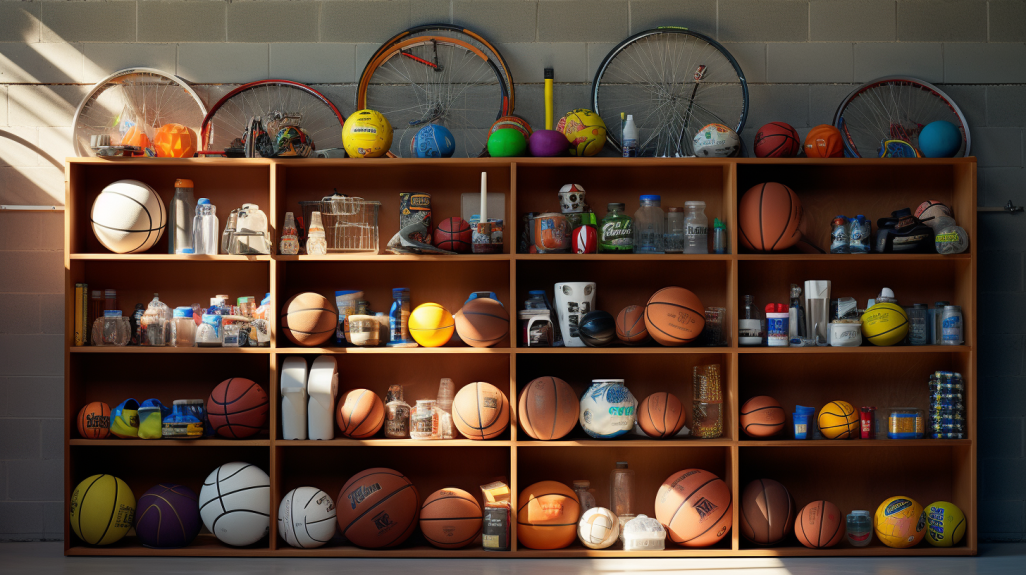
![]() Interestingly, besides the ball bin, you can also create a DIY wall-mounted ball holder, which saves floor space and adds a cool touch to your room's decor. Creating aesthetics is easy with this project.
Interestingly, besides the ball bin, you can also create a DIY wall-mounted ball holder, which saves floor space and adds a cool touch to your room's decor. Creating aesthetics is easy with this project.
Pick a sturdy, yet visually appealing, wooden plank as your base. Attach robust hooks or baskets to hold the balls, ensuring they're spaced adequately. Remember, balancing functionality and design is key.
Use a level to ensure your plank is perfectly horizontal before securing it to the wall. Don't forget to anchor it well to bear the weight of the balls.
Once completed, not only will you have an efficient storage solution, but also a unique decor piece that showcases your creative side. It's a practical, appealing addition to any room.
Tips for Maintaining Your DIY Ball Storage
 After putting in the effort to create your DIY ball storage, it's essential that you keep it in top shape to ensure long-term use. Storage longevity depends on regular maintenance and a good organizational system.
Make use of ball categorization to keep your space tidy and the storage durable. Firstly, clean your storage unit periodically to avoid buildup of dust and grime. This not only keeps it looking fresh but also prevents wear and tear.
Secondly, categorize your balls by size and use, which simplifies retrieval and return, preventing damage from overcrowding or mishandling. Remember, the goal is to have your DIY ball storage serve you for years. This is achievable with consistent care and a good organization system.
Safety Considerations for DIY Ball Storage
 Your DIY ball storage's stability is crucial, but it's also important to consider the safety of those who'll be using it. Safety precautions should be taken to ensure that your DIY project doesn't pose any risks.
When selecting materials for your ball storage, avoid sharp edges that could potentially cause injuries. Material hazards such as toxic paints or finishes should also be avoided. Opt for child-friendly, non-toxic materials instead.
Ensure your storage is secure and won't easily tip over, especially when loaded with balls. If your storage is wall-mounted, ensure it's well anchored and won't fall off. Keep it at an appropriate height that's easily accessible but doesn't pose a risk of balls falling onto someone.
Always prioritize safety when crafting your DIY ball storage.
Incorporating Fun Elements Into Your DIY Ball Storage
 While you're making sure your DIY ball storage is safe and functional, don't forget to add some fun elements that'll make it more appealing, especially if it's for kids. Fun embellishments can turn a simple storage solution into an exciting part of their playroom.
Consider painting the storage unit in vibrant colors or adding decals of their favorite cartoon characters. Storage aesthetics aren't just about looks; they can stimulate kids' imagination and encourage them to keep their balls properly stored.
Even for adults, a well-designed and attractive storage unit can add to the overall appeal of your room. So, get creative with your DIY project. If it's fun to look at, it's likely to be used more!
Frequently Asked Questions
What Are Some Cost-Effective Alternatives to Store-Bought Ball Storage Systems?
You can consider cost-effective alternatives like using wire baskets or repurposed crates. Keep ball size considerations in mind for fitting purposes, and choose durable materials to ensure your storage solution lasts.
Can I Customize My DIY Ball Storage to Match My Home Decor?
Absolutely, you can customize your storage to match your home decor. Think of it like a blank canvas, ready for your artistic touch. Explore different customization techniques to enhance your storage aesthetics. It's all up to you!
Is There a Way to Make the DIY Ball Storage Portable for Easy Transportation?
Absolutely, you can make your storage portable. Incorporate wheels or handles in your versatile DIY designs. Regular portable storage maintenance ensures it remains mobile. It's all about creating a solution that suits your needs.
How Can I Make My DIY Ball Storage Child-Friendly and Safe?
To make your storage child-friendly and safe, implement child-proofing techniques. Use soft, non-toxic materials and ensure all edges are rounded. Secure it to the wall to prevent tipping. Regularly check for wear and tear.
Can I Use Recycled Materials in My DIY Ball Storage Project?
Absolutely, you can use recycled materials in your project. Just ensure you're thorough with the recycling process to maintain material durability. It's eco-friendly and could teach your child about the importance of recycling too.
Conclusion
And there you have it! You've successfully created your DIY ball storage. Much like a well-organized sports team, your balls are now in perfect order.
And remember, maintaining this organization is no different than keeping up with your game skills - it requires regular practice. So, keep your DIY storage in top shape, ensuring your next game starts without a hitch.
You've not only decluttered your space but also scored a home run in smart storage solutions.


