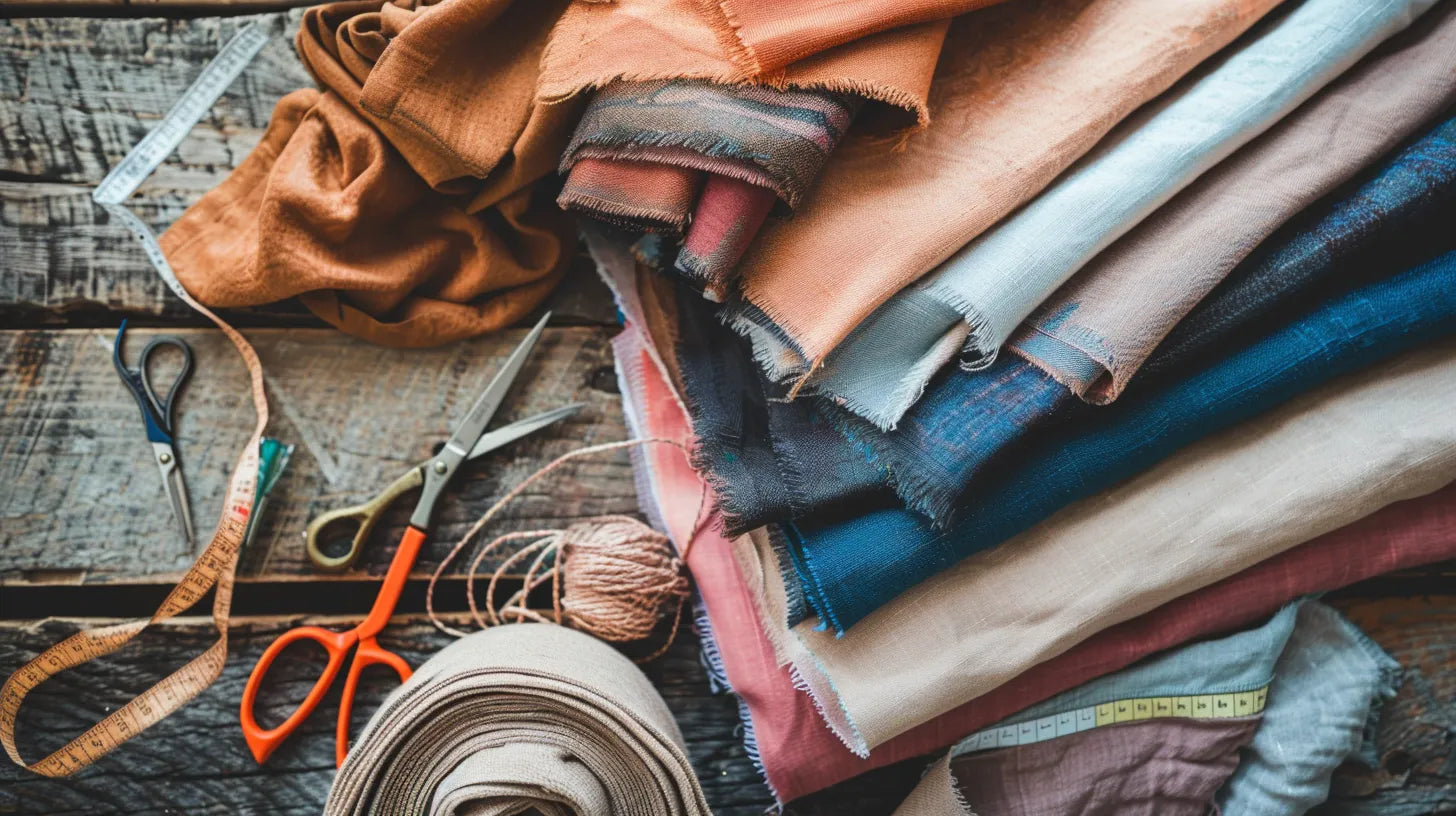
Creating cushion covers is an endeavor that blends both utility and creativity, requiring a thoughtful selection of materials and precise execution. From choosing the right fabric that complements your decor to mastering the technique of installing a zipper, each step is pivotal in achieving a professional finish.
However, the process does not merely end with sewing pieces together; understanding the nuances of proper dimensioning and the art of adding finishing touches can elevate the outcome significantly. As we embark on this detailed exploration, one might wonder, what are the hidden tricks and overlooked details that could transform a simple cushion cover into a masterpiece?
Selecting Your Fabric
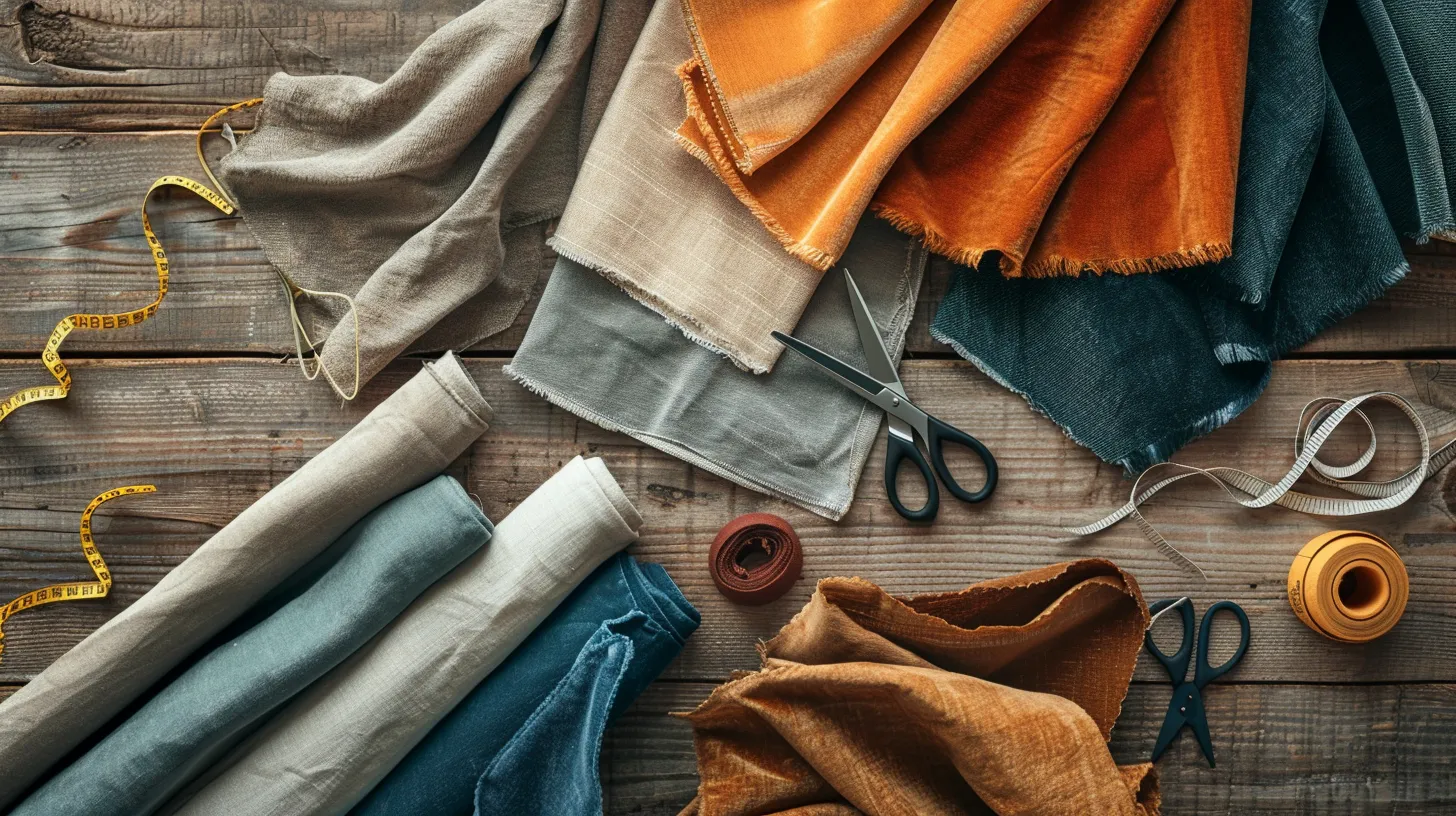
When embarking on the journey of creating cushion covers, selecting the appropriate fabric is a pivotal first step, as it influences both the project's aesthetic appeal and practical functionality. The choice of fabric is critical in ensuring the durability and ease of maintenance of the cushion covers, which directly correlates with their longevity. It's equally important to select a fabric that harmonizes with the room's decor to achieve a cohesive look. The fabric's weight and texture are essential factors to consider, as they affect the cushion's comfort and purpose.
Moreover, understanding the width of the fabric is vital in accurately measuring and determining the amount needed for your project, taking into account the cushion size and desired seam allowances. This measurement step is crucial before proceeding to the sewing phase to ensure that the fabric adequately covers the foam cushion. Opting for a fabric that is user-friendly, especially for beginners, can make the sewing process more manageable. Utilizing a sewing machine requires precision, particularly in maintaining consistent seam allowances to achieve a professional finish. Hence, selecting the right fabric sets the foundation for successfully creating custom cushion covers.
Preparing Your Materials
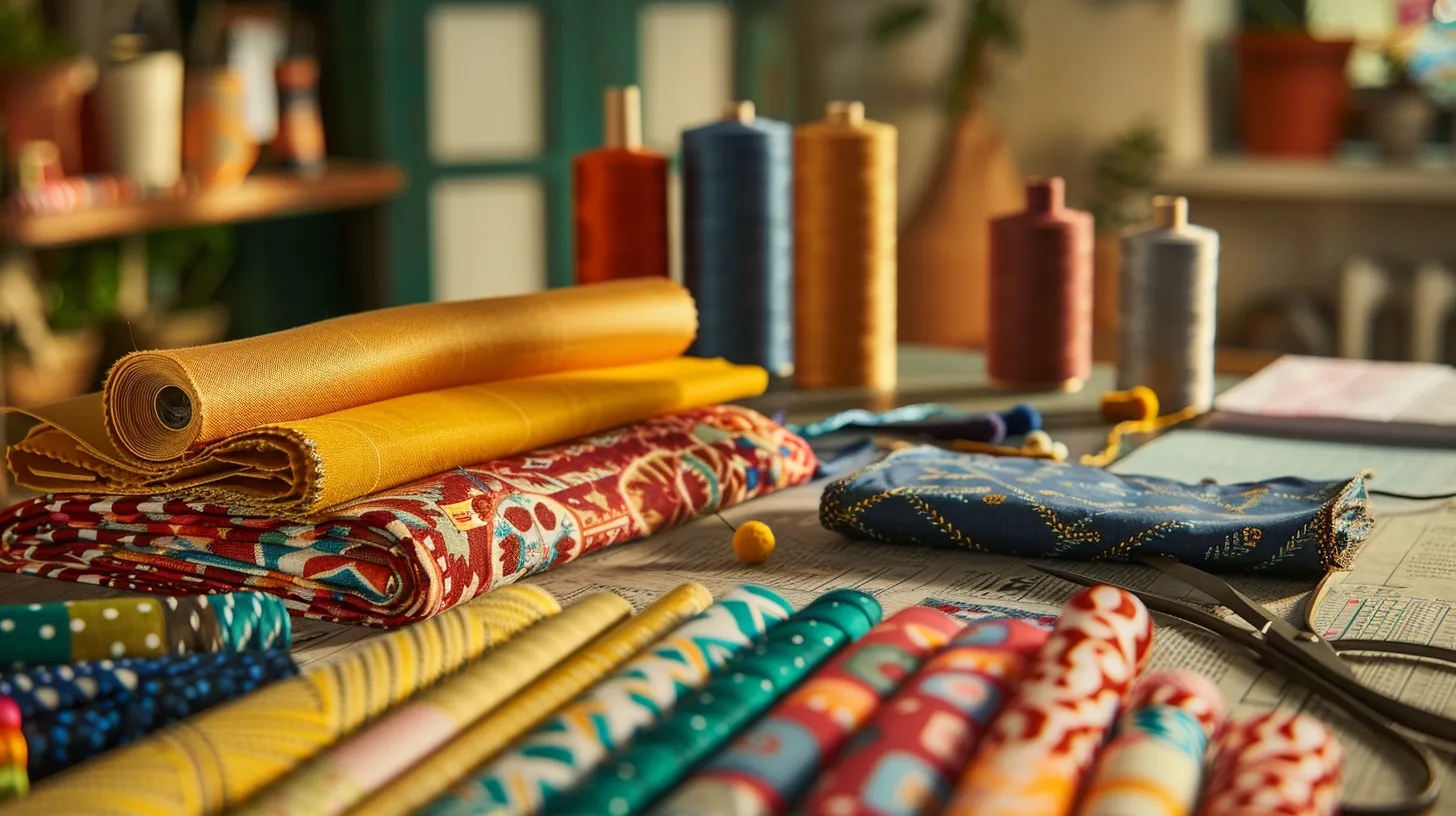
Once you have selected the appropriate fabric for your cushion covers, the next crucial step involves meticulously preparing your materials to ensure a smooth sewing process. The foundation of successful cushion covers lies in the initial preparation of your fabric. It's essential to prewash your fabric to prevent any future shrinking and to maintain the durability of your cushion covers. This preparatory step safeguards against any unexpected alterations in size after the first wash.
Accurately calculating your fabric dimensions is critical to achieving a perfect fit for your cushion covers. This precision ensures that the final product snugly encases your cushions without any unsightly gaps or overly tight fits that could strain the seams. For making precise cuts, the use of a rotary cutter, ruler, and cutting mat is highly recommended. These tools facilitate clean, straight cuts ensuring that your pieces align perfectly during the assembly process.
Moreover, making notches on your fabric pieces can help differentiate the front from the back, simplifying the later stages of assembly. Additionally, marking the center points for your zipper casing is pivotal. Correct placement of these marks ensures that your zipper aligns correctly, eliminating any potential issues with opening or closing your cushion covers.
Cutting the Fabric
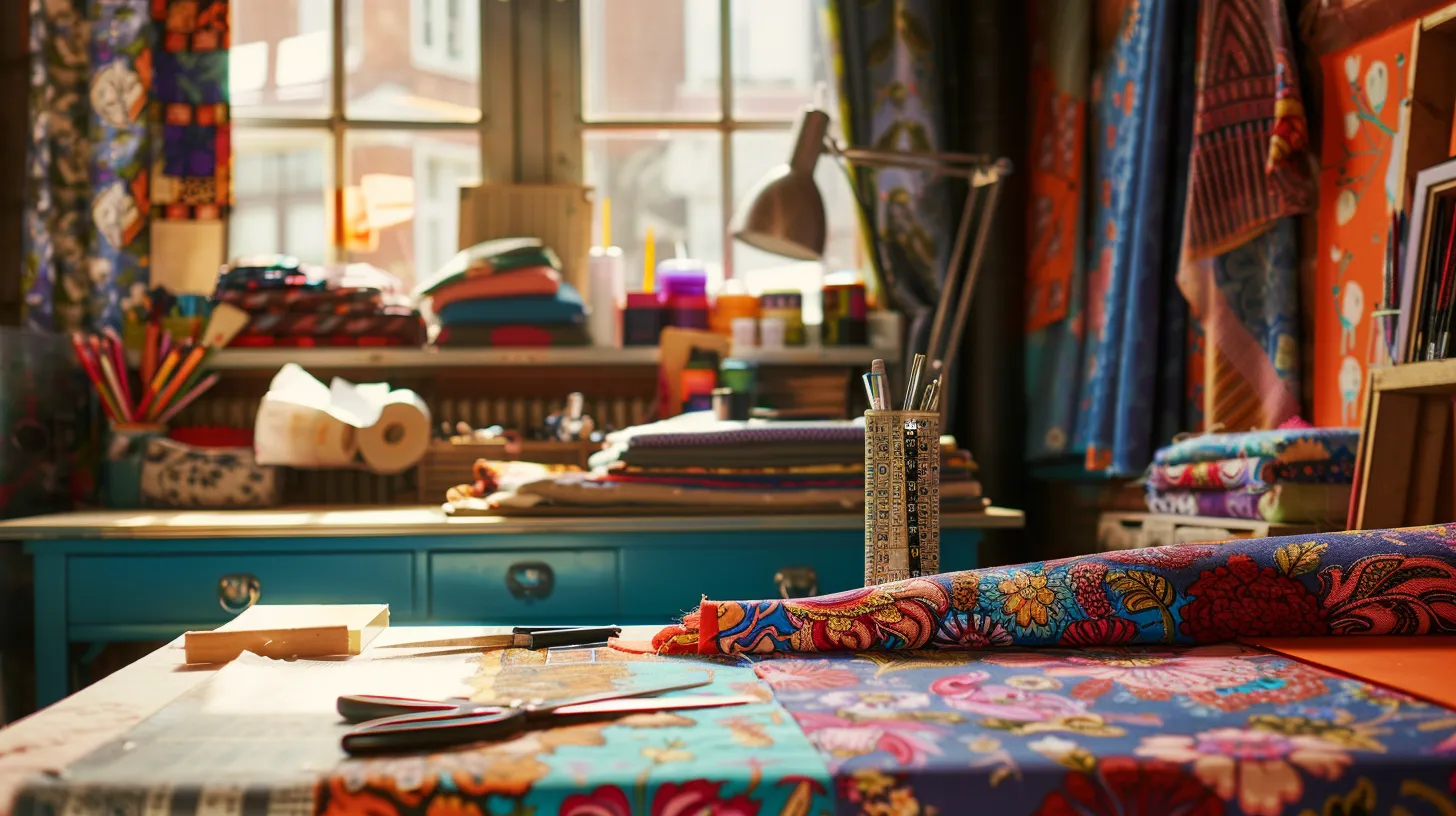
After meticulously preparing your materials, the next step in crafting cushion covers involves cutting the fabric to precise dimensions. This phase is crucial for ensuring a snug fit and professional appearance of the final product. Begin by measuring the fabric based on the dimensions of the cushion insert, taking into account additional space for seam allowances. These allowances are essential not only for sewing the pieces together but also for hemming the fabric edges, thereby preventing fraying and ensuring durability.
Before proceeding with the cutting, it is vital to double-check fabric measurements to avoid any costly mistakes. Using a rotary cutter alongside a cutting mat can significantly enhance the precision and cleanliness of the cuts, compared to traditional scissors. This method allows for straighter lines and smoother curves, which are imperative for the overall quality of the cushion covers.
Furthermore, marking the fabric pieces clearly with their respective positions—top, bottom, and sides—facilitates an easier assembly process later on. These marks serve as a guide during the assembly phase, ensuring that each piece aligns correctly according to the predetermined fabric dimensions. By adhering to these meticulous cutting procedures, you lay a solid foundation for crafting high-quality cushion covers.
Sewing the Pieces
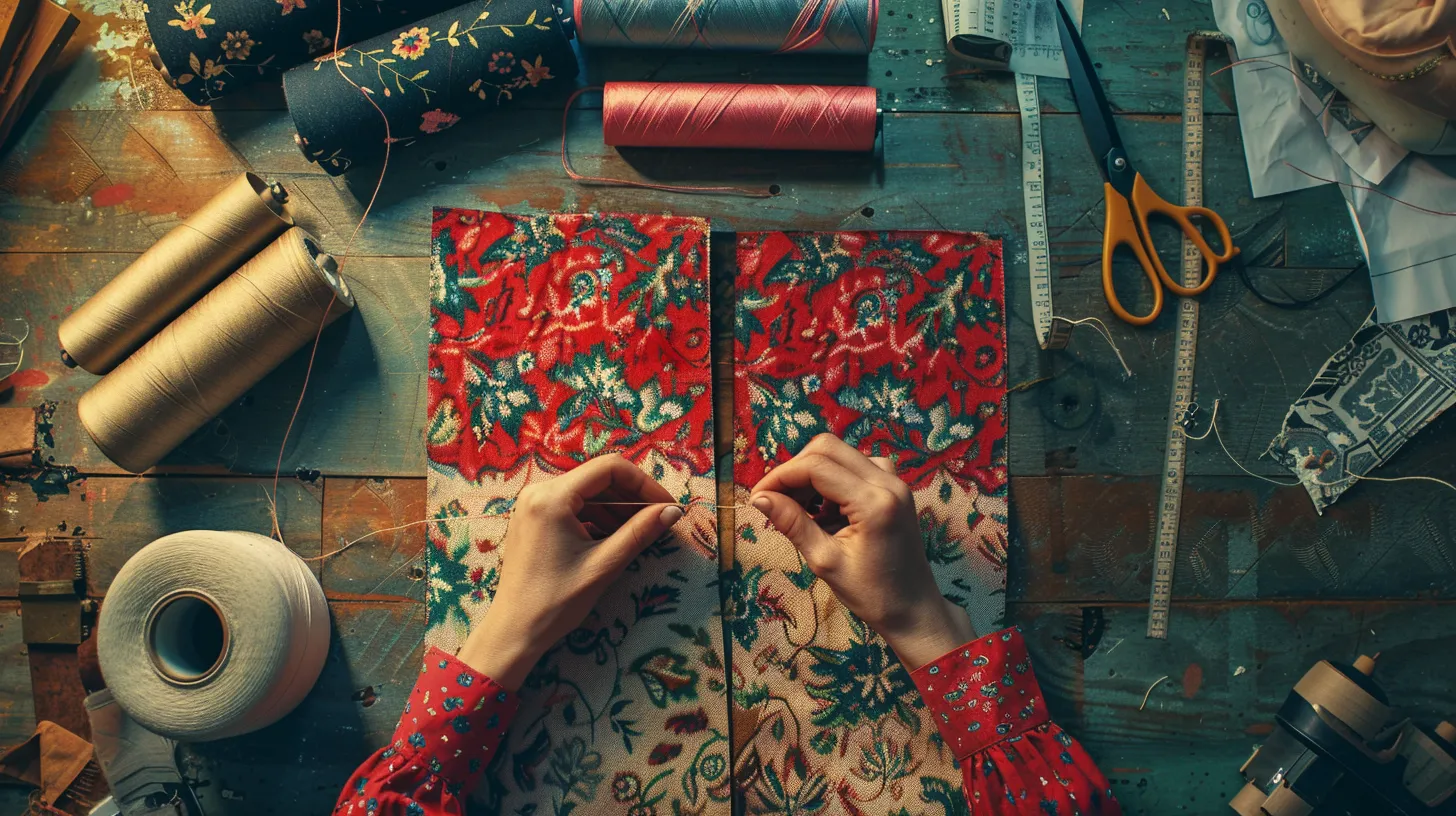
Transitioning to the sewing phase, the first step involves meticulously attaching the zipper casing with a ½ inch seam allowance, ensuring the zipper is secured firmly in place. This crucial detail guarantees both the functionality and aesthetic integrity of the cushion cover.
Once the zipper is securely attached, the next stage involves pinning the zipper casing to the boxing ends. This is done to create a continuous loop, which serves as the foundational structure of the cushion cover.
To ensure a professional finish, it's essential to align the notches of the top piece of fabric with the boxing, making certain that the right sides are together. This alignment is critical for maintaining uniformity and ensuring that the final product is seamless and neat. A tape measure can be invaluable in this step, ensuring precision in alignment and seam allowance.
For the front corners of the cushion cover to have sharp edges and clean lines, snipping the corners of the fabric pieces before sewing is recommended. This small, yet significant step, prevents bulky corners and contributes to the overall polished appearance of the cushion cover.
Repeating this process for attaching the bottom piece, with all pieces pinned in place and seams securely sewn, ensures a cohesive and neatly finished product.
Adding Finishing Touches
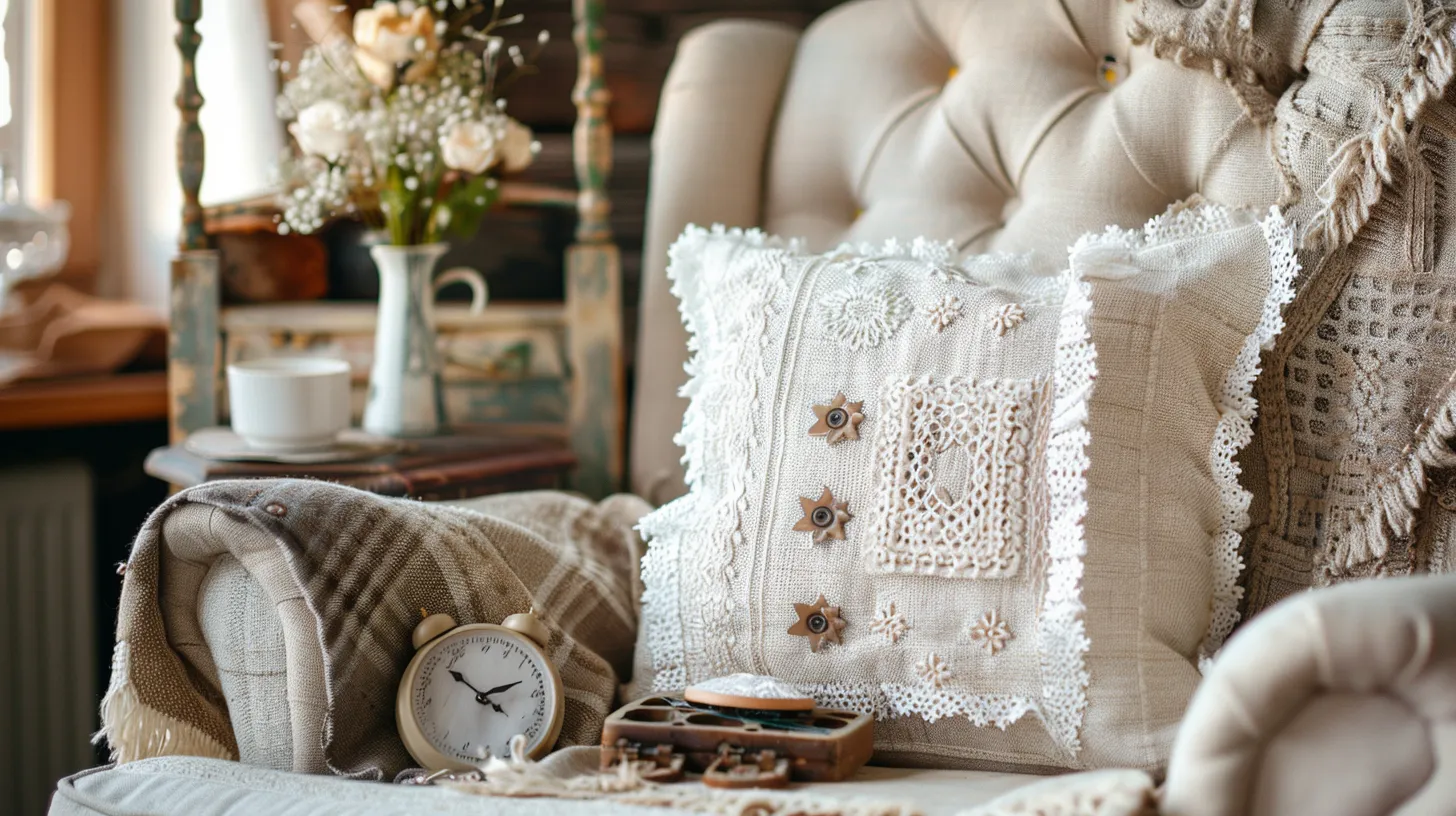
With the foundational elements of the cushion cover securely in place, the next step focuses on incorporating finishing touches that elevate its aesthetic appeal and uniqueness. Making sure the right sides together of the top and bottom pieces of fabric have been sewn, it's crucial to consider how much fabric is needed to ensure a perfect fit around the cushion inside. These final enhancements not only add to the beauty of your creation but also allow for a personalized expression of style and comfort.
To engage your audience, consider these finishing touches:
- Add decorative elements like piping or trim to enhance the look of the cushion cover, ensuring it perfectly frames the cushion inside.
- Consider adding buttons or other embellishments for a personalized touch that reflects your unique style.
- Opt for contrasting or coordinating thread colors for a visually appealing finish that highlights the craftsmanship of your work.
- Experiment with different closure options such as buttons, ties, or snaps for a unique design that also allows for easy removal of the cushion cover.


