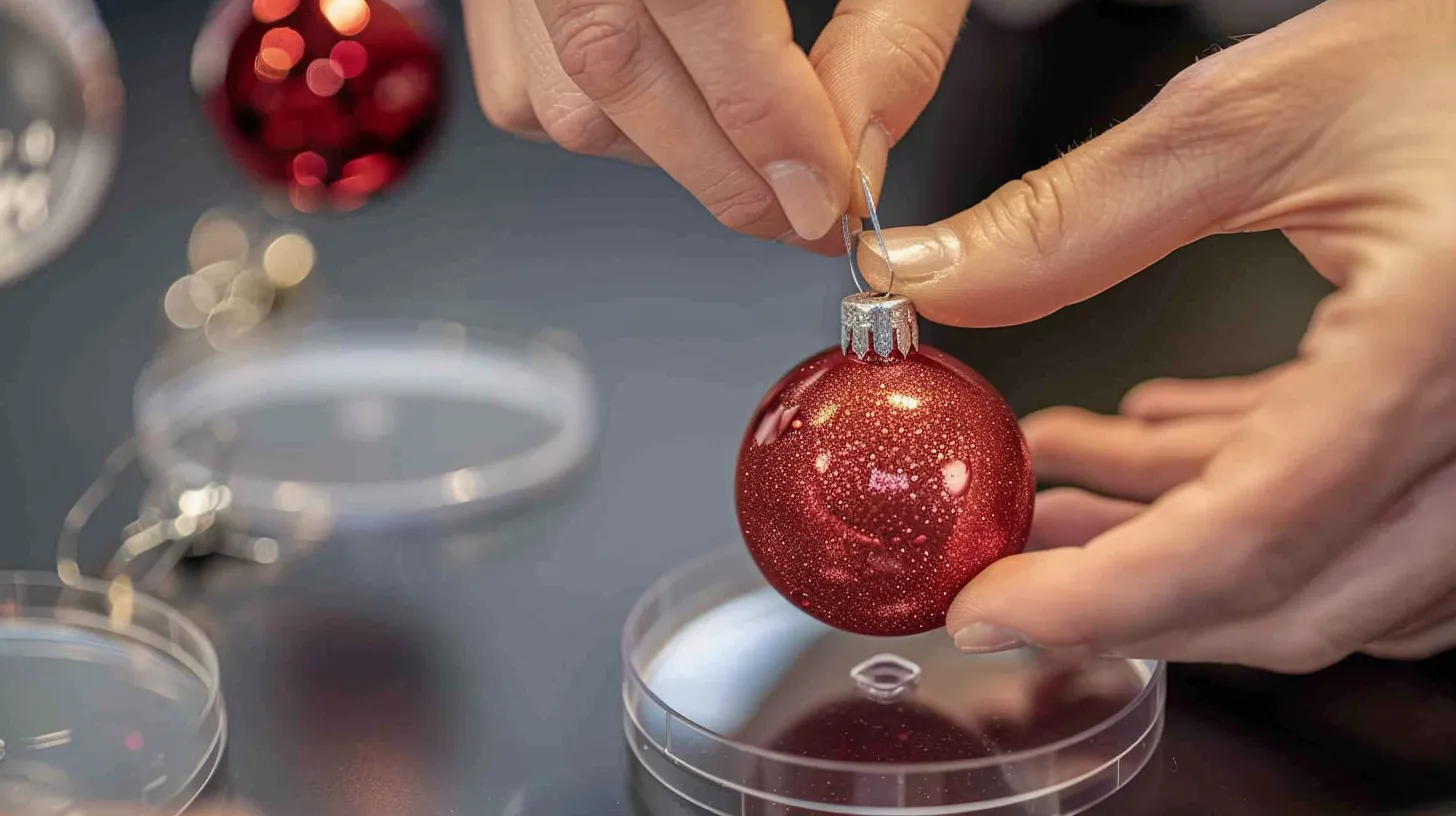
Crafting floating ornaments represents a blend of creativity and precision, offering a unique opportunity to personalize holiday decor or create distinctive gifts. This process, while seemingly straightforward, involves meticulous steps starting from selecting the appropriate templates and ornaments to mastering the technique of securing images within them without compromising their floating illusion.
The use of transparency film and a cutting machine, such as a Cricut, further adds to the complexity and versatility of the project. However, the intricacies of choosing the right materials and understanding the nuances of assembly are crucial for achieving the desired outcome.
To grasp the full scope of this crafting venture, one must explore the various methods and tips that can enhance the final product's aesthetic appeal and durability.
Gathering Your Supplies

Before embarking on the creative journey of crafting personalized floating ornaments, one must diligently gather all necessary supplies, including glass or plastic ornaments, transparency film, acetate, vinyl, or paper, ensuring the inclusion of a printer for image transfers and ornament templates for precise sizing and shapes. The preparation phase is crucial to the success of the project, as the selection of materials directly impacts the final outcome.
Using ornament templates, sourced from resources such as Jennifer Maker's blog, aids in achieving the correct size and shape for the inserts, ensuring a snug fit inside the ornaments.
Additionally, it's imperative to understand the properties of the transparency film, particularly identifying the rough and shiny sides, before proceeding with printing. This knowledge is vital because the rough side is typically the side that receives the ink, allowing for a clearer and more durable image transfer. This step is often overlooked but is essential for ensuring that the images or texts are crisp and visible once suspended inside the ornament.
Choosing the Right Ornaments

Having gathered the necessary supplies, the next crucial step in crafting personalized floating ornaments is selecting the appropriate ornaments that best suit your creative vision. The choice between glass and plastic ornaments is significant, as each material offers distinct advantages. Glass ornaments exude an elegant and traditional appearance, whereas plastic ornaments provide a lightweight and less fragile alternative, making them particularly suitable for environments where breakage is a concern.
Selecting the right size and shape of the ornament is essential to ensure that the images or designs you intend to display inside fit right and are showcased effectively. Ornaments come in various sizes and shapes, and choosing one that accommodates your design will enhance the overall aesthetic appeal of your floating ornament.
Furthermore, it is paramount to opt for clear ornaments. The transparency of clear ornaments allows for the images inside to be seen clearly and effectively, making your floating ornament visually striking. Additionally, ensuring that these ornaments have a secure closure or seal is critical. A secure closure ensures that the images remain floating inside the ornament without risk of falling out, preserving the integrity of your design for a lasting impression.
Preparing the Ornaments

To commence the process of creating floating ornaments, it's imperative to select clear glass or plastic ornaments and ensure they are meticulously cleaned and thoroughly dried. This essential preparation step guarantees that the internal elements, such as images or decorations, can be inserted without hindrance, ensuring a pristine and unblemished final appearance. Choosing between glass ornaments and clear plastic variants depends on personal preference and safety considerations, with plastic offering a shatterproof advantage.
Next, the use of templates is critical in determining the appropriate size and shape of the images or designs to be inserted inside the clear ornaments. These templates serve as a guide to ensure that the visuals fit perfectly within the confines of the ornament, enhancing the floating effect. For printing these images, materials such as transparency film, acetate, vinyl, or paper are recommended based on their ability to maintain clarity and durability inside the ornament. Jennifer Maker's blog offers free ornament templates, which can be an invaluable resource for easy preparation. This preparation stage sets the foundation for a successful creation of floating ornaments, emphasizing the importance of precision in every step.
Assembling the Floating Mechanism

How does one transform a simple image into a captivating floating element within an ornament? The key lies within the assembly of the floating mechanism, a process that begins with the careful preparation of the chosen image. To start, the image must be rolled into a tube shape, ensuring it's small enough to smoothly slide into the clear ornament without crumpling or tearing. This rolled image serves as the centerpiece of the floating illusion.
Inserting the rolled image into the clear ornament requires a gentle touch. If the image doesn't immediately unfurl or position itself as desired, tools like tweezers or a pencil can be invaluable for making minor adjustments. This step is crucial for achieving the desired floating effect, as it allows for precise control over the positioning of the image within the ornament.
Displaying Your Floating Ornaments
Once you have crafted your floating ornaments, the next step is to consider the most visually appealing ways to display them in your home or office. Displaying your ornaments creatively can enhance their magical floating effect and bring a little bit of whimsy to your holiday decor.
When choosing how to showcase your ornaments, it's essential to double check their stability and visibility to ensure they can be fully appreciated from every angle.
Here are several unique ways to display your floating ornaments, adding a delightful touch to your festive decorations:
- Consider hanging floating ornaments from a small decorative tree branch or a tabletop ornament stand for a unique display.
- Showcase floating ornaments in a clear glass bowl or vase filled with decorative snow or beads for a festive centerpiece.
- Hang floating ornaments individually from a ribbon or string in a window for a whimsical and eye-catching decoration.
- Create a floating ornament garland by stringing multiple ornaments together on a ribbon or twine to adorn a mantel or staircase.
- Place floating ornaments in a shadow box frame or on a decorative tray for a charming and personalized holiday accent in your home.
When it's time to pack away your decorations, make sure to come back to these ideas to revitalize your space next holiday season.


