
As we transition into the colder months, the task of winterizing our homes becomes paramount, particularly in safeguarding our outdoor water systems. The initial step involves a straightforward procedure of locating and shutting off the main water supply valve. Yet this action alone does not encapsulate the entirety of the process required to ensure a thorough preparation for winter.
The subsequent steps, such as detaching garden hoses and insulating pipes, are equally critical to prevent the costly and inconvenient aftermath of frozen or burst pipes. Engaging in this discussion, we will explore the nuances of these procedures and share insights on the overlooked aspects that could significantly impact the efficacy of winterizing outdoor water systems.


Locate Your Main Shutoff Valve
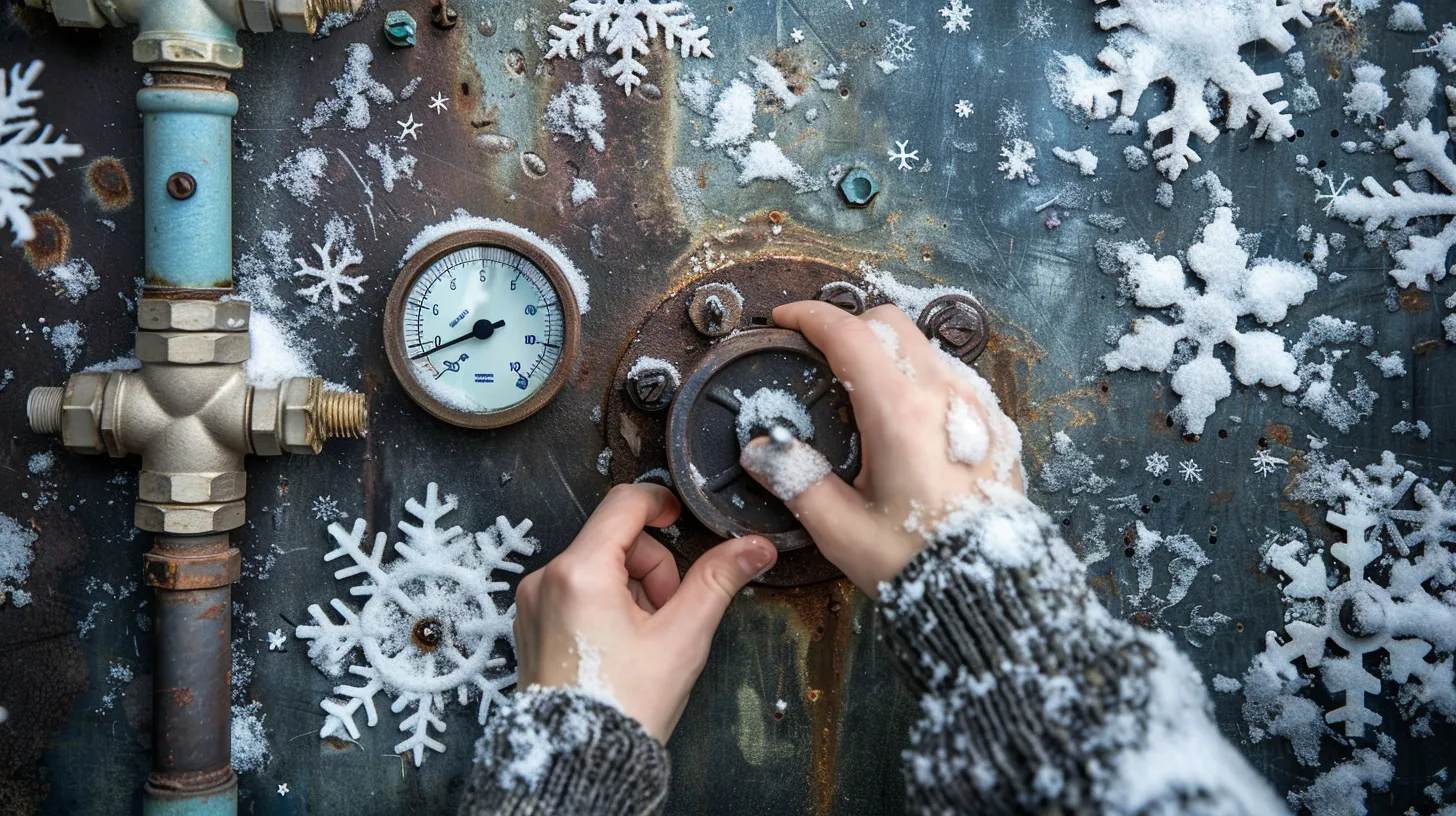
Identifying the location of your main shutoff valve, typically found near the water meter in a basement, crawl space, or garage, is a critical first step in preparing your outdoor plumbing for winter. This valve is paramount in controlling the flow of your home's entire water supply, including the outdoor water supply. Knowing exactly where this shutoff valve is located near your property enables you to quickly act to prevent freezing and potential damage to your plumbing system as temperatures drop.
Some homes are equipped with separate shutoff valves for indoor and outdoor water supplies, allowing for more precise control over water flow in different areas of the house. It's essential to identify the correct shut-off valve that specifically controls the outdoor water supply. Turning off this valve is a crucial action to stop new water from entering outdoor faucets, thereby significantly reducing the risk of water freezing inside pipes, which can lead to costly damages.


Detach All Garden Hoses
Detaching all garden hoses from outdoor faucets is a crucial step in safeguarding your plumbing system against the freezing temperatures of winter. This simple yet vital action helps prevent freezing and damage during the colder months, ensuring your outdoor water systems remain intact and functional when spring arrives. Stored properly in a heated area, garden hoses are less likely to freeze and crack, which can save homeowners from unnecessary expenses and headaches.
By ensuring that hoses are disconnected, homeowners facilitate proper drainage, thereby reducing the risk of water left inside the hoses or pipes from expanding in freezing conditions, which can lead to burst pipes. This precautionary measure is essential for winterizing outdoor water systems and avoiding costly repairs.
The emotional impact of taking this step cannot be overstated:
- Peace of Mind: Knowing your home is protected from avoidable damage.
- Financial Savings: Preventing costly repairs due to burst pipes or damaged hoses.
- Readiness for Spring: Ensuring your outdoor faucets and hoses are in top condition for the warmer months.
Drain Outdoor Pipes
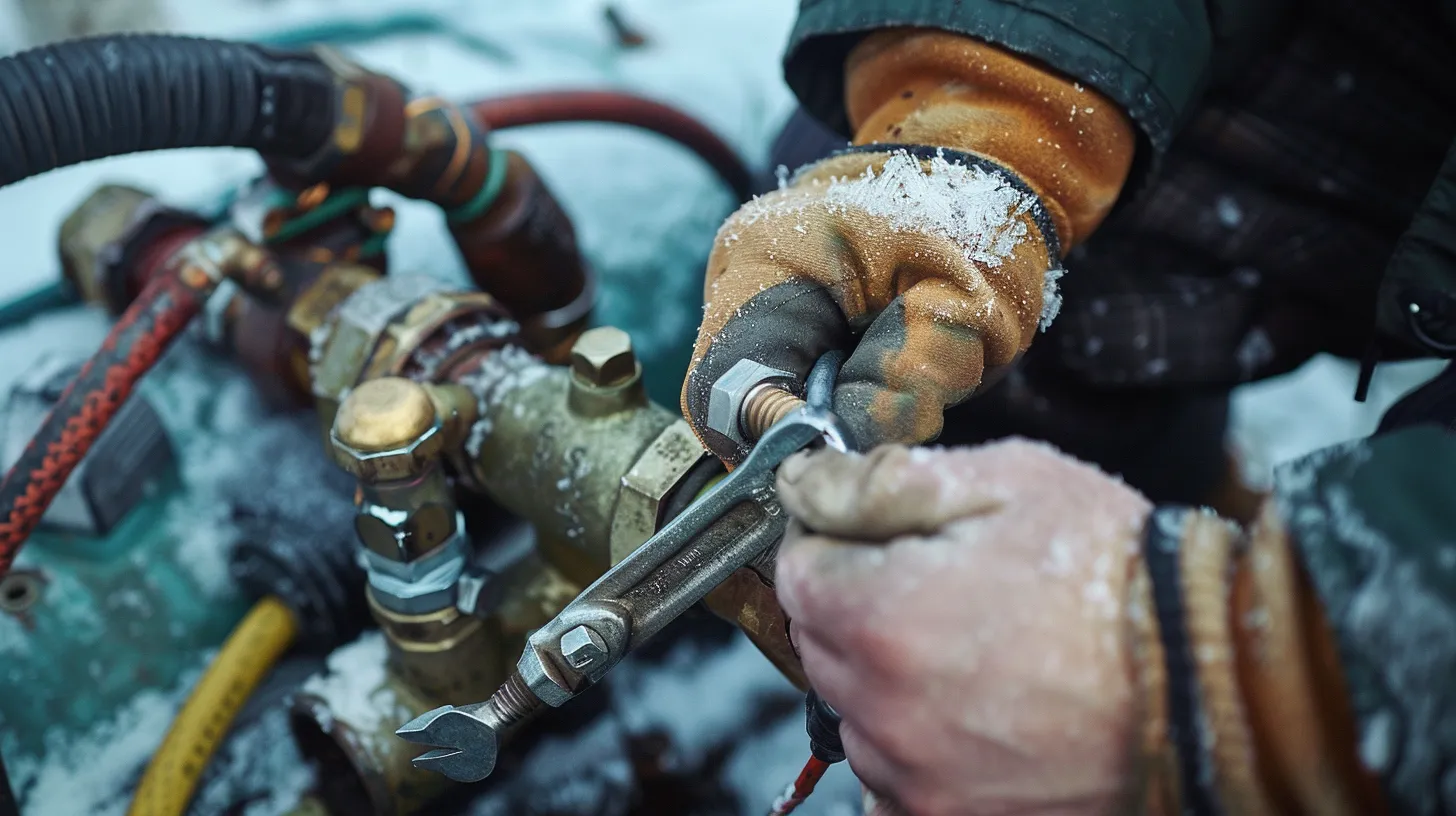
Following the detachment of garden hoses, the next crucial step in winterizing your outdoor plumbing system involves thoroughly draining outdoor pipes to prevent freezing and the potential for bursting. This process is essential to avoid costly repairs associated with burst pipes. By removing hoses and connections from outdoor faucets, homeowners ensure there's no trapped water that could freeze and expand, leading to damage.
To effectively drain outdoor faucets, it's advisable to let the water run until it trickles to a stop. This method ensures that excess water flow is cleared from the pipes, significantly reducing the risk of freezing. It's necessary to locate the shut-off point for the outdoor water supply to commence this process. Once found, turning it off will halt water flow, allowing for the safe drainage of any remaining water in the system.
Properly shutting off and draining outdoor water lines is a pivotal step in winterizing outdoor plumbing. It safeguards against the adverse effects of freezing temperatures, ensuring that your outdoor faucets remain in good condition throughout the winter months without the risk of damage or freezing.
Insulate Pipes and Faucets
After ensuring outdoor pipes are thoroughly drained, insulating them becomes the next crucial step to prevent freezing during the winter months. Wrapping your outdoor water lines with foam insulation sleeves or tape is a straightforward yet effective measure to safeguard them against the harsh cold. Proper insulation not only helps prevent the water inside the pipes from freezing but also reduces heat loss, maintaining a more stable water temperature through colder periods.
To evoke a sense of urgency and care for your home, consider these points: 1. Make sure to cover every inch of your outdoor pipes and faucets with insulation, leaving no area exposed to the biting cold. 2. Turn the faucet on slightly before insulating, to ensure any remaining water can drip out, reducing the risk of freezing. 3. Use foam insulation sleeves designed for outdoor use; they are your best defense against the winter's chill, preventing freezing and the potential for burst pipes.
Insulating pipes is more than a preventative measure; it's an act of safeguarding your home against the inconvenience and expense of emergency repairs. Properly insulated pipes and faucets can save energy and prevent costly repairs, making this step an essential part of winterizing your home.
Final Check and Maintenance Tips
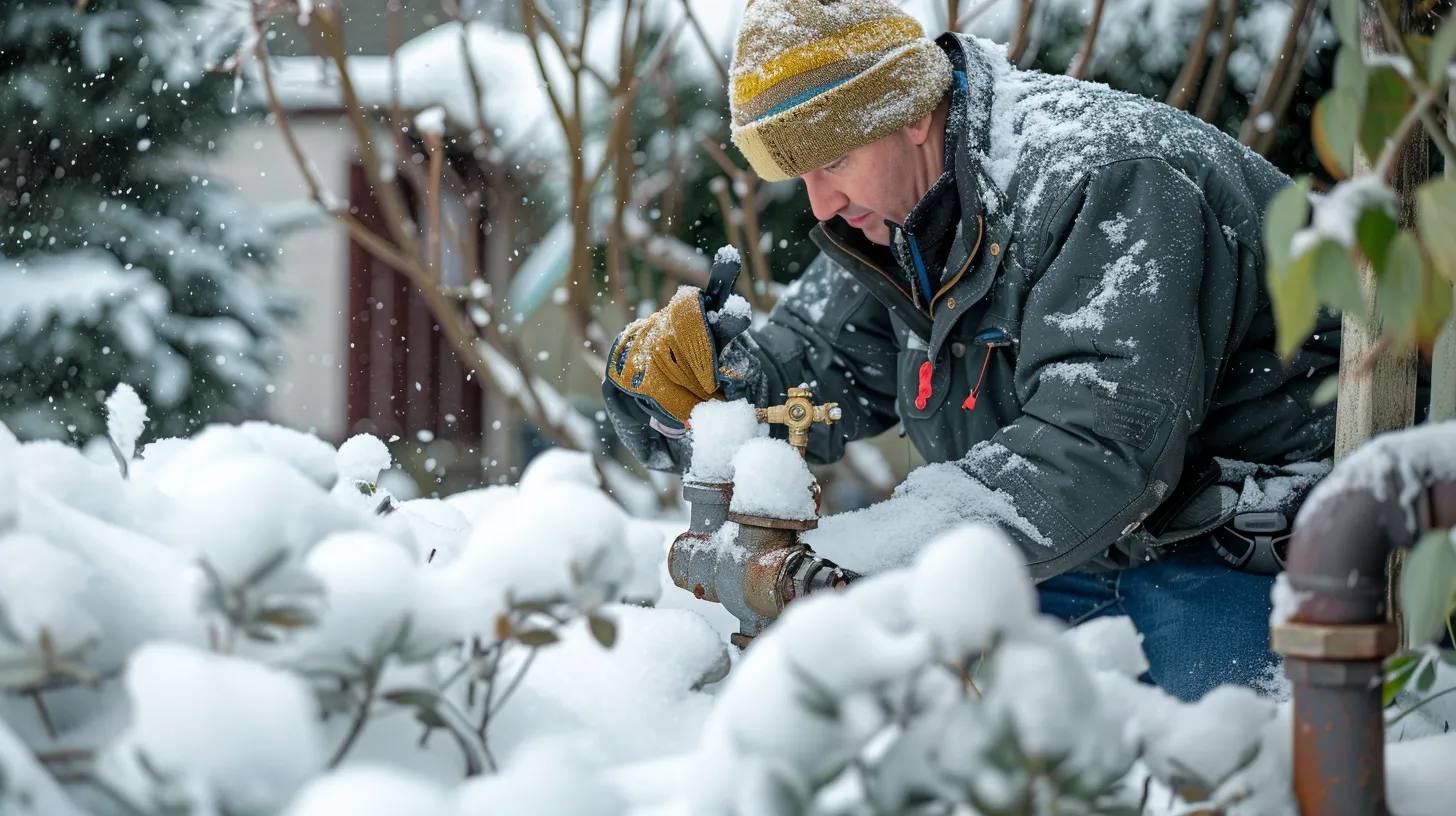
Before the onset of winter's harshest days, conducting a final inspection and implementing maintenance tips for your outdoor plumbing system is imperative. As you prepare to turn the water off, carefully check your outside faucet for any leaks or drips. Even a small drip can lead to significant problems on a chilly day, so ensuring everything is tight and right is crucial. Shut off the water supply and observe the faucet back to confirm that the water stops completely.
Inspect the hose bib for any signs of damage or wear. It's essential to address these issues before the winter fully sets in to prevent any complications when the season changes. Additionally, disconnect all outdoor hoses and store them properly. This step prevents water from being trapped in the hose, which can freeze and cause damage to both the hose and the faucet.
Consider adding an extra layer of protection by using insulation covers or foam on outdoor faucets. This can provide a barrier against the cold temperatures.


