
Addressing a frozen faucet is a delicate task that requires precision and patience. Identifying the exact location of the freeze within your piping system is the initial step, a process that might seem straightforward but is fraught with potential complications.
As we explore the methodologies for safely thawing a frozen pipe, from employing a blow dryer to considering the use of electrical tape, it becomes evident that the choice of technique is crucial. Each method carries its own set of risks and benefits, and the decision should not be made lightly.
In the subsequent discussion, we shall examine how to mitigate these risks while efficiently addressing the freeze, thereby ensuring the integrity of your plumbing system remains uncompromised.


Identifying the Freeze
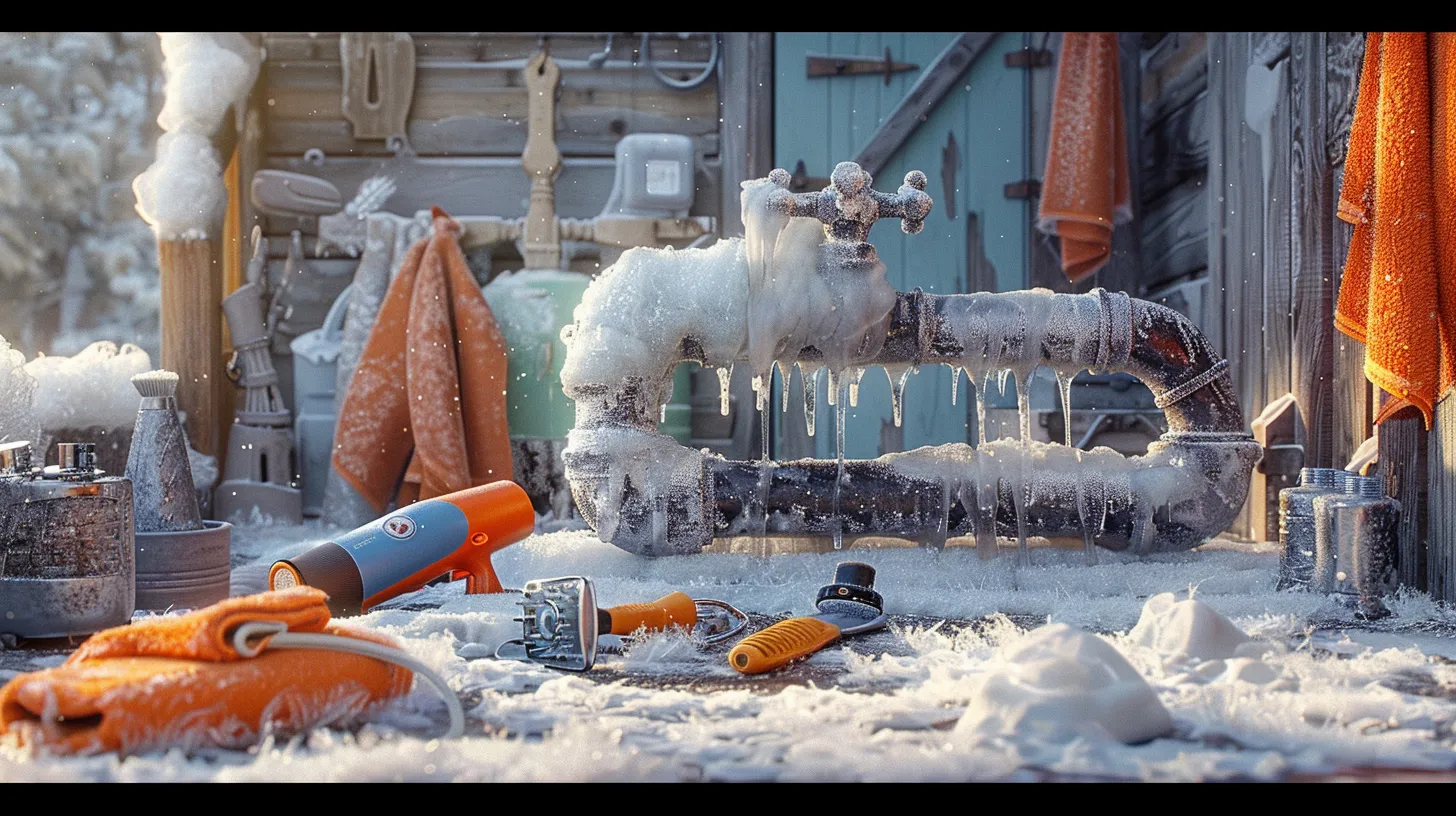
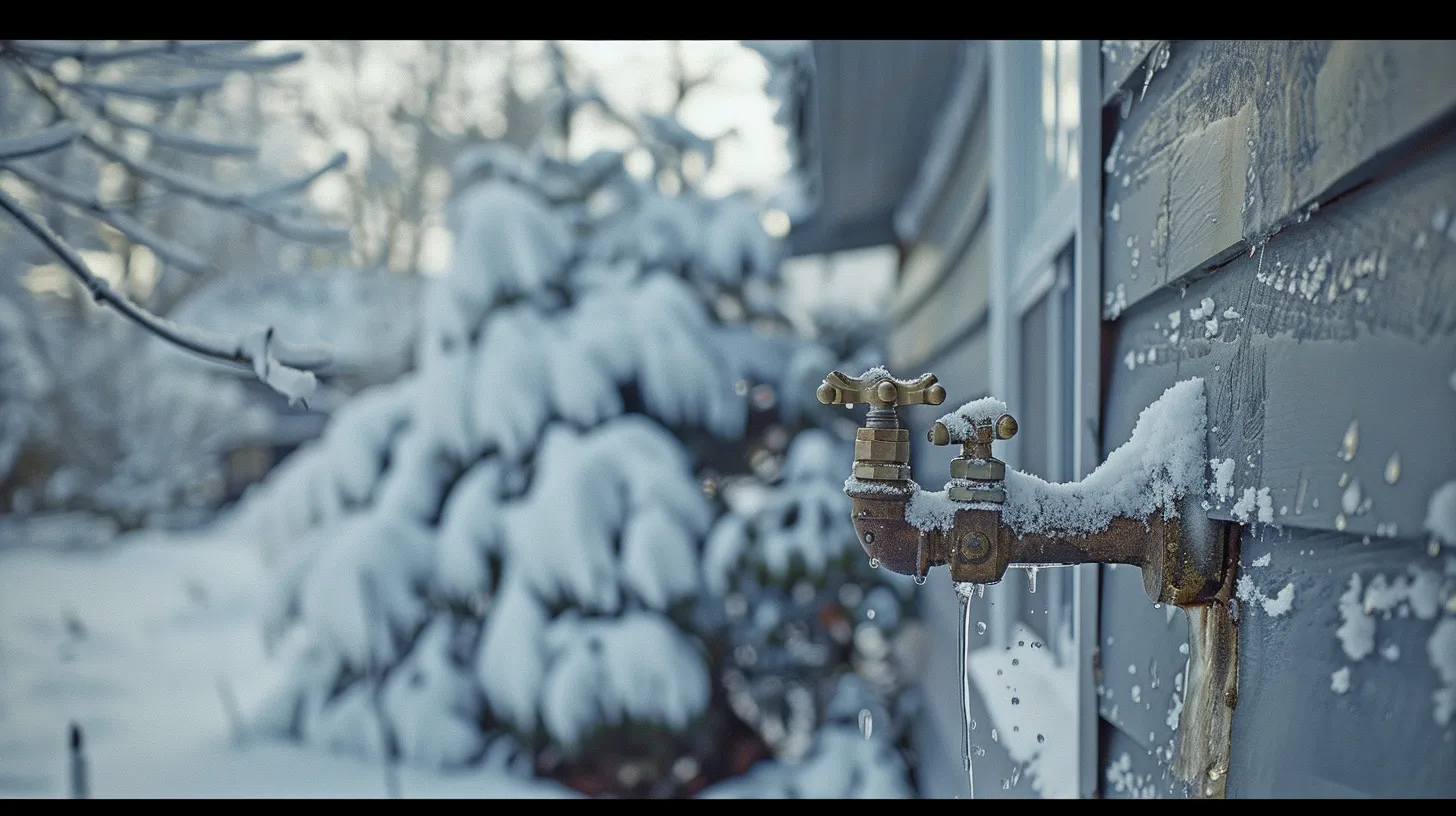
To effectively address a frozen faucet, it is essential to first accurately identify the freeze by observing several critical indicators. A common sign of a frozen pipe is a significant reduction in water flow or a complete lack of water emerging from the faucet. This diminished flow often signals that ice has formed within the pipes, obstructing the path of water. Additionally, the presence of frost or visible ice on the exterior of the faucet or the pipes leading to it can be a clear indicator of freezing. These visual cues are crucial for pinpointing the location and extent of the freeze.
Another method to identify a frozen faucet involves listening for unusual noises when attempting to turn on the water. Such sounds could suggest the presence of a blockage within the pipes, which is often caused by ice accumulation. Moreover, physically inspecting the pipes by feeling for cold spots or ice accumulation can provide tangible evidence of the frozen sections. Lastly, testing other faucets in the vicinity can help determine if the issue is isolated or widespread, aiding in accurately locating the freeze. Identifying these signs promptly is imperative to prevent further damage and to initiate the thawing process effectively.


Preparation and Safety
Before initiating the thawing process, it is critical to prioritize safety measures and proper preparation to mitigate the risk of water damage and ensure a successful resolution.
The steps involved in safely preparing to unfreeze a faucet require attention to detail and an understanding of the potential hazards. Proper preparation not only facilitates the thawing process but also helps prevent further damage to your plumbing system.
- Ensure the faucet is turned off: This prevents water leakage when the ice begins to melt.
- Use a hair dryer on a low heat setting: A gradual thaw is safer and reduces the risk of damaging the faucet.
- Avoid using open flames: High heat sources can cause more harm than good, possibly warping or breaking the faucet.
- Keep the faucet open slightly: Allowing water to flow helps relieve built-up pressure and reduces the risk of pipe bursts.
Monitoring the faucet for leaks or cracks after thawing is crucial to address any potential damage promptly. These steps in preparation and safety are foundational in the process to unfreeze a faucet, ensuring that the procedure is carried out efficiently and with minimal risk.
Thawing Techniques
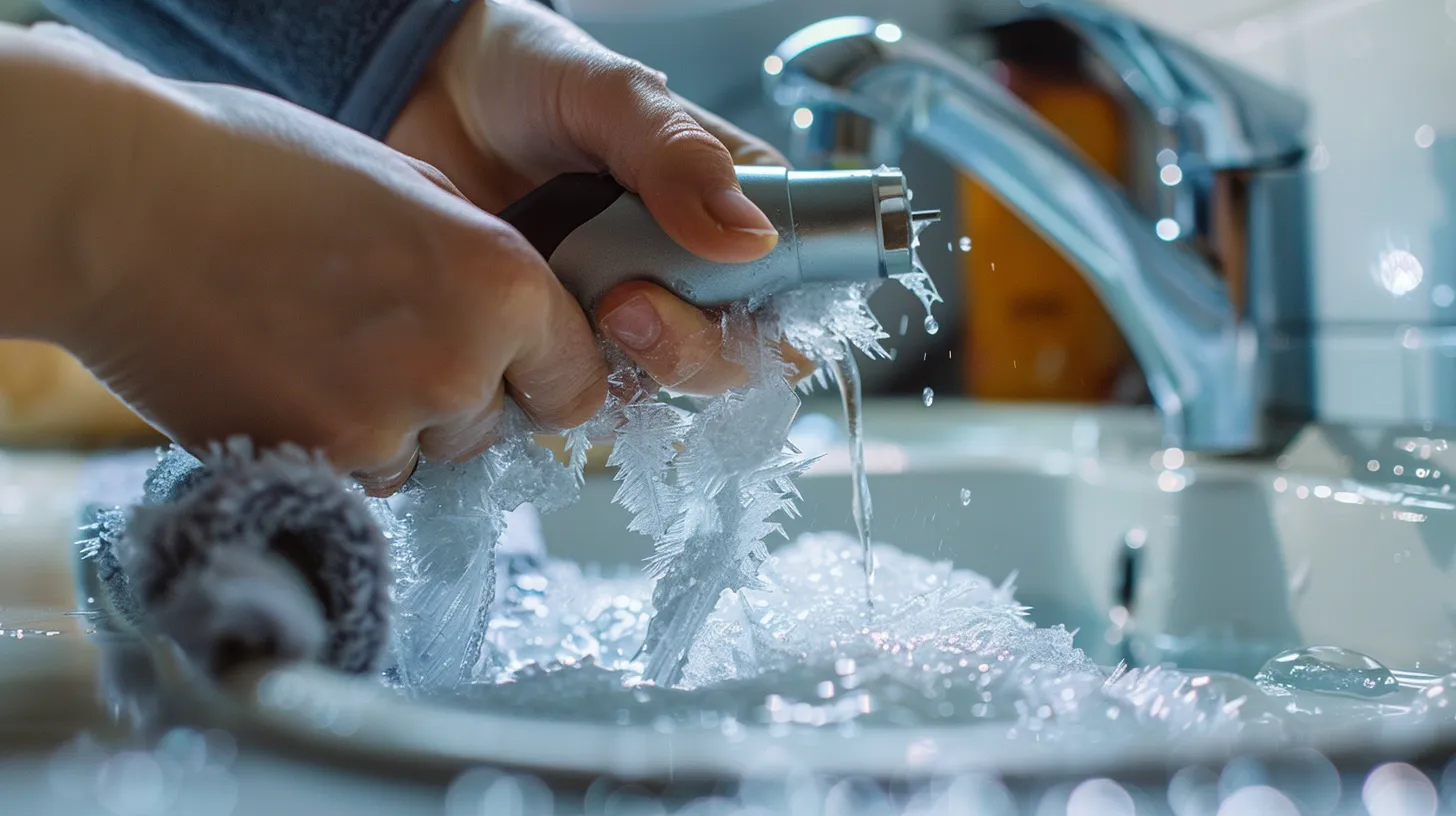
Having outlined the essential steps for preparation and safety, we now focus on effective thawing techniques to safely unfreeze a faucet. To thaw a frozen pipe, one can apply heat in several gentle ways without causing damage.
A hair dryer on a low heat setting is a practical tool for pipe thawing, allowing the user to direct the heat exactly where it's needed. Alternatively, wrapping the pipe with warm towels or rags soaked in hot water can gradually thaw the pipe, preventing further freezing.
Pouring lukewarm water over the faucet represents another safe method to melt the ice without risking a sudden temperature change that could damage the pipes. For a more ambient approach, using a heat lamp or portable heater directed towards the frozen area can evenly distribute heat, preventing your pipes from freezing again.
It's critical to avoid using open flames or high heat directly on the faucet to prevent damage to the faucet and surrounding areas. Moreover, maintaining a steady water pressure and ensuring proper drainage can help in preventing drain damage. Before starting the thawing process, it's advisable to shut the well off to minimize any potential water damage.
Checking for Damage
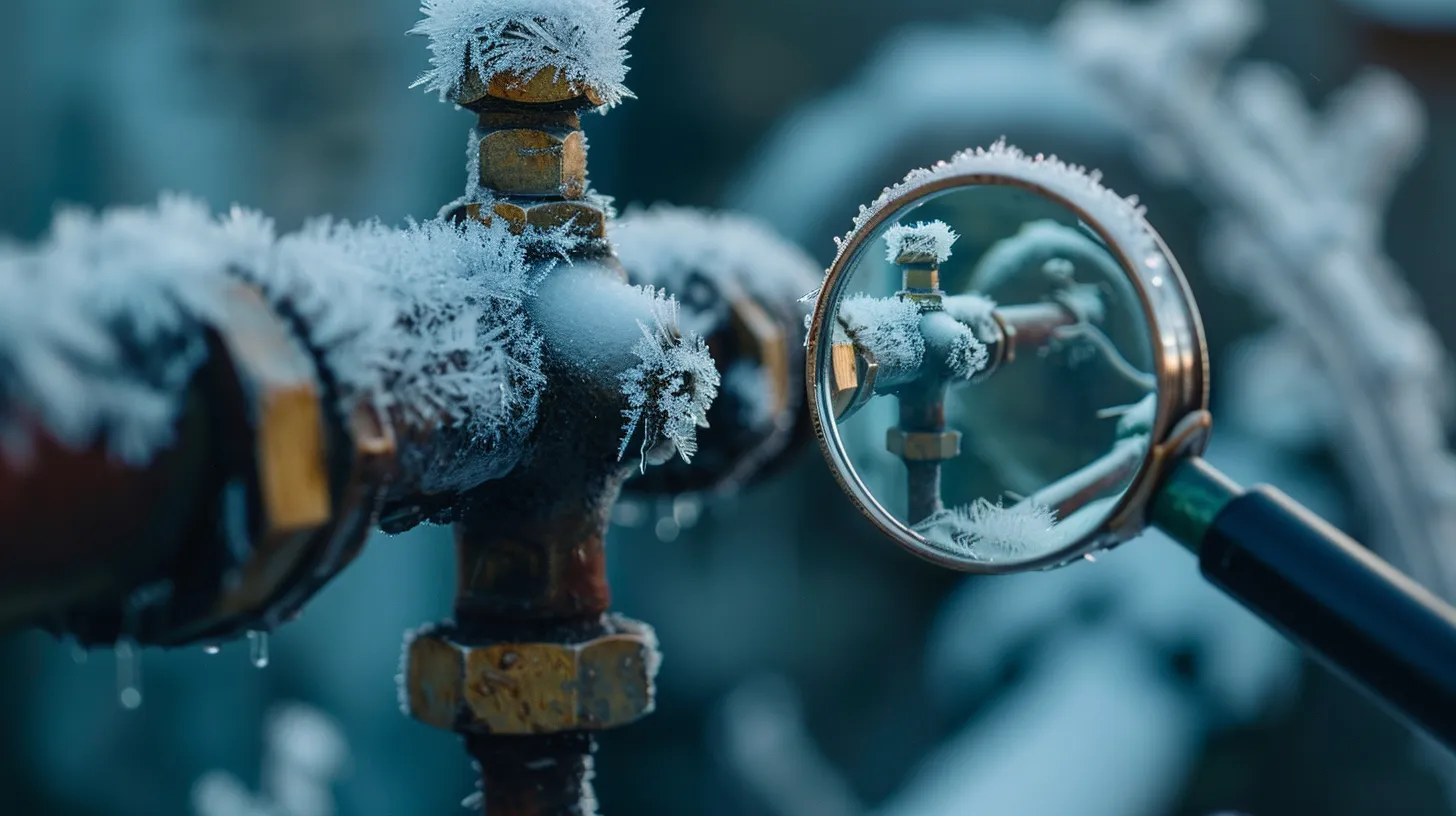
After successfully thawing a frozen faucet, it is imperative to inspect the pipe for any signs of damage, such as visible cracks or leaks. The process of freezing can expand and contract the material of the pipes, potentially causing them to burst or develop leaks. Identifying and addressing these issues promptly can prevent significant water damage to your home.
To thoroughly assess the condition of your plumbing after a freeze, consider the following:
- Look for visible cracks or bulges : These are clear indicators that the pipe has been compromised and may require repair or replacement.
- Check for water discoloration or unusual odors : Such signs can suggest the presence of a burst pipe, which may not be immediately visible but can cause significant damage over time.
- Inspect for water stains or dampness : This could signal a leak, even if the pipe itself isn't visibly damaged.
- Listen for hissing or gurgling sounds : These noises can indicate a burst pipe under pressure, signaling that immediate action is necessary.
If you suspect damage, it is crucial to turn off the main water supply and consult a professional plumber for repairs. Addressing these issues promptly can save you from future headaches and costly repairs.
Preventive Measures
To effectively safeguard your plumbing against the harsh conditions of winter, adopting certain preventive measures is essential for minimizing the risk of frozen faucets. One effective strategy is to keep outdoor faucets slightly dripping during freezing temperatures. This simple action prevents water from remaining stagnant in the pipes, where it is more likely to freeze and cause damage.
Additionally, insulating outdoor faucets with specialized covers can offer significant protection against freezing. These covers act as a barrier between the faucet and the cold air, reducing the risk of the water inside the faucet from freezing. For a more permanent solution, installing frost-proof outdoor faucets is highly recommended. These faucets are specifically designed to withstand freezing temperatures, significantly reducing the risk of freezing.
Applying heat tape or heat cables around outdoor faucets is another effective freeze prevention method. These devices provide just enough warmth to prevent the water inside the pipes from freezing. Moreover, it is crucial to seal any gaps or cracks around outdoor faucets. Such openings can allow cold air to reach the pipes, increasing the likelihood of freezing. By implementing these preventive measures, homeowners can significantly reduce the risk of having to deal with frozen faucets during the winter months.


